Summary
- Lithium-ion batteries degrade over time, leading to shorter lifespans and decreased capacity.
- When replacing a 3DS battery, ensure compatibility and get a 3.7 V battery with sufficient capacity.
- Preserve the new battery by storing it at 50%, avoiding overcharging, and removing it if storing the device long-term.
With the Switch pushing eight years of age, it’s been a hot minute since I polished the dust off my Nintendo 3DS. To the surprise of nobody, I found that the battery lasted mere seconds. Let’s chat about why this happened and how I fixed it (and you can, too).
Why Your 3DS Battery Isn’t Working
Lithium-ion batteries are fickle beasts that will degrade over time. This is why rechargeable batteries in your devices have ever-shorter lifespans.
The takeaway here is that the mechanisms which positively and negatively charge lithium-ions degrade under conditions like time and heat. This results in fewer lithium-ions to distribute, which means the battery holds less charge. It’s why gadgets you pick up for the first time in years often don’t have functioning batteries. The 3DS is no exception.
What Replacement Battery Should You Buy?
Buying a new battery is the most daunting part of the replacement process, especially since Nintendo no longer sells an official one. Even I have paralysis when looking at the endless swath of seemingly identical batteries that pop up with an Amazon search. Fortunately, we can cut through this with a few simple checks.
First, user reviews are everything here, so make sure to look at what others are saying about their experiences. This is the best way to see how people have fared with their purchases.
Next, make sure you’re looking at a battery that fits your handheld. The original 3DS line and the 2DS use a different battery than the New Nintendo 3DS line. Product titles and descriptions should make this distinction, and if they don’t, move on from that listing.
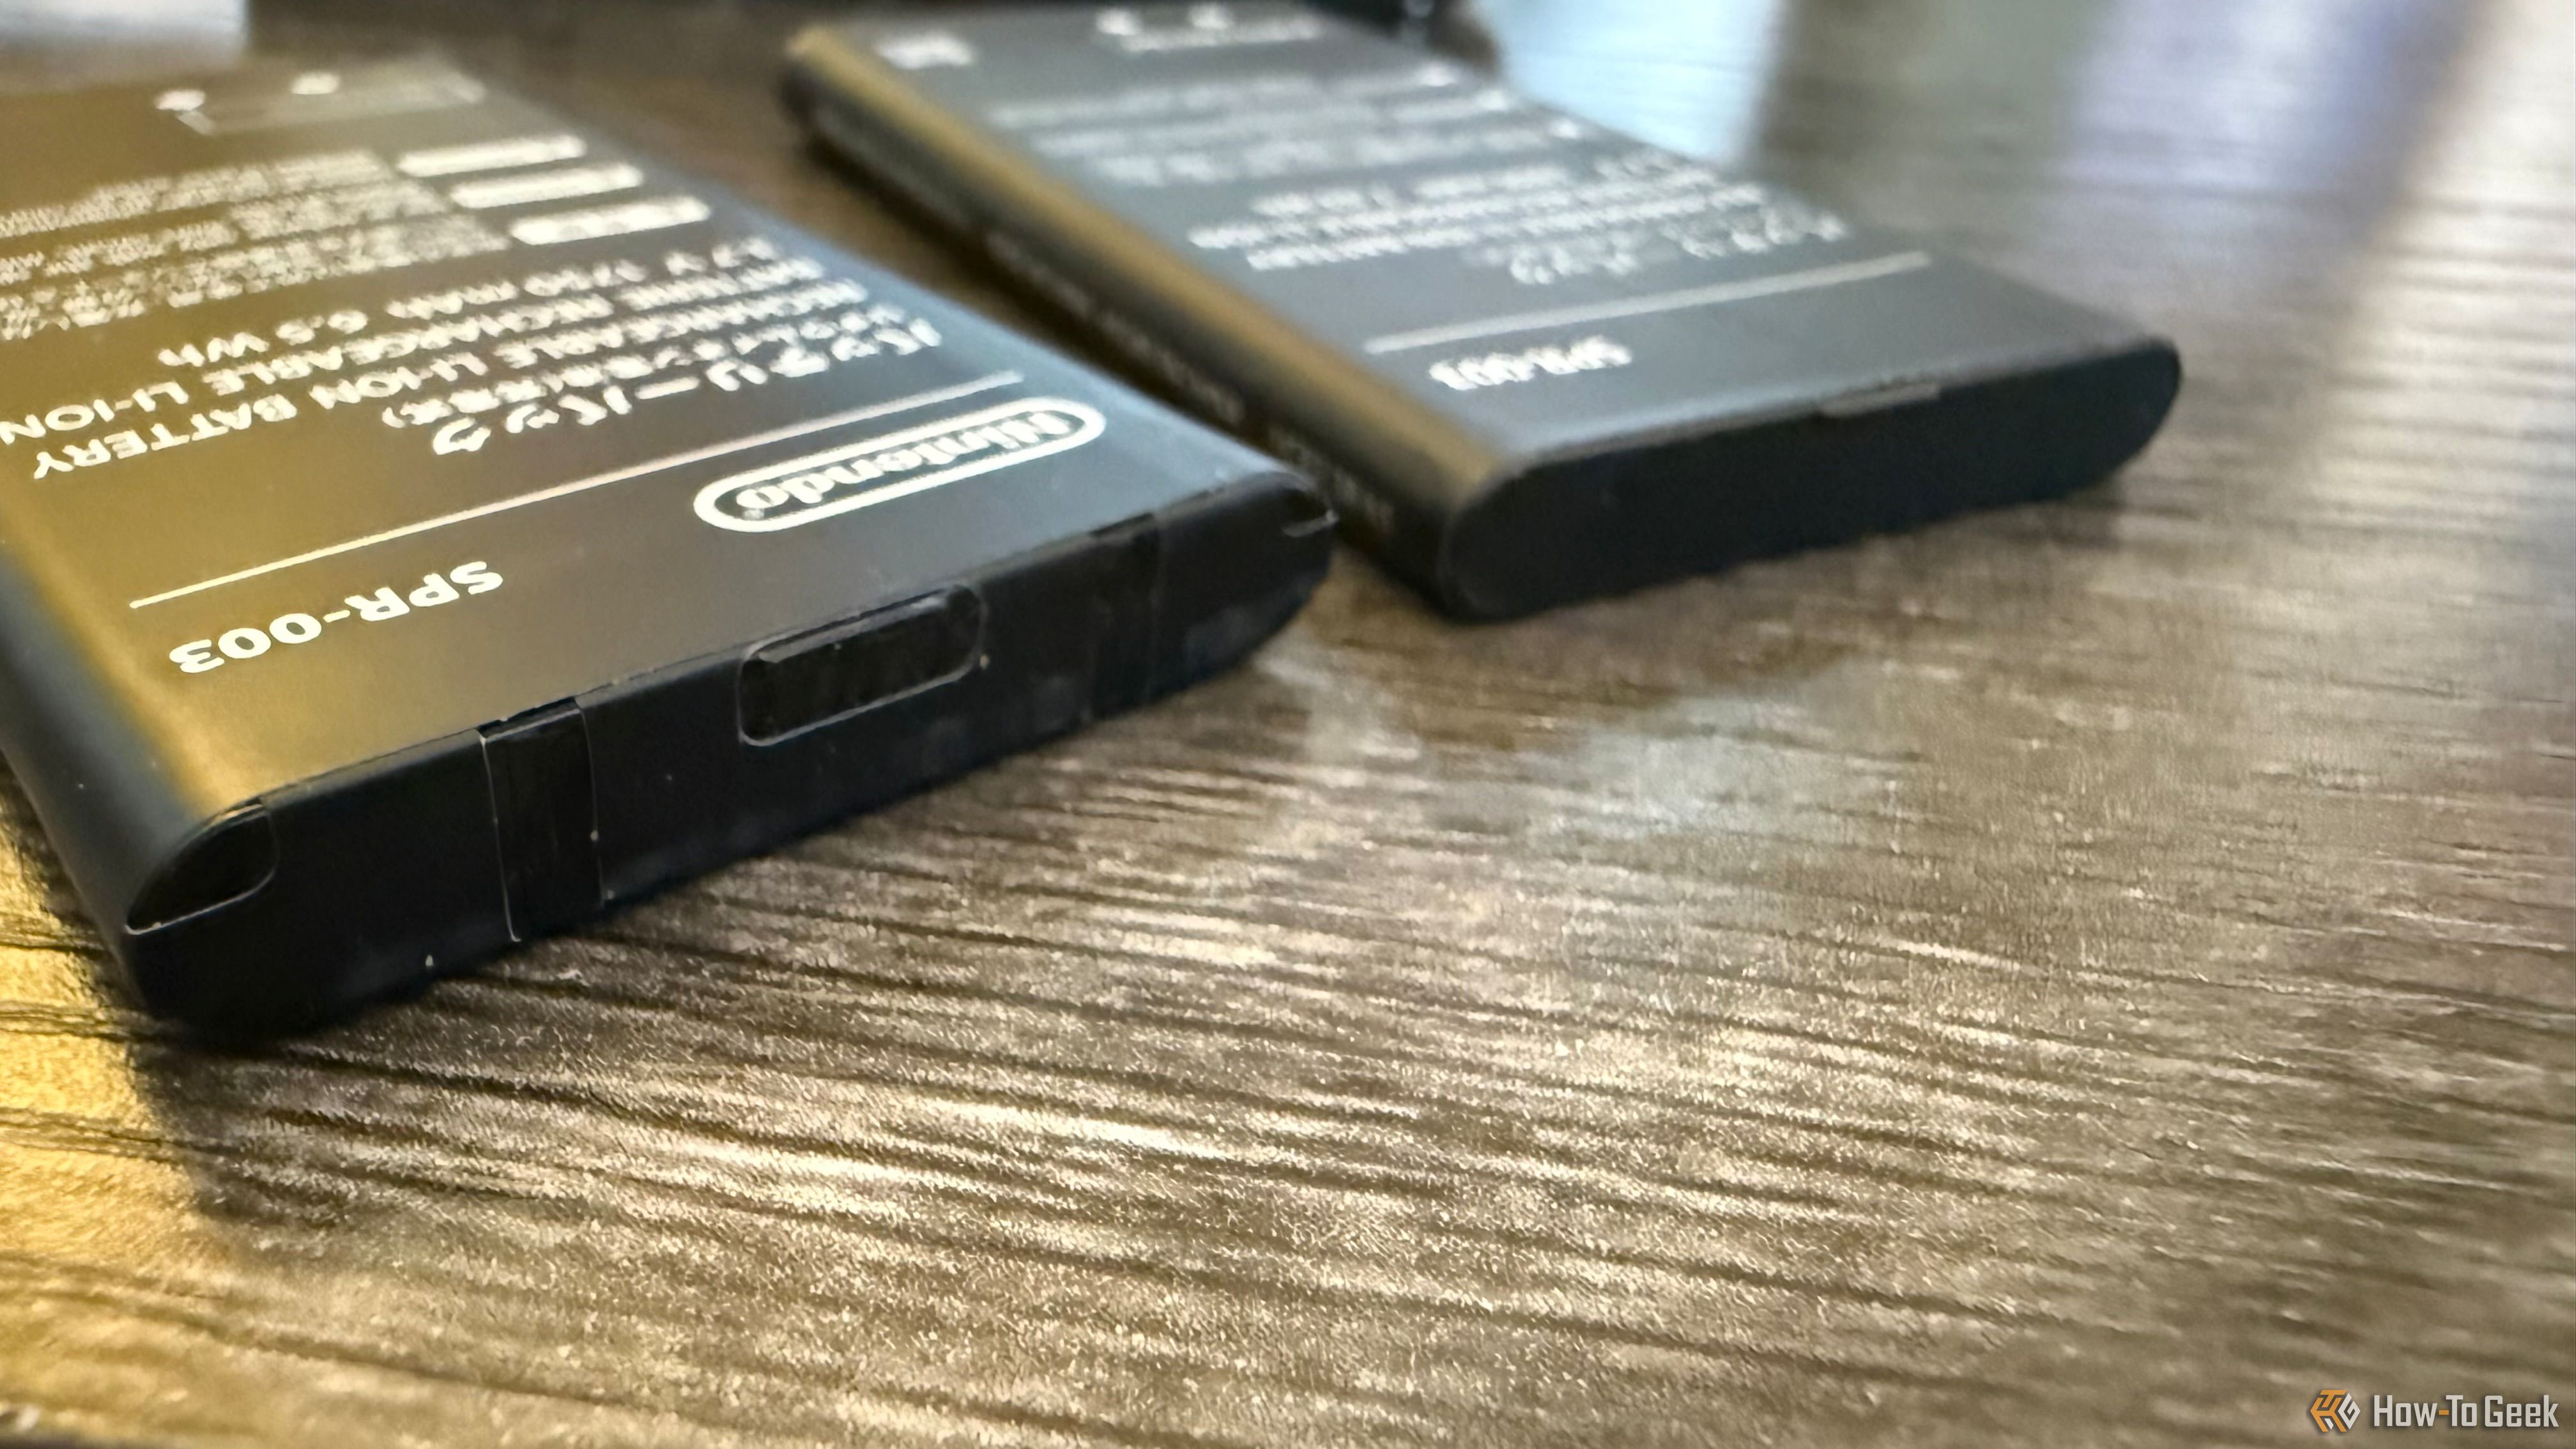
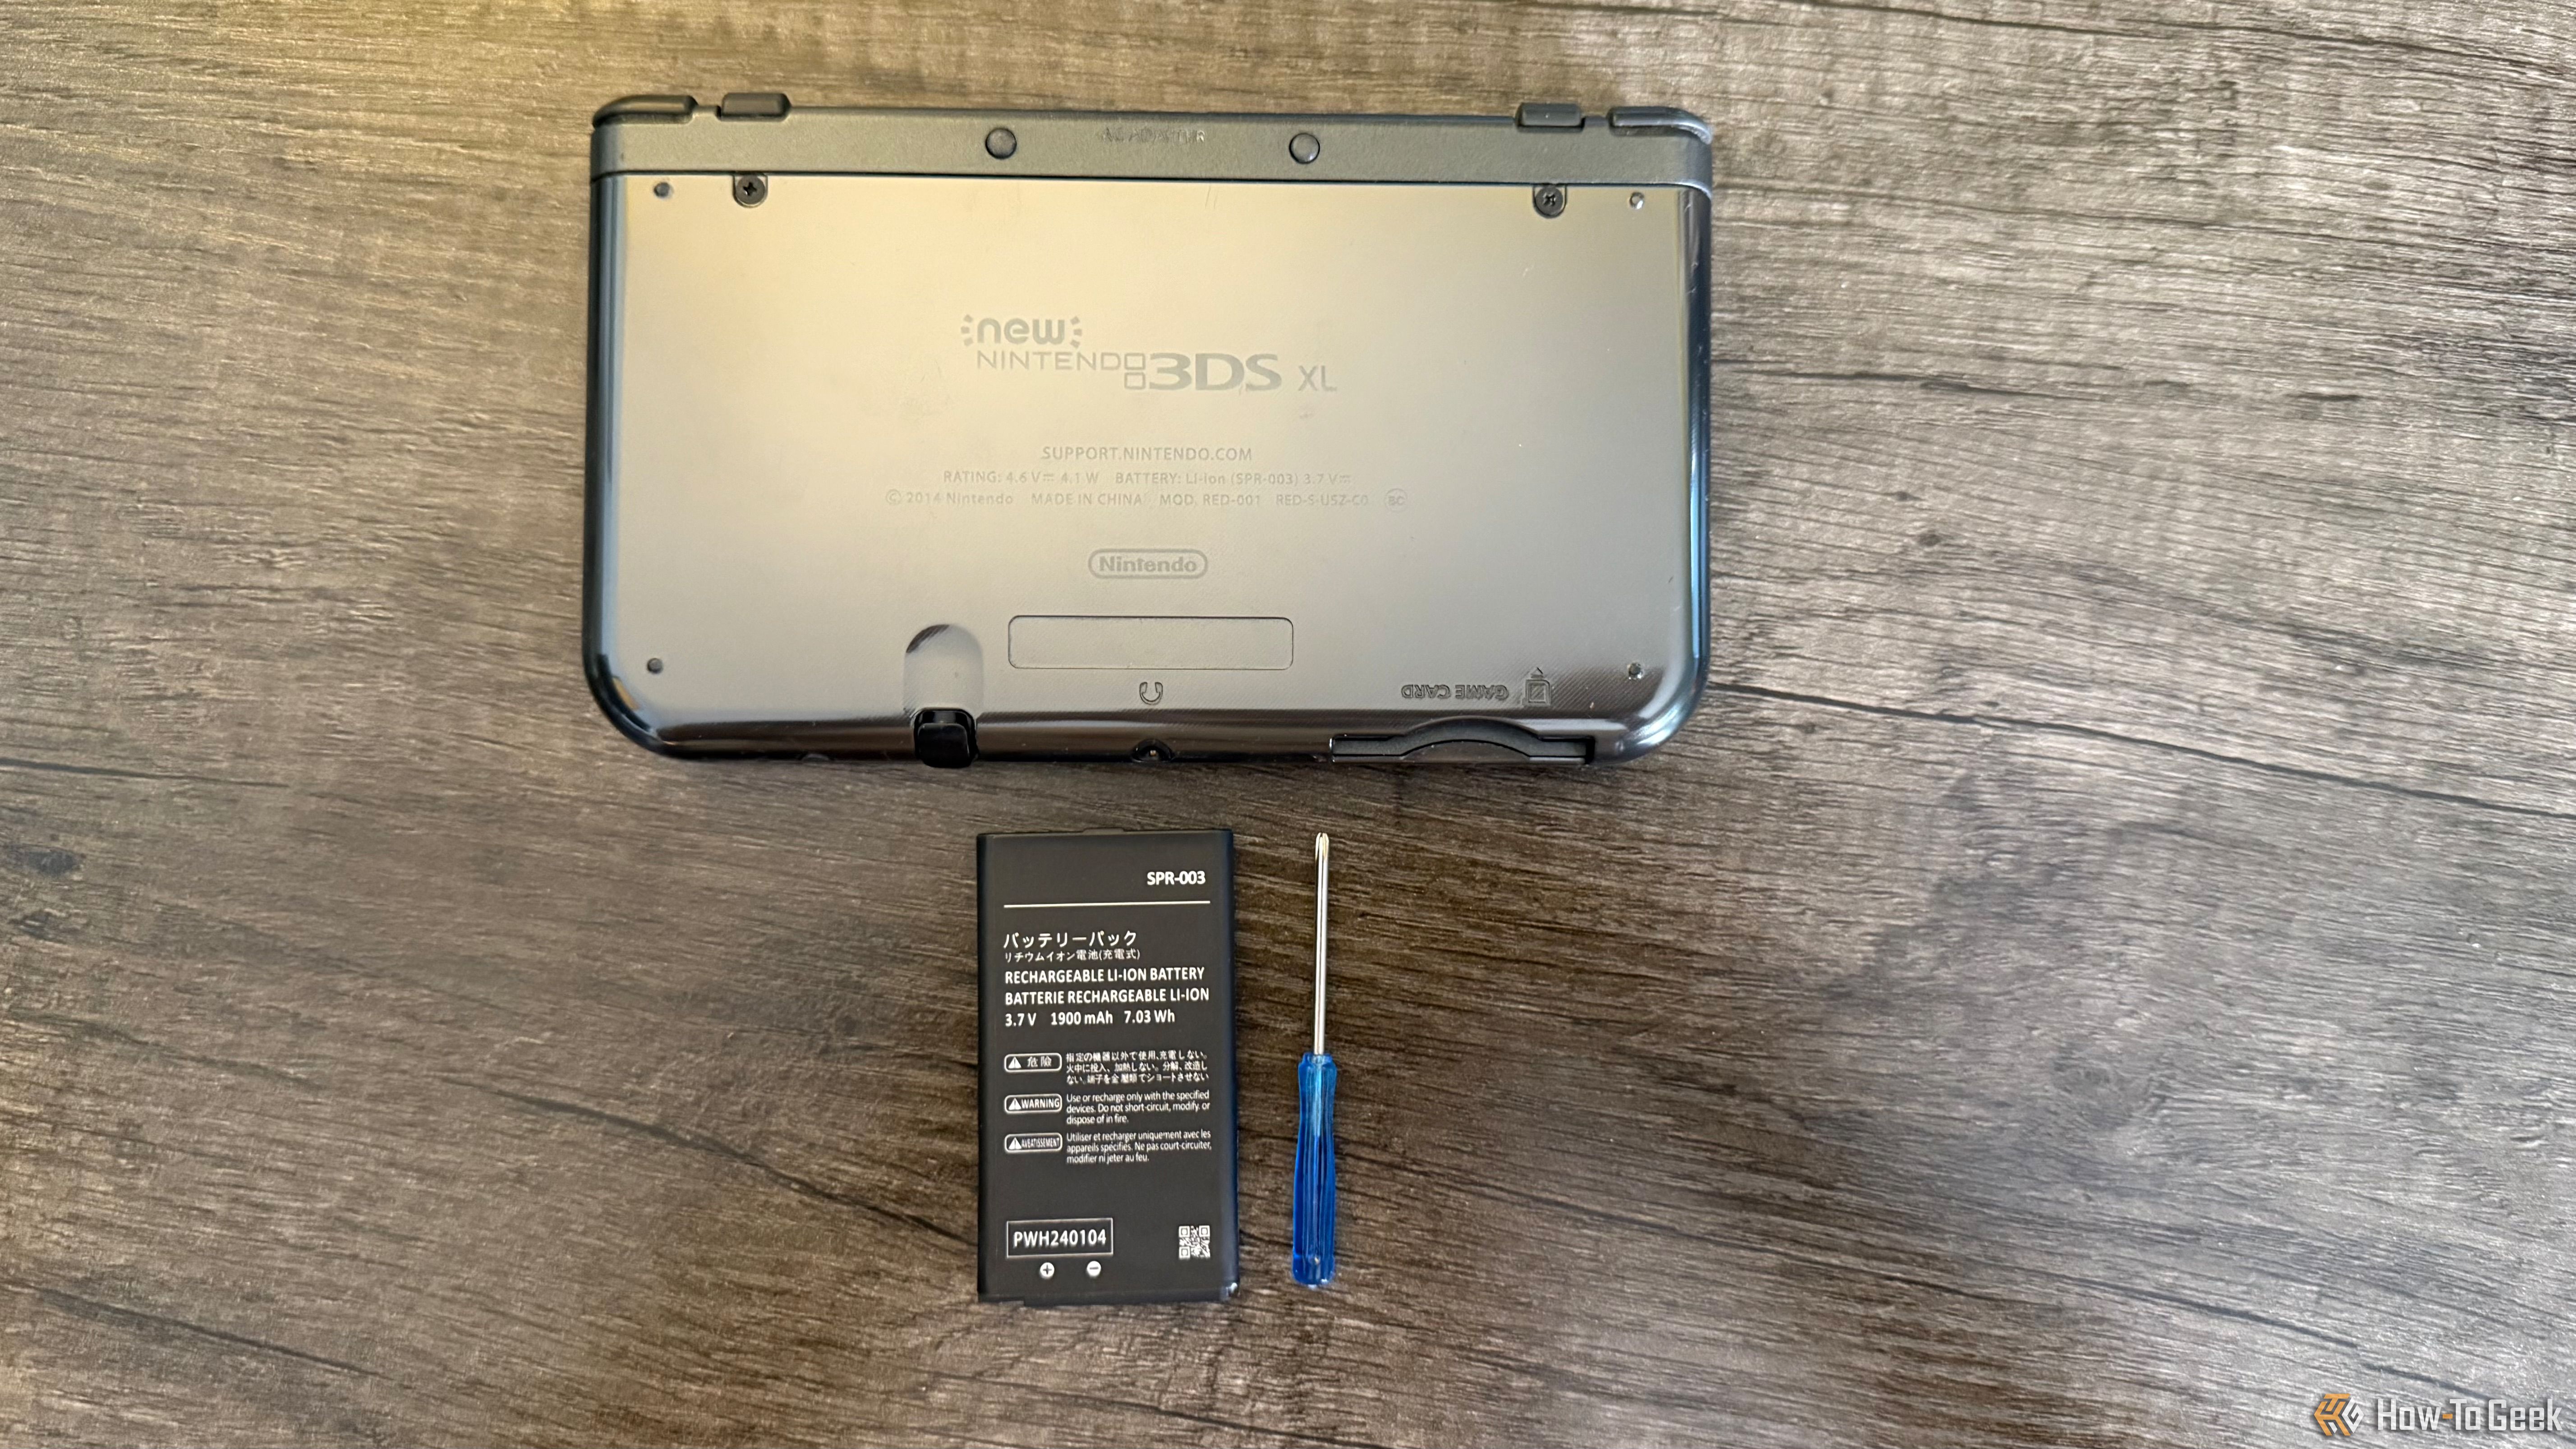
Every battery has a row of three numbers. The first one of these is the most important: the voltage (V). We need a 3.7 V battery. Anything higher would likely cause significant damage to the 3DS and may be a fire hazard. Luckily, virtually every battery made for the 3DS outputs at 3.7 V.
We can’t stress enough that you need to be careful when picking a battery to make sure it is suitable for your particular model. Picking the wrong battery could result in damage to your 3DS or worse, damage to you.
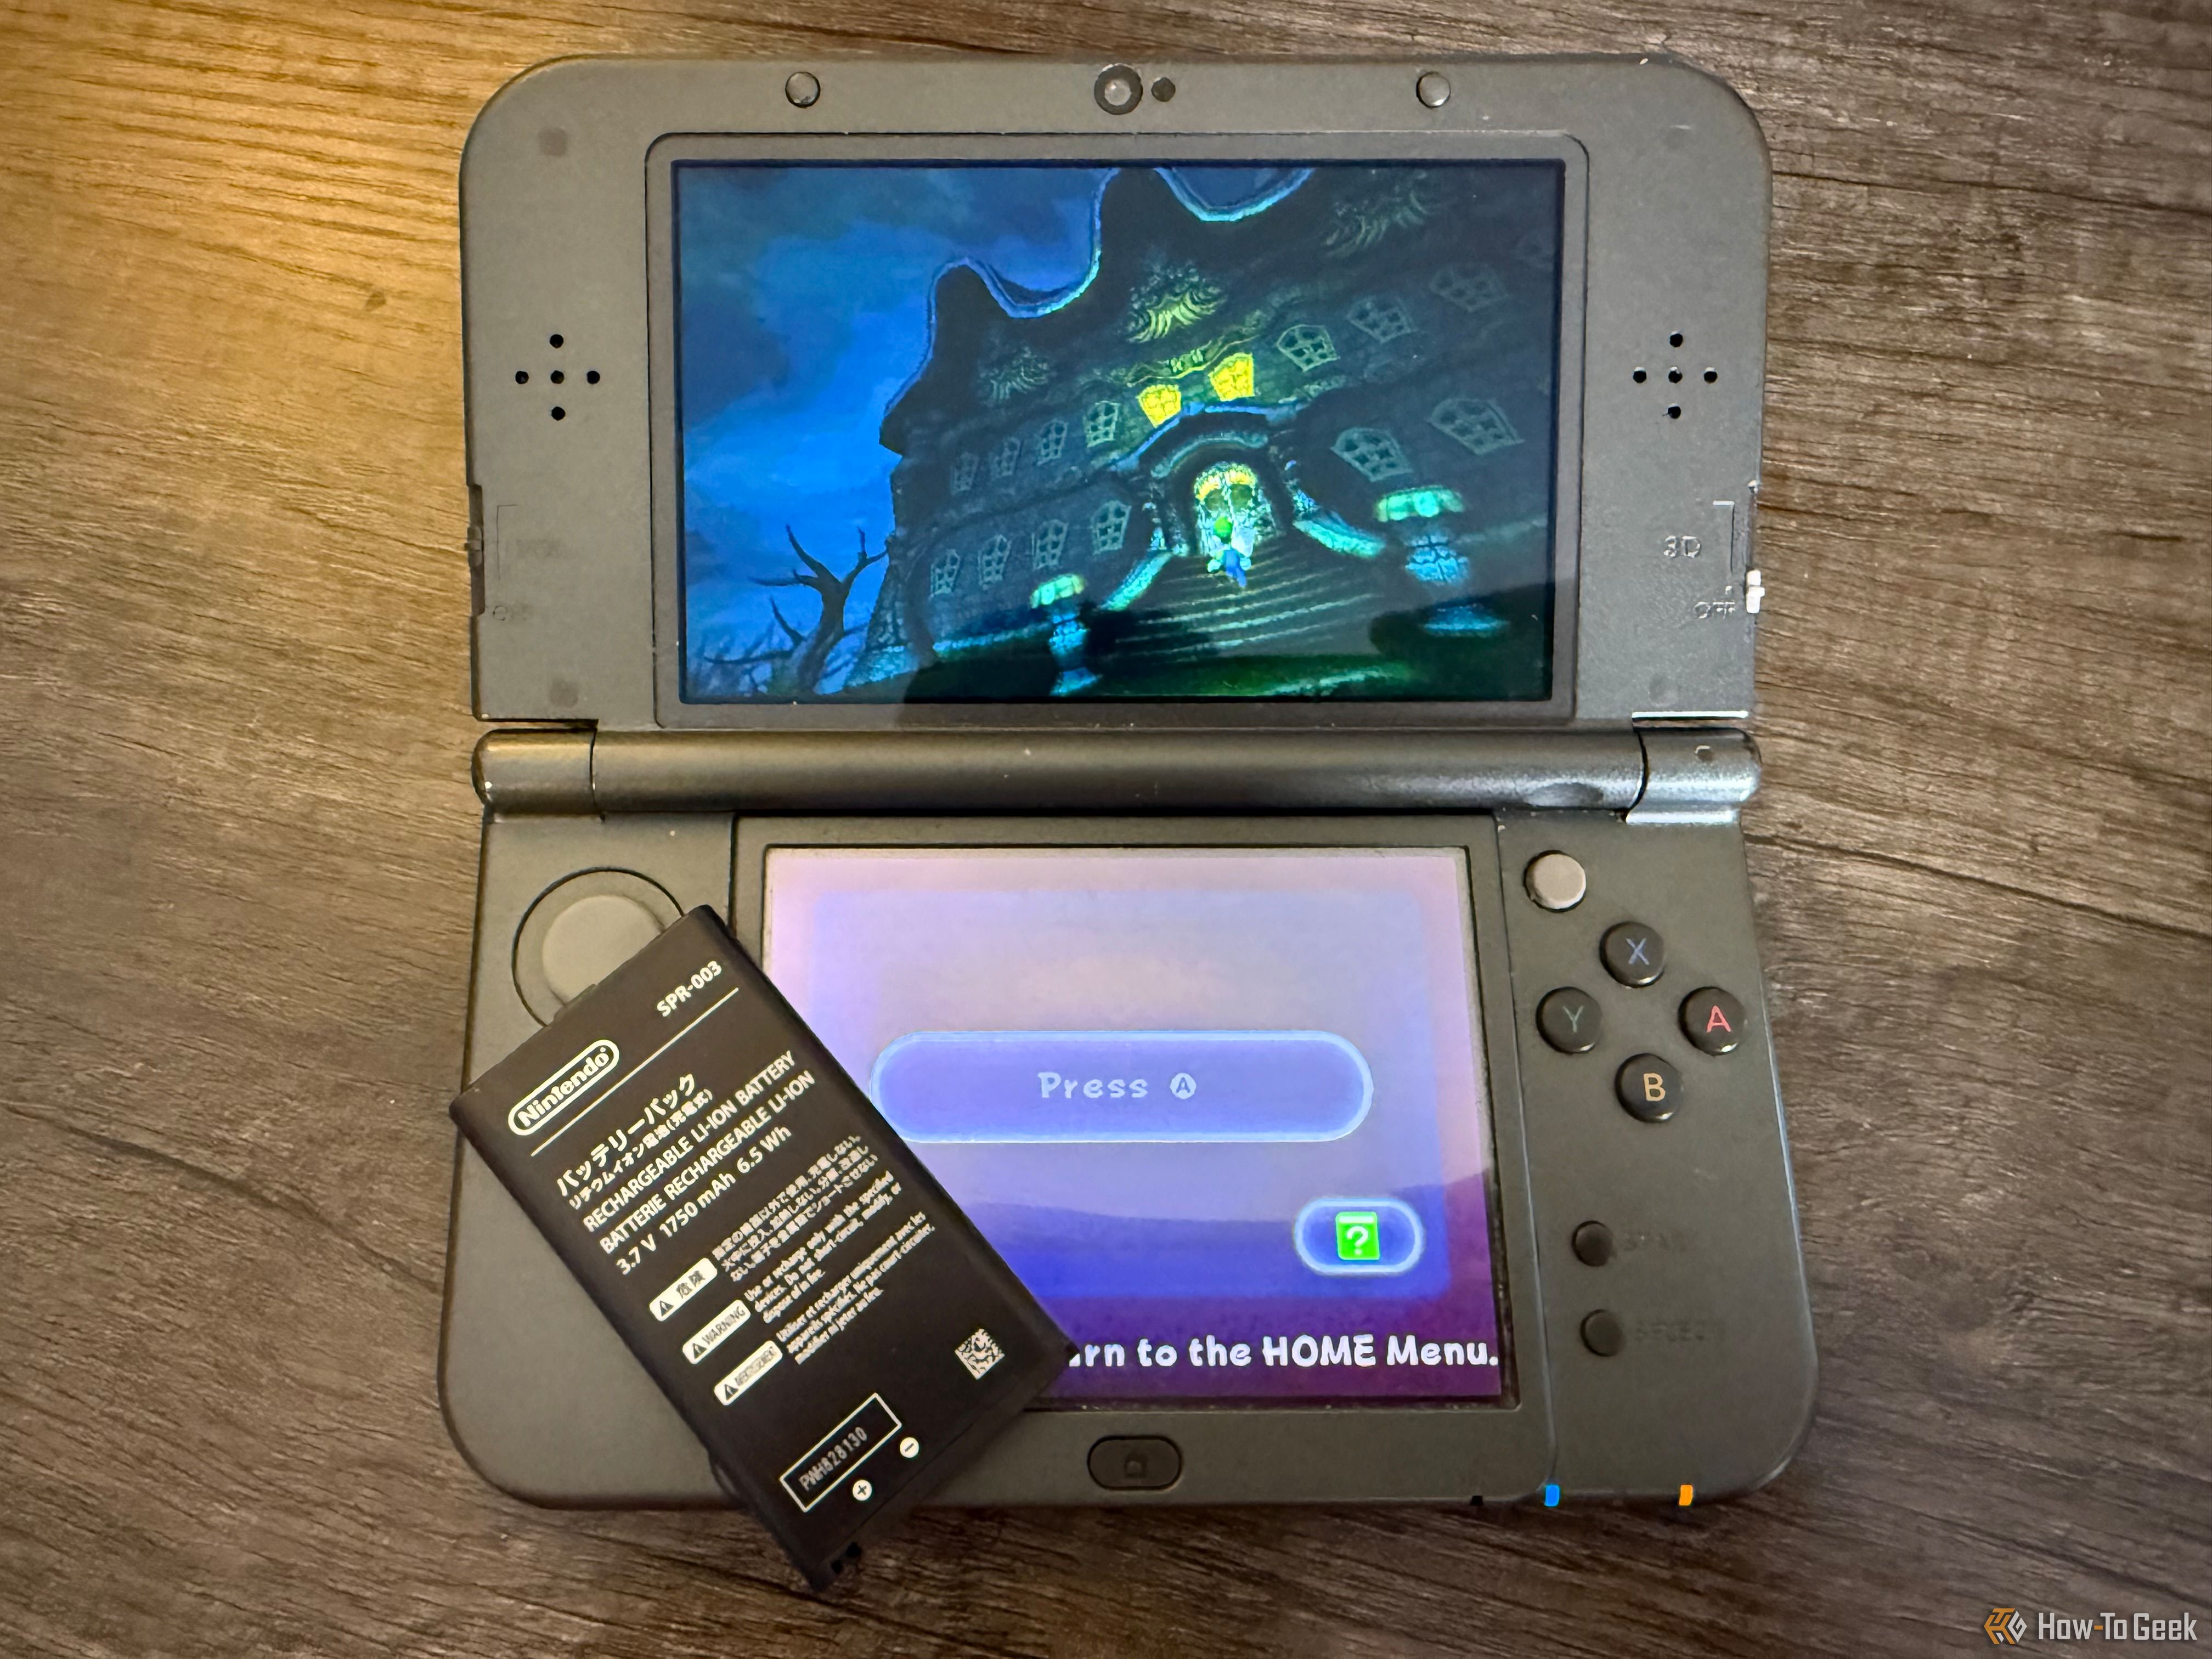
The other two numbers—milliamp hours (mAh) and watt-hours (Wh)–essentially tell you the size of the battery. Larger numbers mean the battery holds more charge. As a reference point, the Nintendo-branded battery is 1750 mAh and 6.5 Wh, while higher-capacity third-party replacements go up to around 3200 mAh. This range should be perfectly safe, though I’d be wary of anything higher, if only because there’s a limit to the capacity of batteries this size.
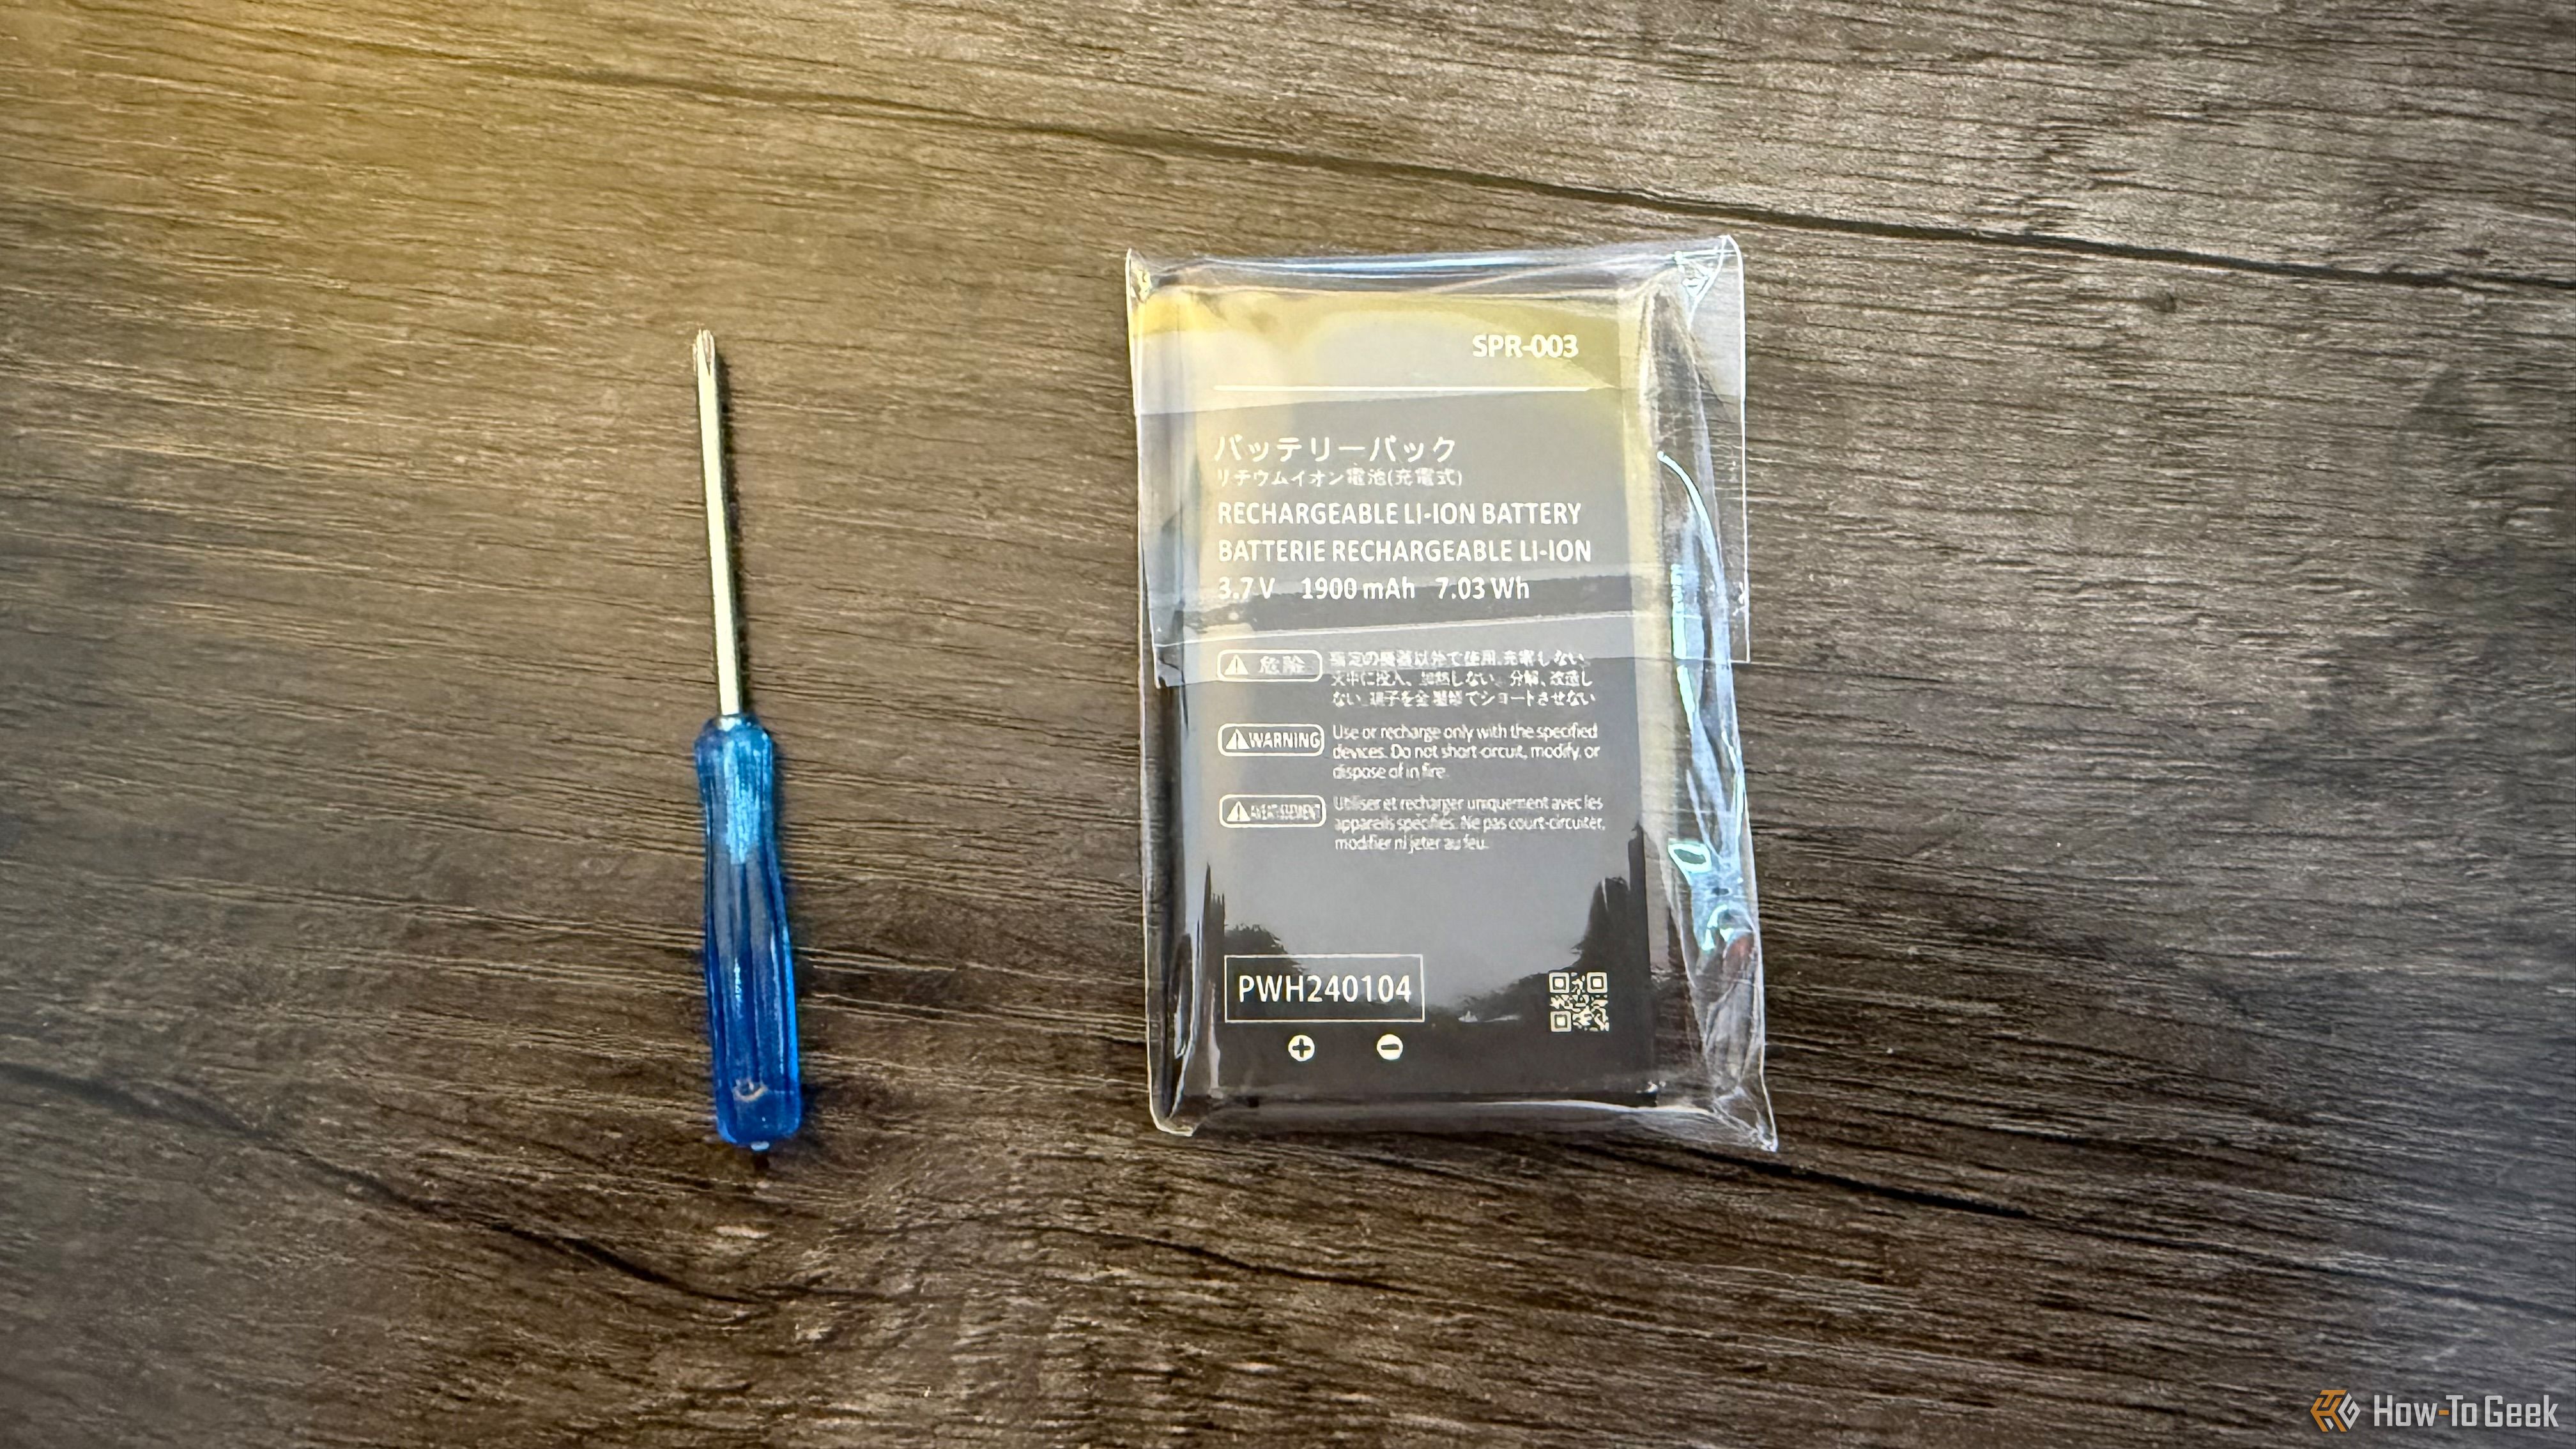
For this replacement, I took the path of least resistance by going with the Amazon-recommended “overall pick” touting 1900 mAh. This is similar to Nintendo’s battery, at least on paper.
Installing Your New Battery
So you’ve bought a battery. Here’s how to install it.
Before getting started, you should consult Nintendo’s guide on how to replace a battery. Each 3DS and 2DS model has its own quirks, and the New Nintendo 2DS XL can’t replace its battery at all. I’ll be using a New Nintendo 3DS XL for this, which has a replacement process identical to the New Nintendo 3DS (gotta love that Nintendo word salad).
The first thing you’ll want to do is make sure you have a small Phillips-head screwdriver; you do not want to strip these screws. Many batteries come with the tool, but if they don’t, bust out that toolkit. If you need a cheap but reliable screwdriver, I recommend this one, but you’re probably best off just buying a battery that has one included.
Another bit of prep that may make your life a bit easier is removing the cartridge and stylus. This one’s up to you.
We now need to loosen the two tiny screws at the top. These do not unscrew from the back plate. All we’re doing here is loosening them enough so that we can pop the plate off.
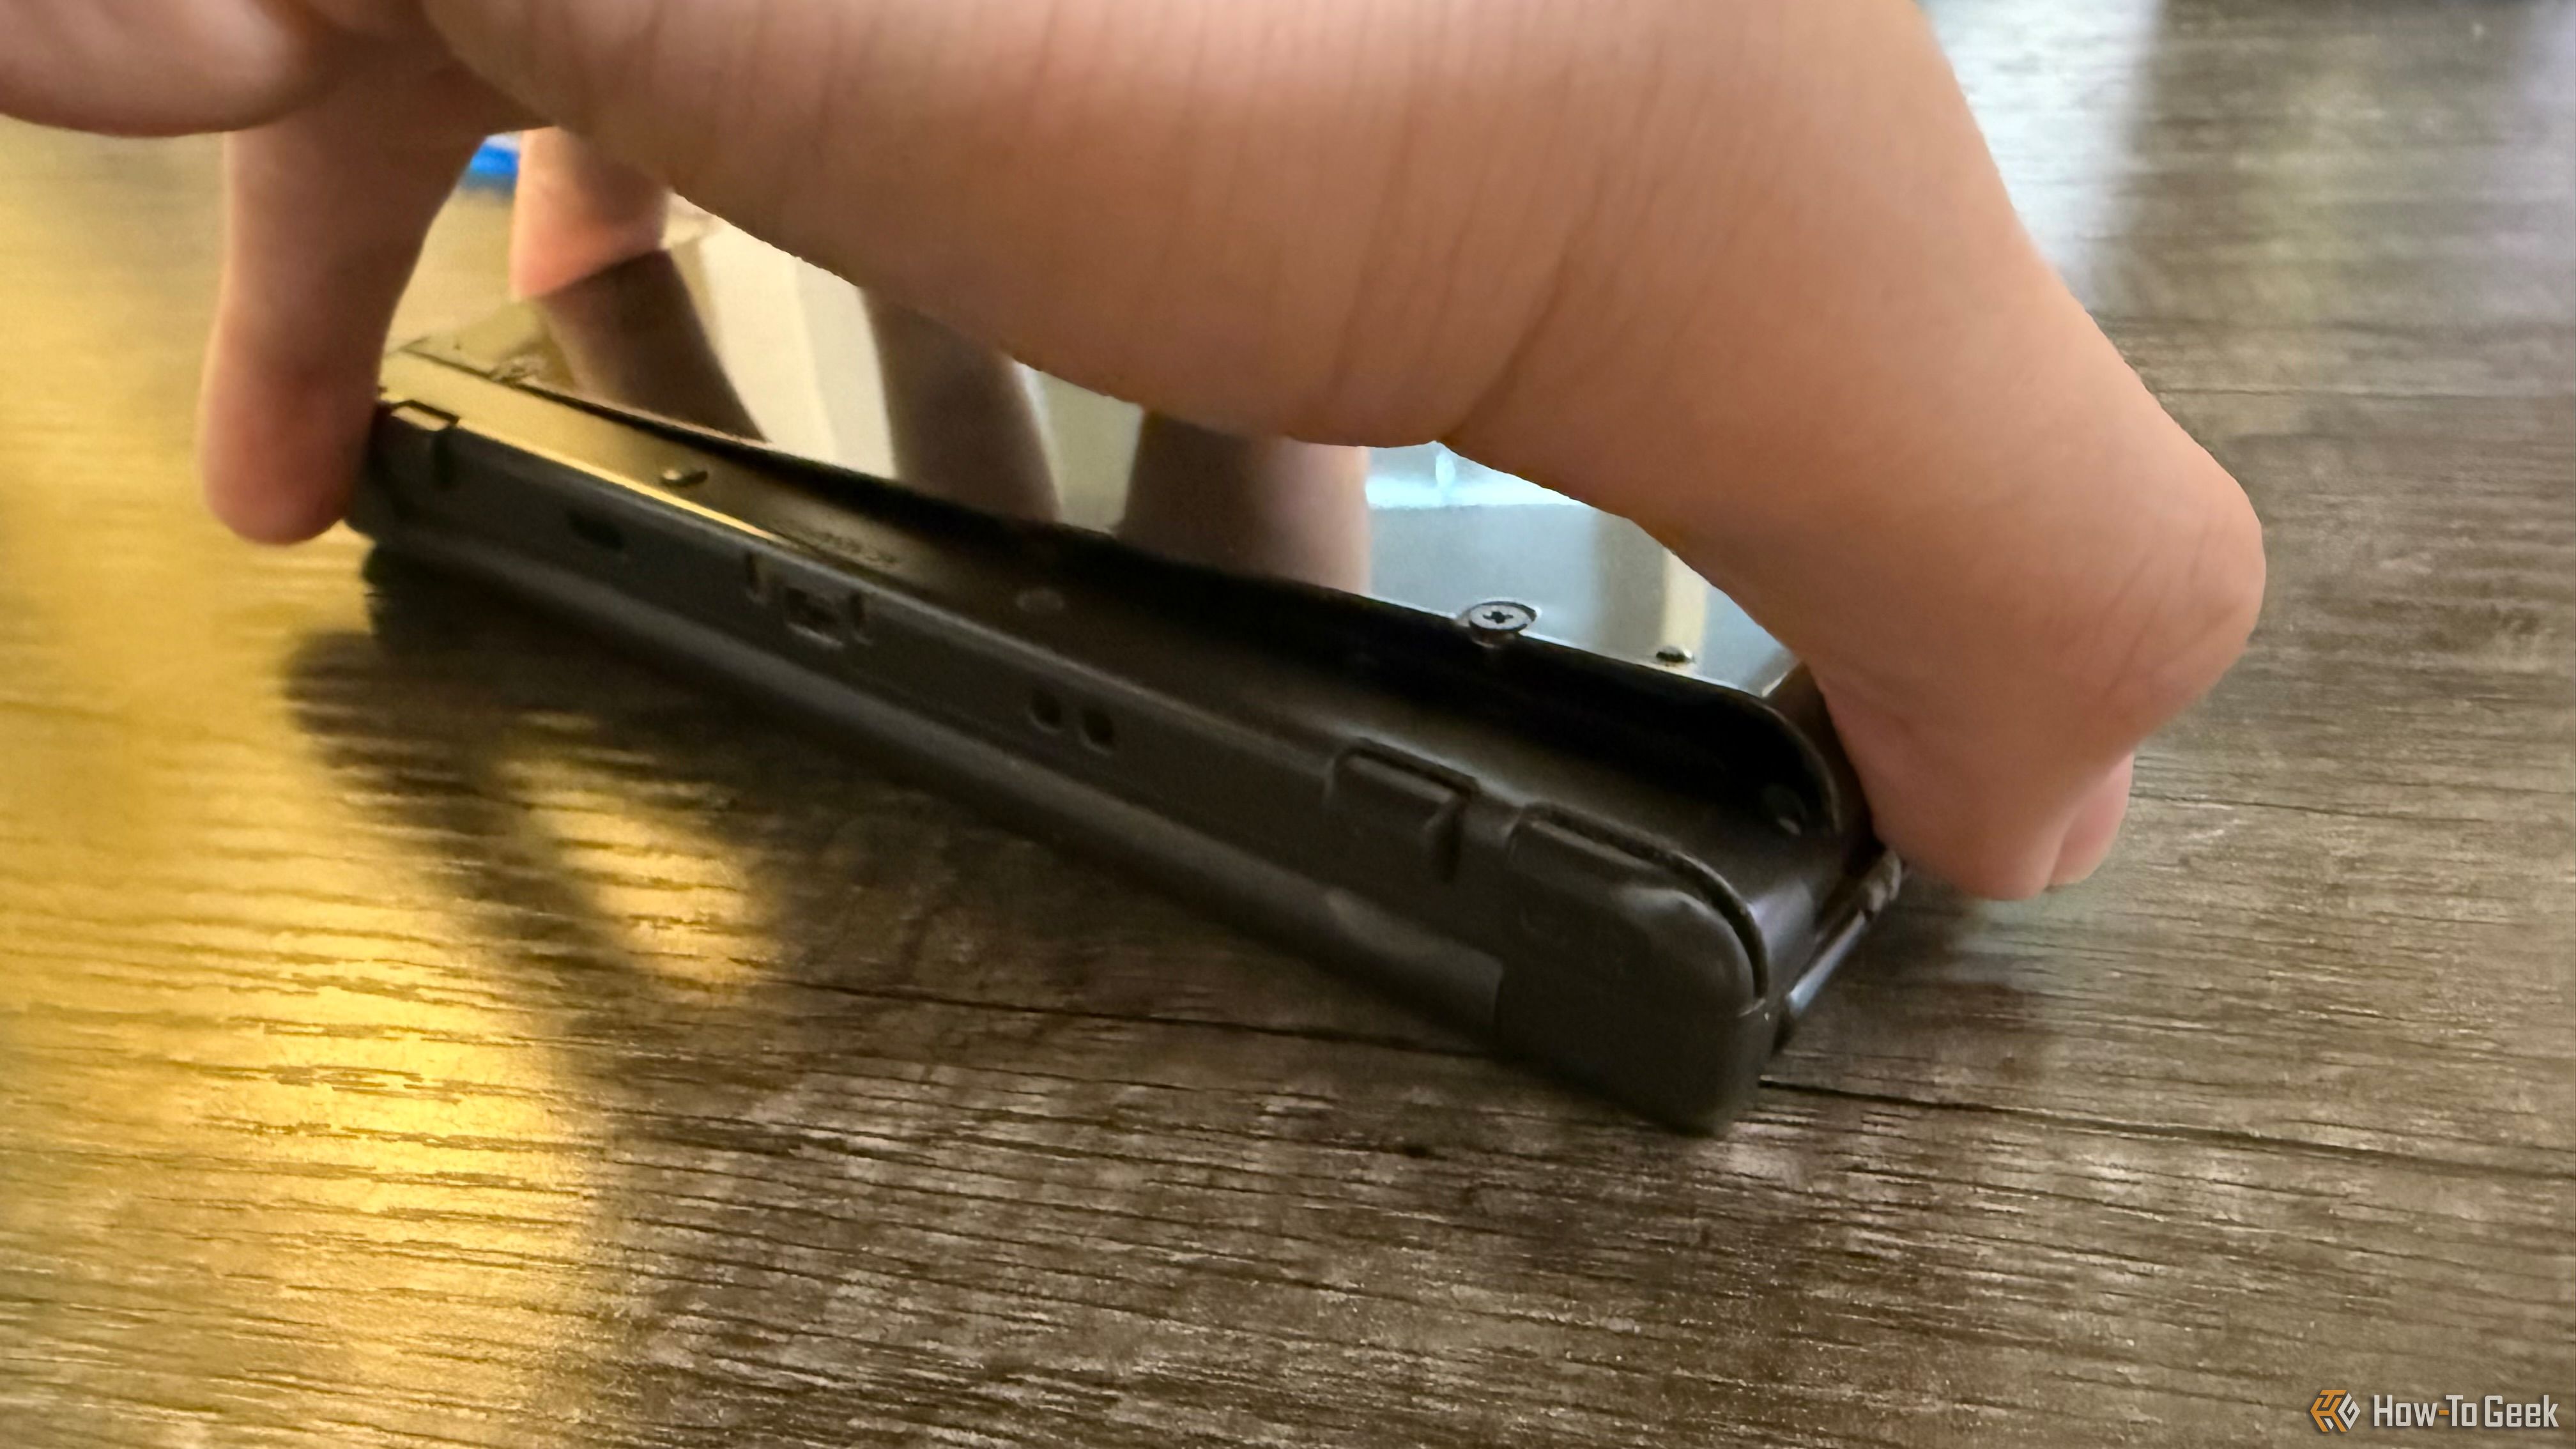
It may take a handful of turns, but you’ll know you’re close when the top of the backplate is visibly loosened. Don’t pull the backplate off from the top lip as that may damage it. Instead, locate the notches at the top left and top right sides of the panel (angled around the sides of the handheld). Push up from these one at a time to release the backplate. If it’s not giving, turn the screws a few more times; don’t force it.
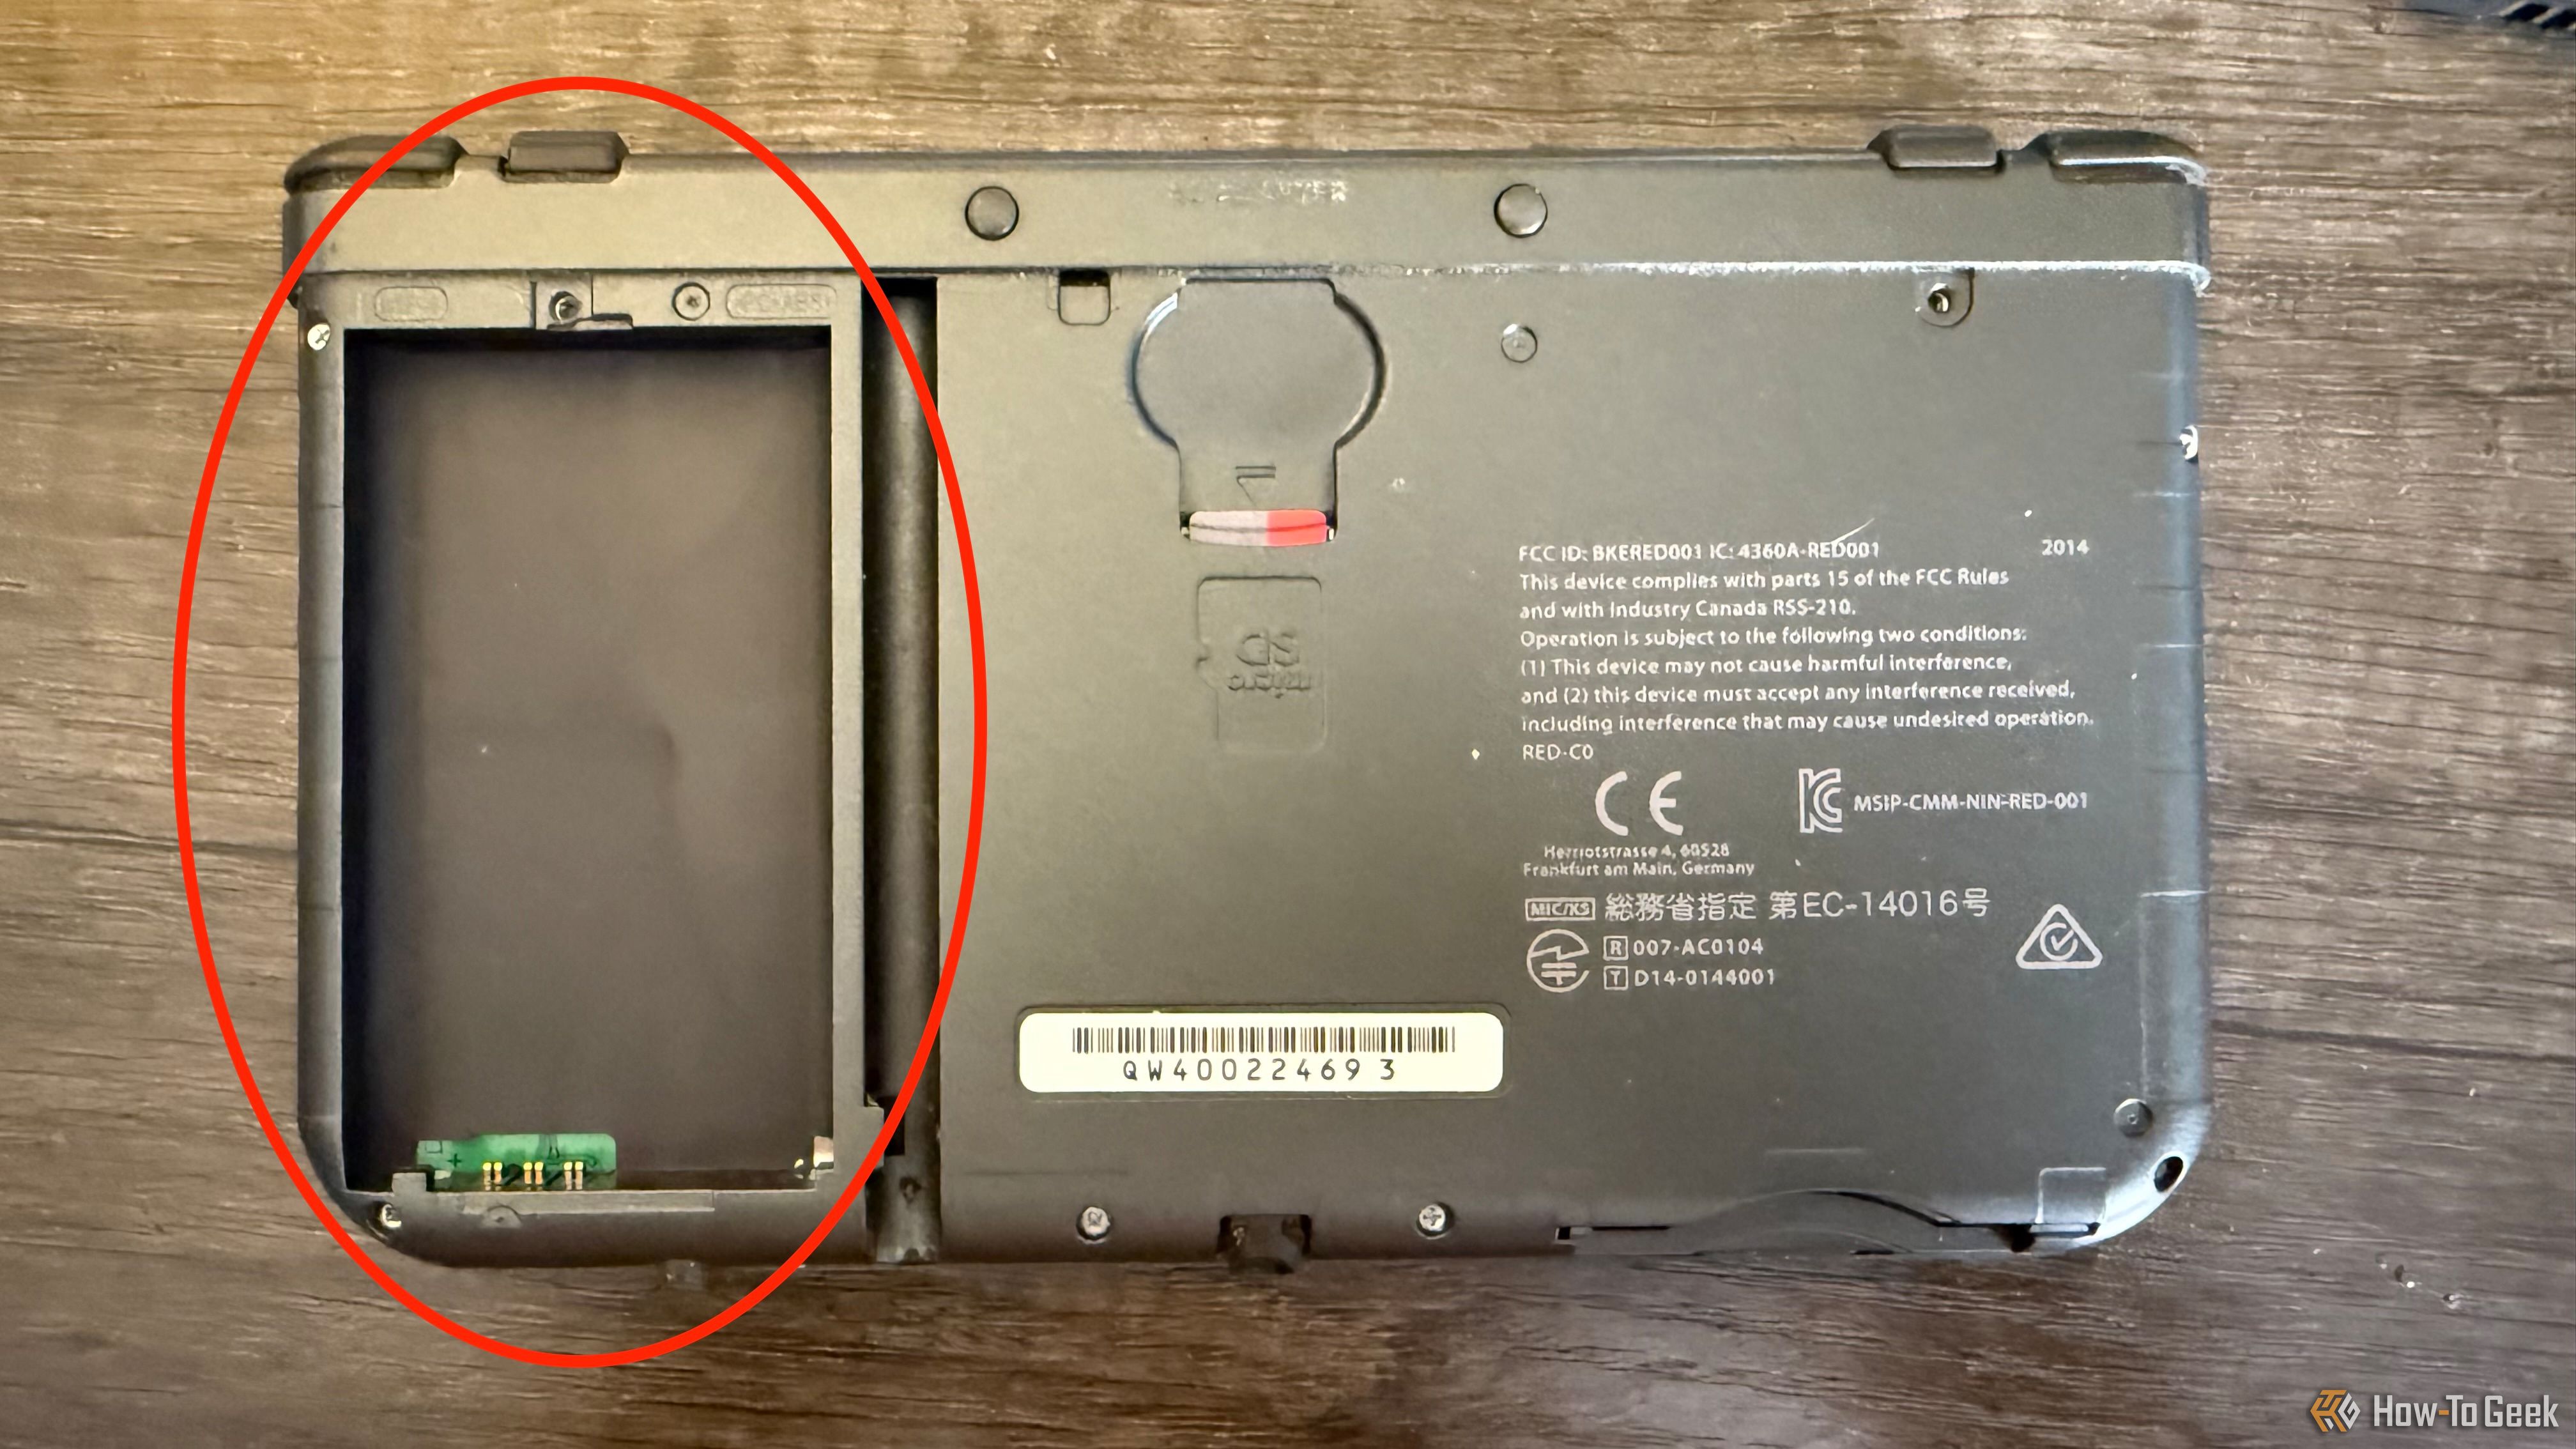
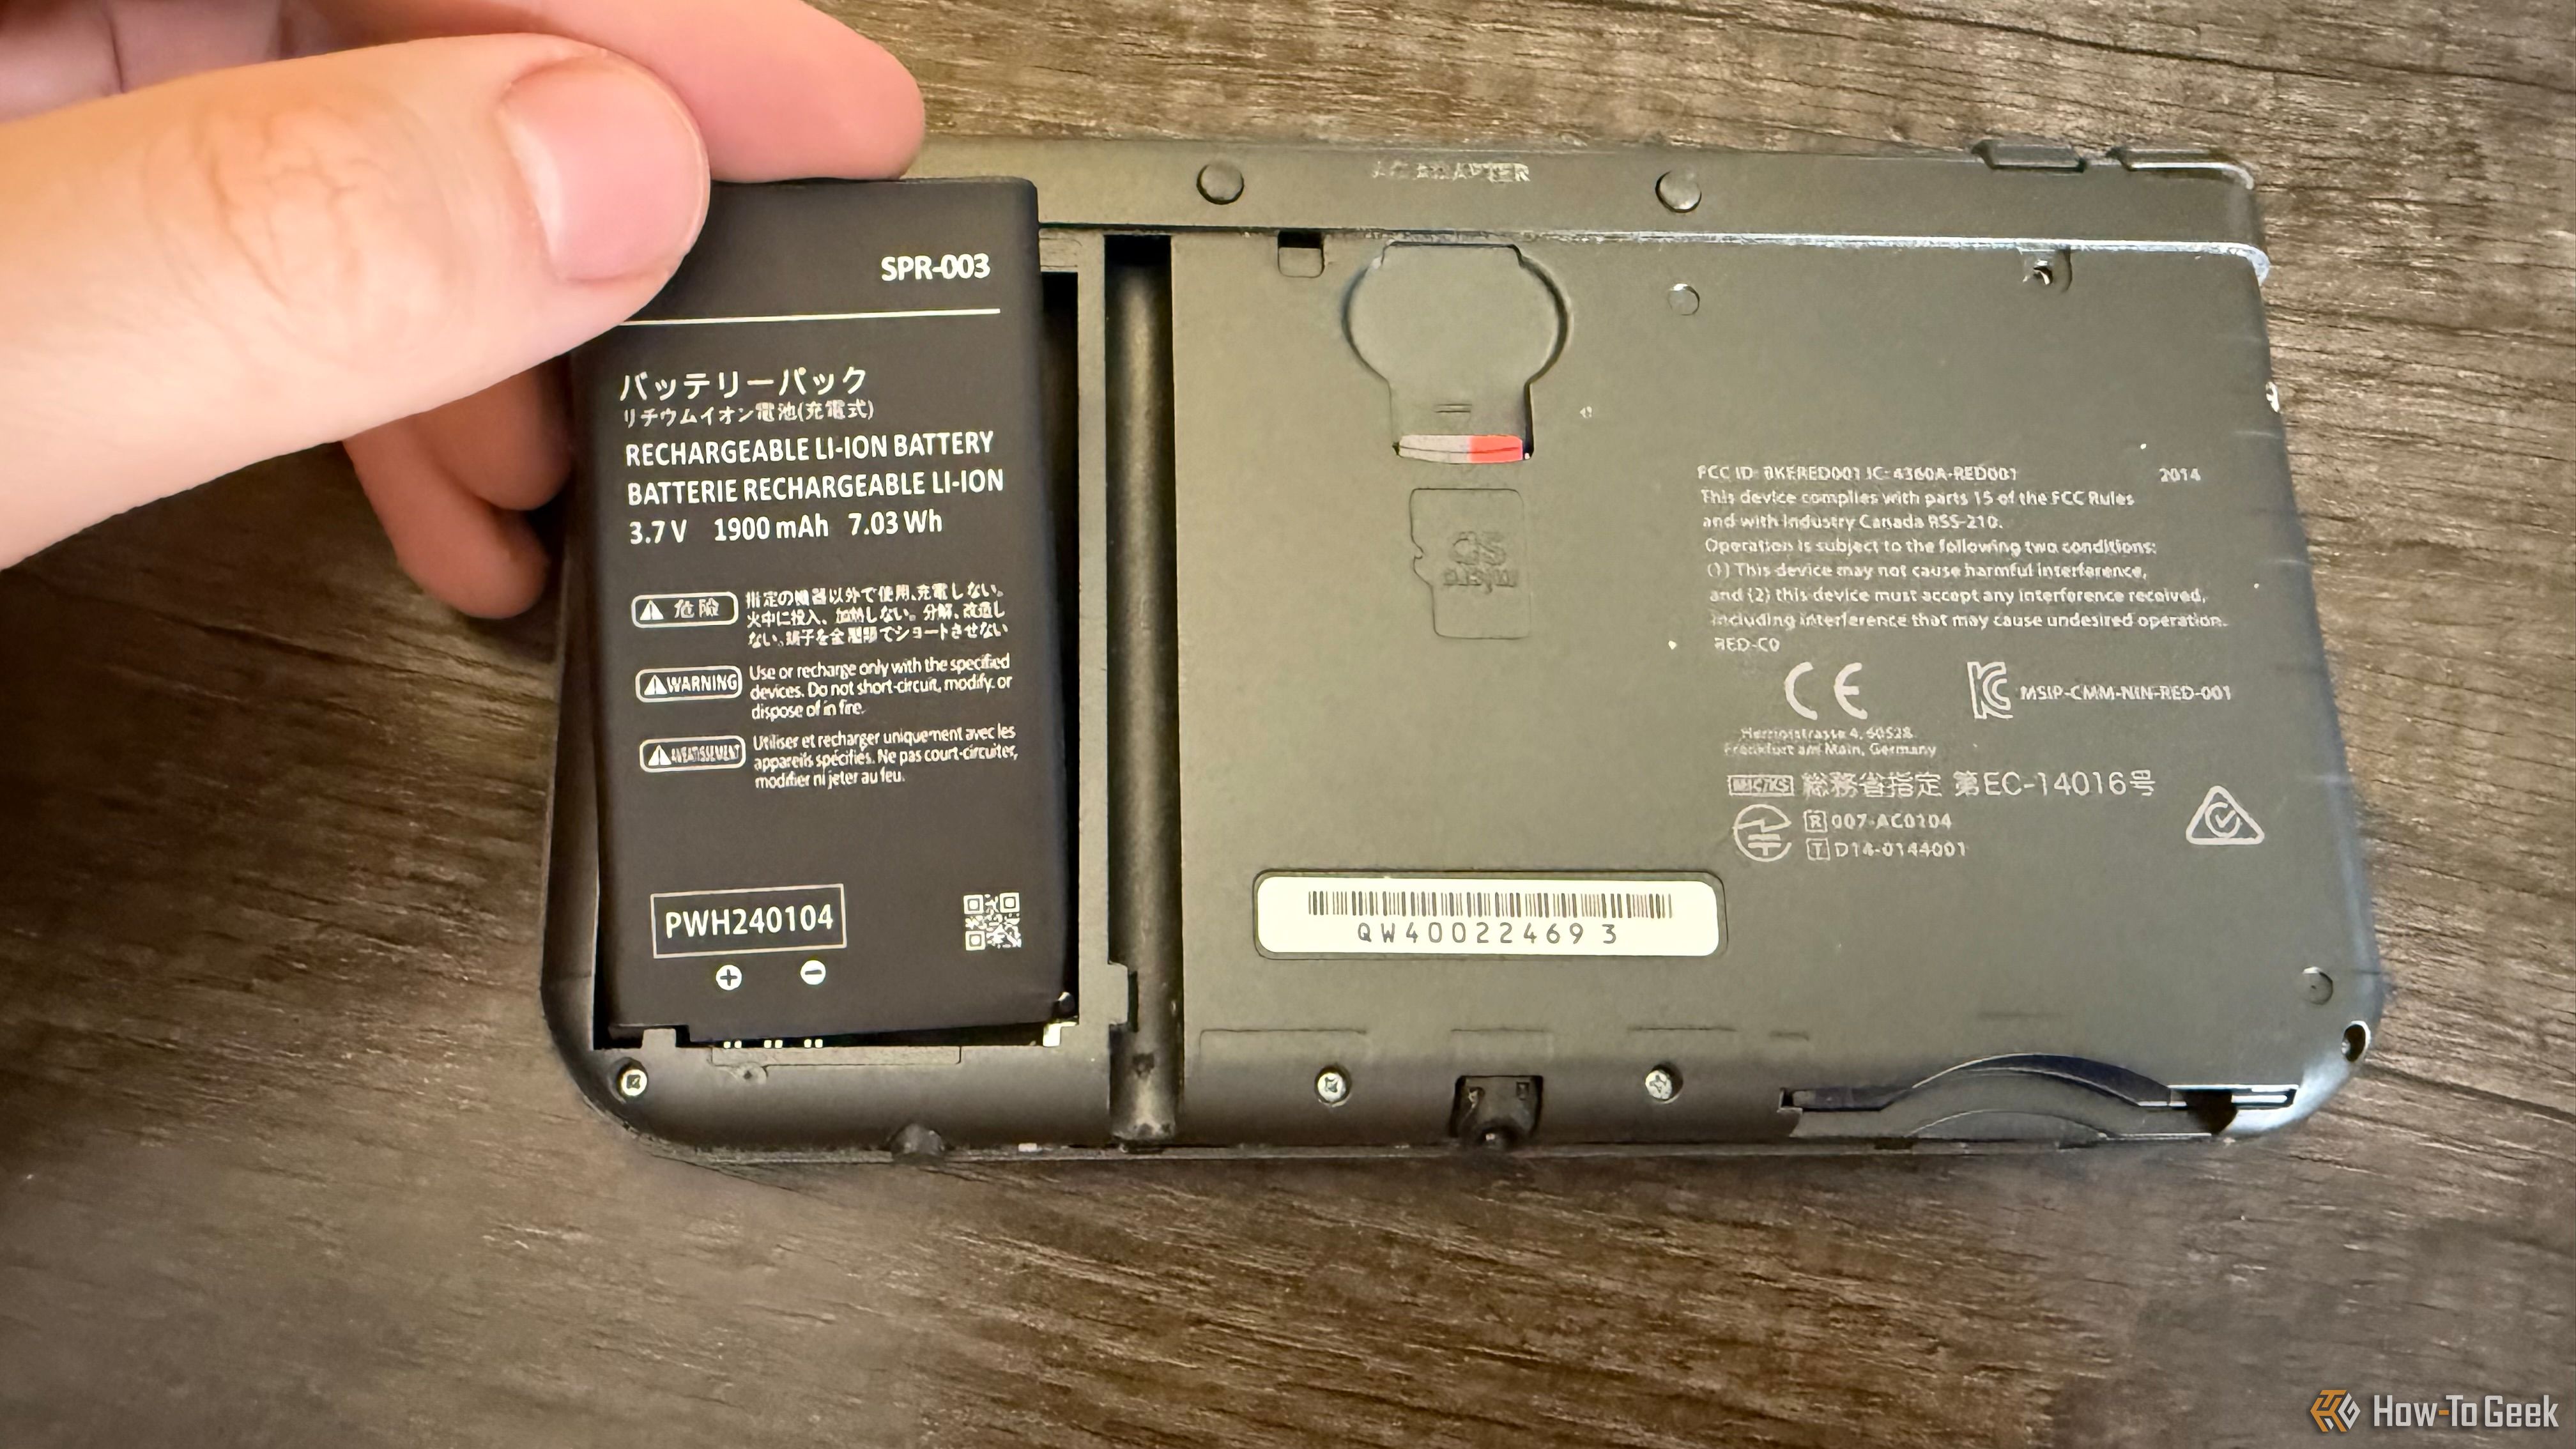
With the backplate off, we’re greeted with two slots. The one dead-center is for inserting a microSD card, making this a great opportunity to add one if you care to. But what we’re really here for is the battery pack on the left.
The Nintendo battery pack should easily pop out if pulled from the notch at the top. If it doesn’t, turn the 3DS backside-down over a soft surface like a bed or couch and give it a few soft taps from above.
With the battery slot emptied, it’s time to get the new battery ready. It should slot in without any trouble and fit snugly, with the three strips of metal on the bottom of the battery aligning with the metal bits in the
It’s possible the replacement battery won’t undock as easily as Nintendo’s. Instead, lightly shaking the device should do the trick.
We’re almost done! Return the backplate to the 3DS, slightly pushing the bottom up to ensure the top edge is flush with the handheld. Then, tighten the screws. This should only take one or two turns. If the screws aren’t catching, make sure the backplate is correctly installed.
And there you have it! Turn on your 3DS and it should return to life.
Here Are My Results
After installing my new battery, I semi-stress-tested it, timing how long it took to go from 100% to shutting down.
The parameters of my test were as follows: I left it open on the home screen at full brightness with the 3D and wireless toggled on. No games were running in the background. I landed on this method because different games will result in different levels of battery drain, making the home screen neutral.
The result: it took 3 hours and 30 minutes (on the dot!) to exhaust its charge. This is pretty low, though not unfeasible. Settings—including the ones I cranked up—can be lowered to extend the battery life, helping offset the extra drain from running games.
You may be considering a higher-capacity battery as well. I also tested one of these under the same conditions, and the result wasn’t notably better at 3 hours and 50 minutes. On paper, this battery should have a longer lifespan but, in reality, it didn’t. That said, we’re looking at two products that are the same price, so as long as you’re okay with the minuscule risk involved here, you might as well give it a shot.
Tips for Preserving Your New Battery
Preserving lithium-ion batteries requires very specific care, and even then, they’ll still succumb to age eventually. Regardless, here are some tips to defer that inevitability.
The primary means of preserving a lithium-ion battery is by storing it in a cool area at a charge level of around 50%. If you want a shortcut for roughly estimating this, the 3DS loses its first bar of battery after 50% has been drained.
You also don’t want to overcharge or undercharge a device. This means unplugging it when—or even before—it’s fully charged and plugging it in as soon as the LEDs start flashing red (which indicates 10% battery left). This is the reason why many modern tech devices only charge to 80% until you need a full charge, but the 3DS predated this by quite a while.
Ultimately, these things are a real pain and border on unrealistic, so don’t sweat it.
If you plan to store a device for an extended period of time, remove the battery to avoid the chance of it leaking
or, worse, exploding
.
Hopefully, the 3DS replacement process proved easy enough that doing this shouldn’t prove a hassle.
It’s Game Time!
Work’s over and it’s time to finally kick back. While I have no idea what you plan to play, my reason for taking the old 3DS out of retirement came about when I learned a GameCube favorite Luigi’s Mansion was originally intended to be played in 3D.
I excitedly bought a copy of the 3DS port to revel in this authentic experience only to find my 3DS battery fried. And thus, I wrote this. But now, I put down the pen and play.

