Summary
- This script hides clutter selectively, preserving essential items like connected drives and volumes on your Mac desktop.
- Customize the script with variable arrays to specify which items to always show or hide, depending on your preferences.
- Trigger the script via Apple Shortcuts or use it as a standalone executable for easy desktop decluttering.
The macOS desktop can turn into a chaotic digital junk drawer, cluttered with files, folders, and screenshots. But what if you could tidy it up while keeping its functionality intact? Here’s a smarter way to reclaim your desktop.
The Nuclear Option for Cleaning Up Your Mac Desktop
The most common technique for instant Desktop decluttering is to run the following Terminal command:
defaults write com.apple.finder CreateDesktop -bool false && killall Finder
While the above is effective at wiping the slate clean, I would classify it as a bit of a nuclear option. This is because it hides useful items like connected drives and external volumes alongside the clutter.
After running into this problem myself, I decided to write a better solution: a script that hides desktop clutter while keeping the essentials visible.
Why Hide Your Desktop Icons?
There are plenty of good reasons to declutter your desktop. For one, it makes your workspace look cleaner, which can boost focus and productivity. But there are practical reasons too.
Screen sharing during meetings or livestreaming often reveals more of your personal workspace than you might be comfortable with. Hiding those desktop icons protects your privacy. It’s also a way to reclaim the desktop as a place for essential shortcuts rather than a dumping ground for every file you download or screenshot you take.
The traditional method of hiding desktop icons using the CreateDesktop setting above is fine for some situations, but it has significant downsides. Once you turn it off, your desktop becomes completely inaccessible. It’s like locking a messy room but losing access to everything inside, even the things you may actually need.
That’s where my script comes in.
Why This Script Is Better
Instead of hiding everything indiscriminately, my script uses file attributes to selectively hide non-essential items. This approach is cleaner, safer, and more flexible than the traditional method.
First, it doesn’t rename your files by adding a dot (.) at the beginning of their names. This avoids breaking automations or scripts that reference desktop items. The files aren’t renamed; they’re just given a “hidden” attribute, making them invisible on the desktop and in Finder unless you’ve configured Finder to show hidden files.
Second, the script ensures that connected drives and mounted volumes remain visible on the Desktop. This is a big win for aesthetics and functionality. Volumes are a core part of the macOS desktop, and keeping them visible reduces the chances of accidentally disconnecting an external drive without ejecting it properly. It’s also just nice to glance at your desktop and see what’s plugged in without having to open a Finder window.
Finally, the script is customizable. Users with basic shell scripting familiarity can specify exceptions by way of variable arrays near the top of the script—files or folders that should always remain visible or always hidden. This is useful for keeping certain items accessible while cleaning up the rest of the clutter.
As a bonus and unlike the traditional approach, my script doesn’t require restarting Finder, meaning no interruptions to your workflow or lost Finder windows when the application re-initializes.
How to Use the Script in Apple Shortcuts
The Apple Shortcuts app is a great way to integrate this script into your workflow and make it “portable”, so to speak.
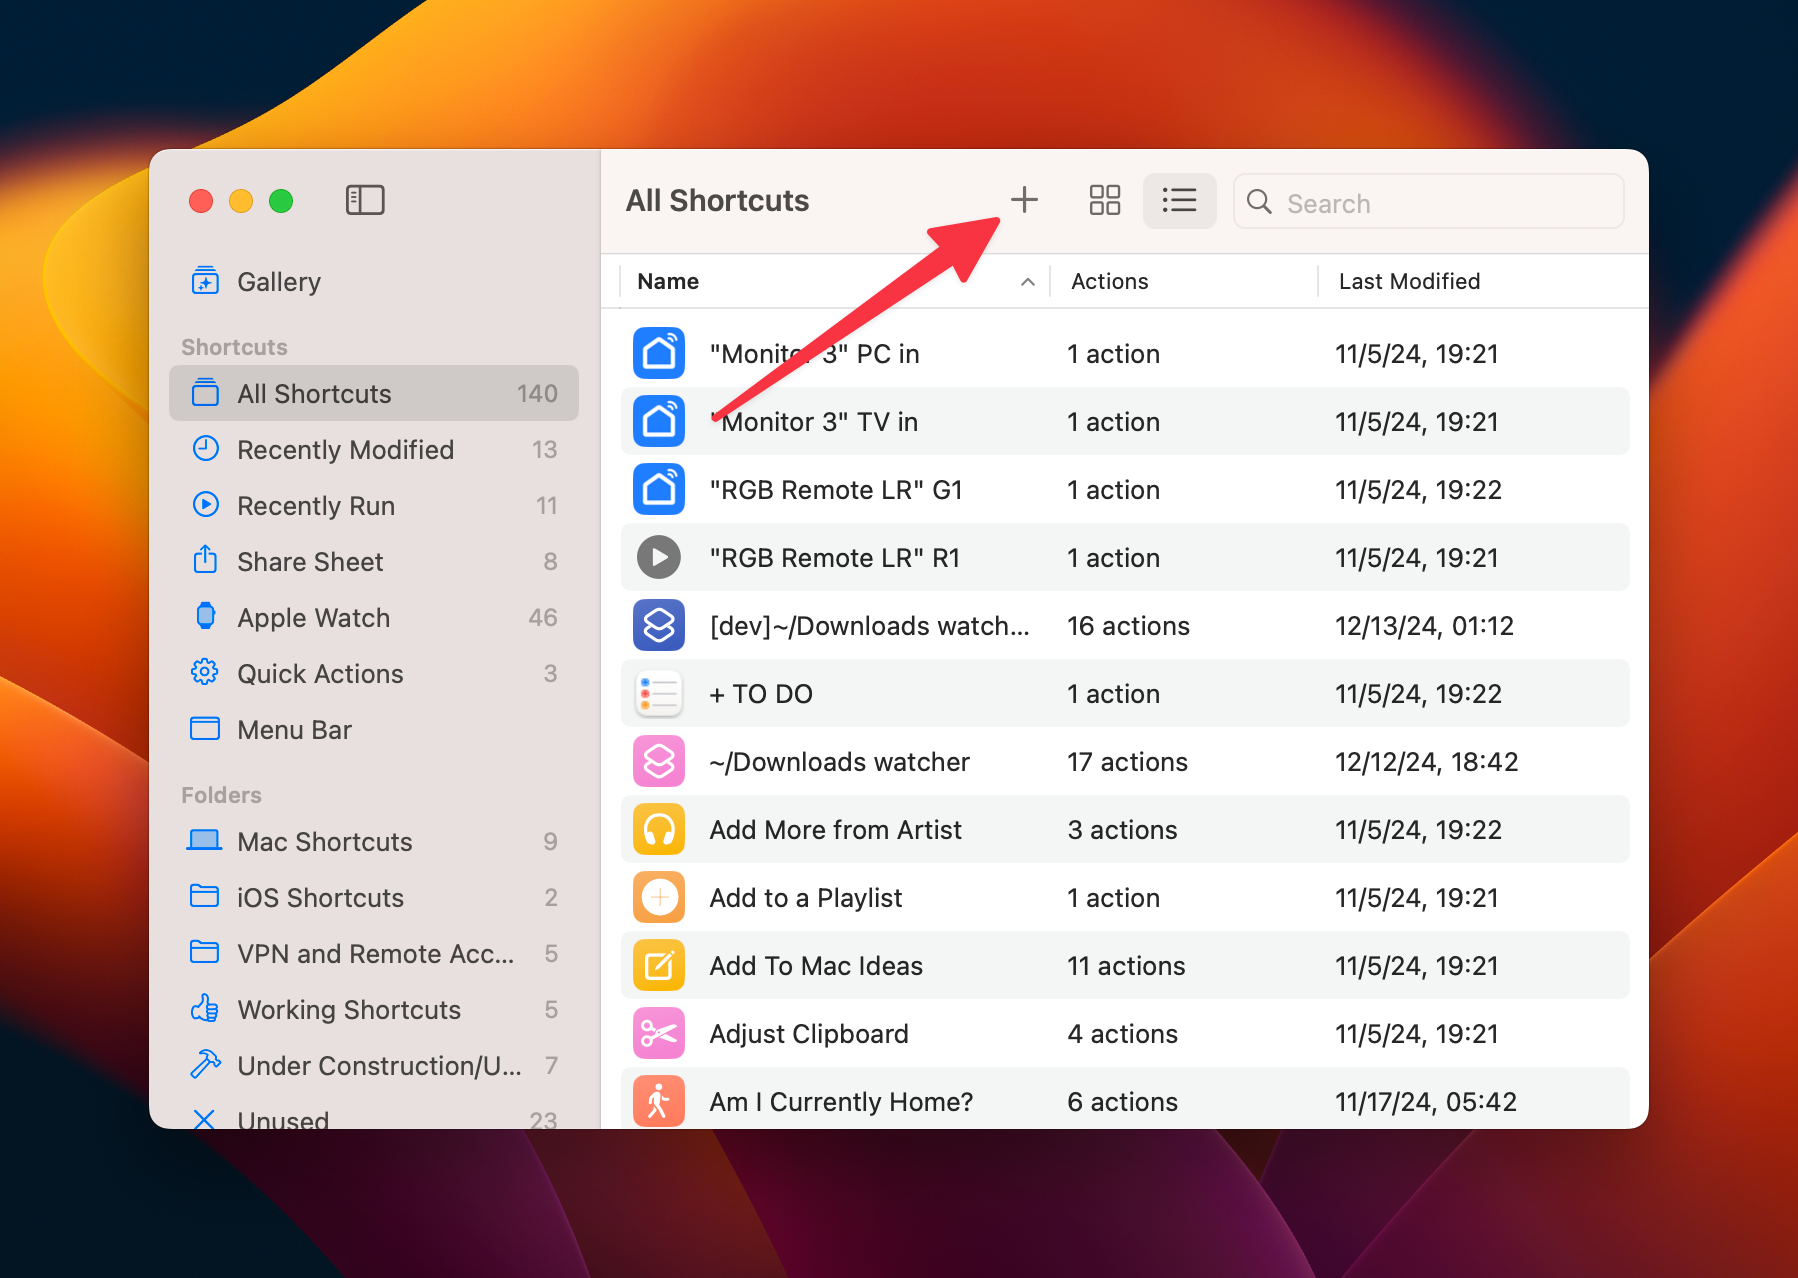
Start by opening the Shortcuts app and creating a new blank shortcut.
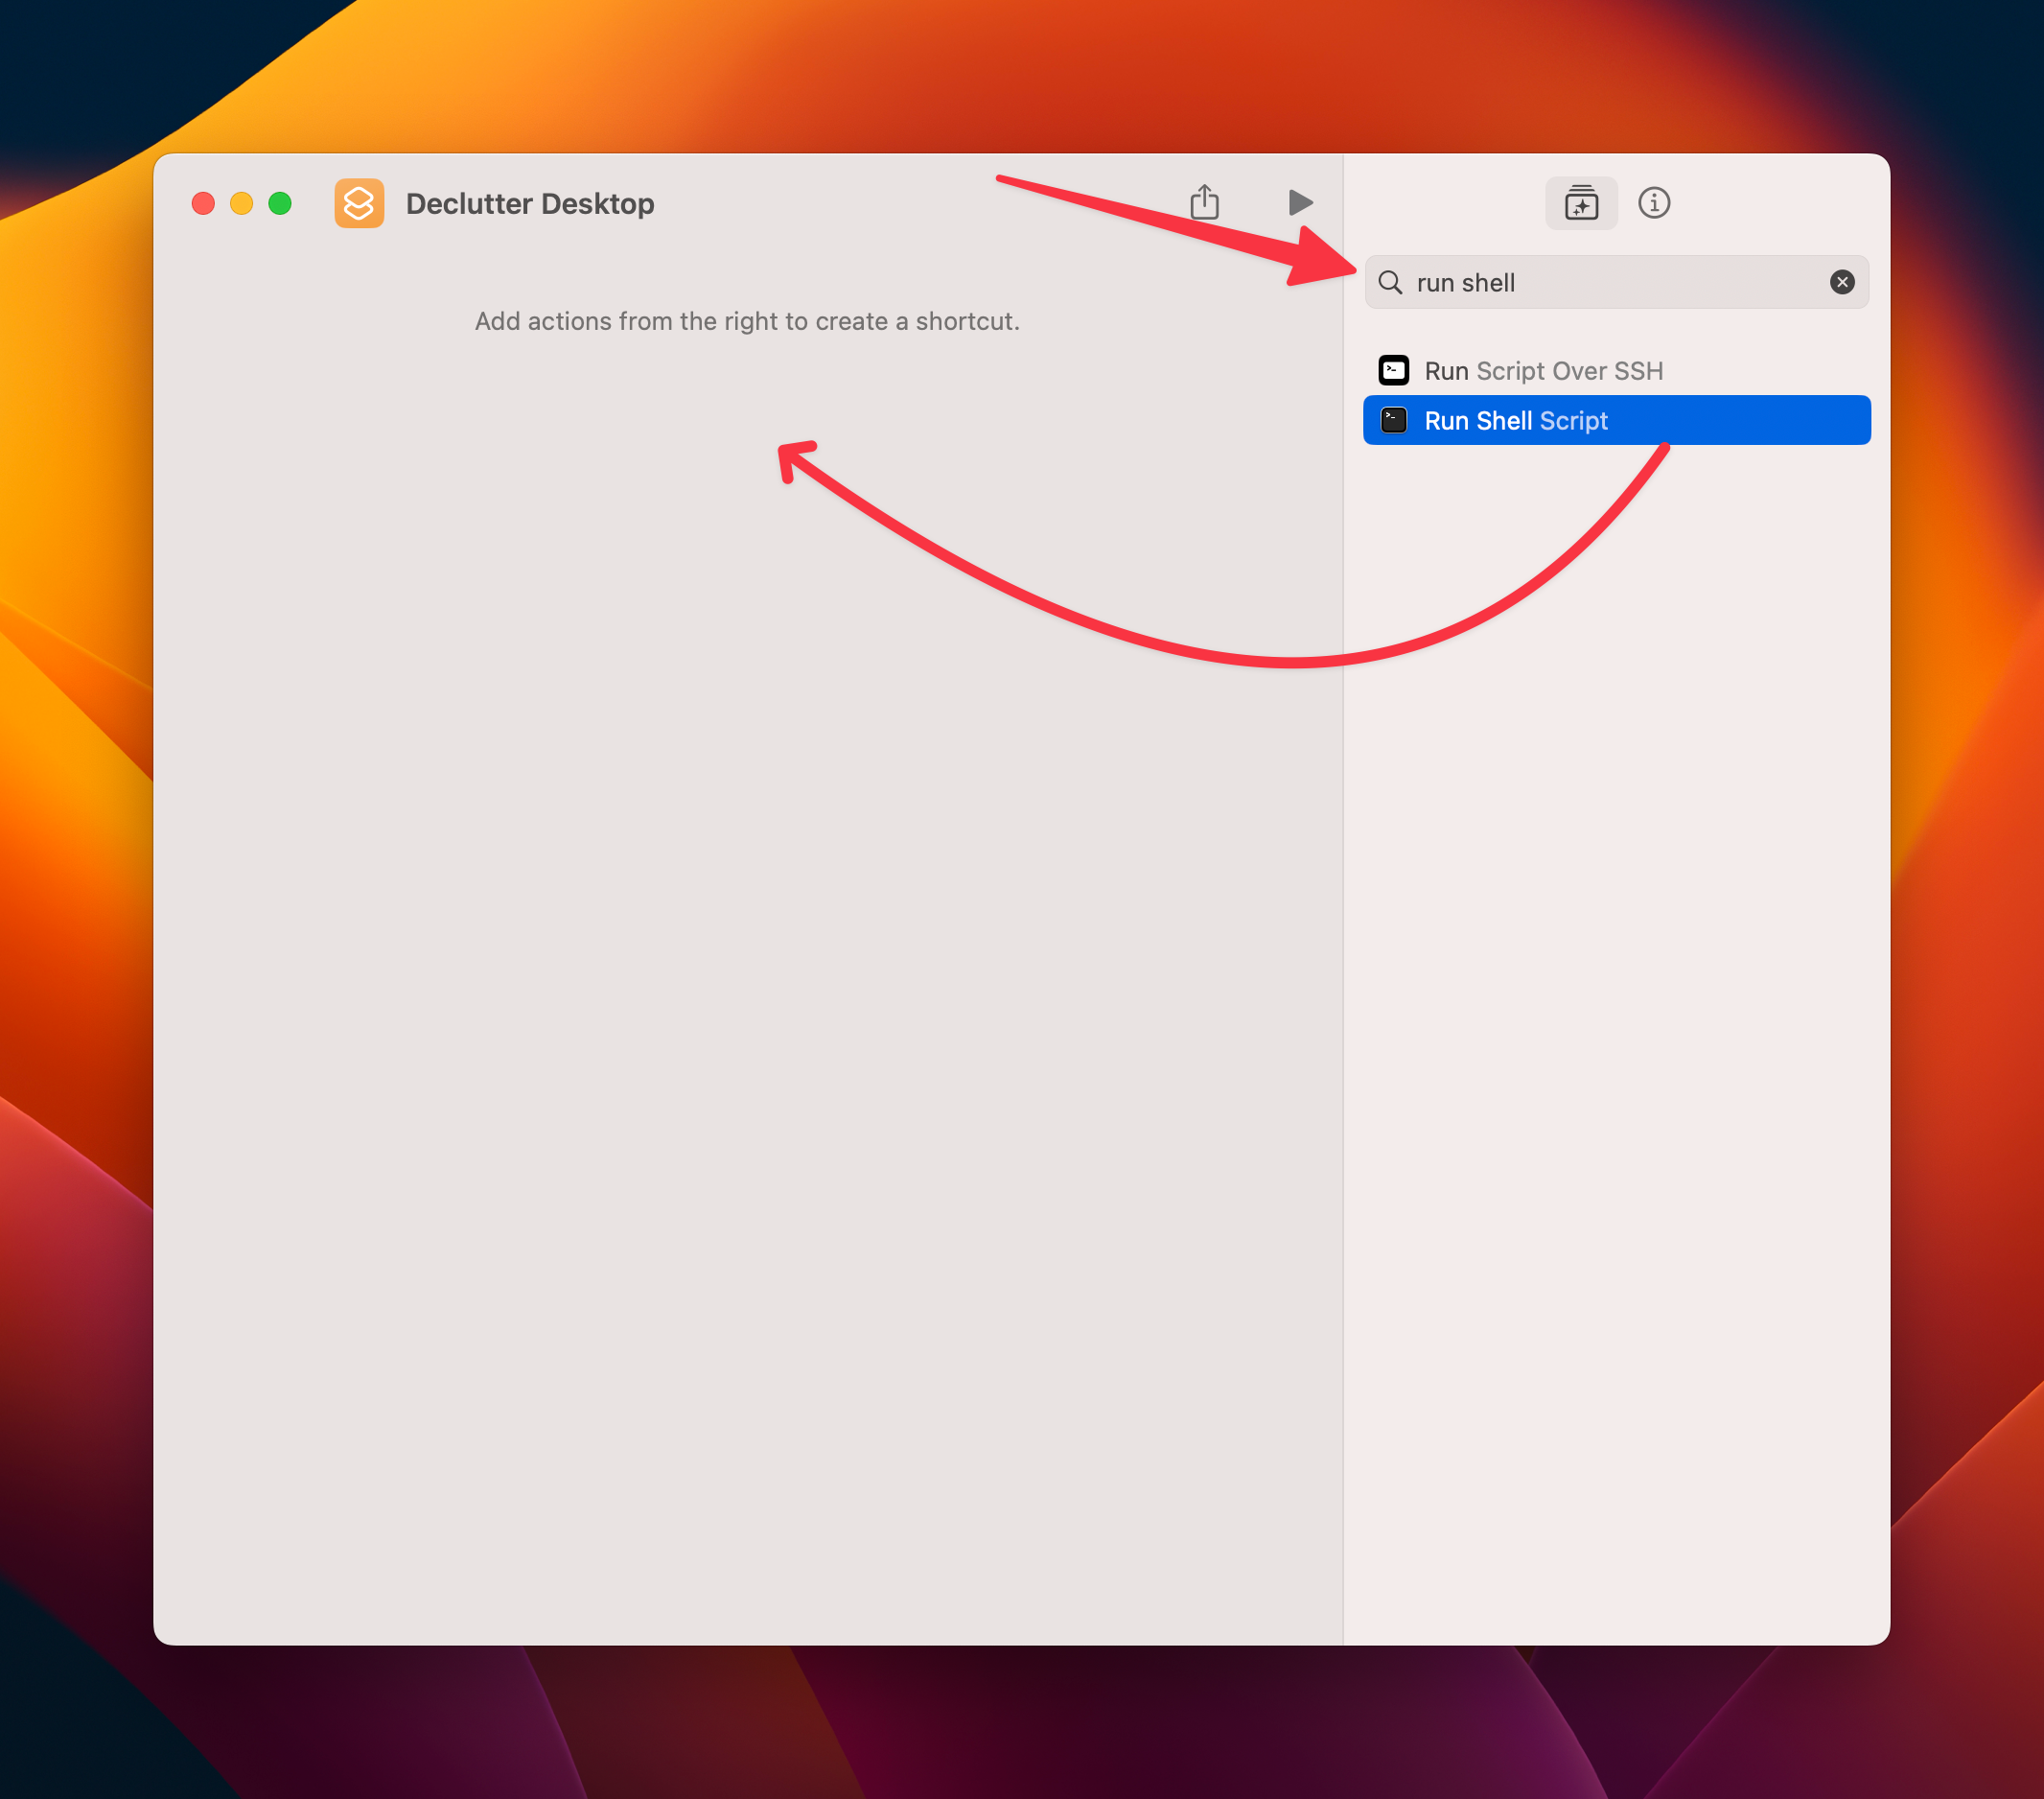
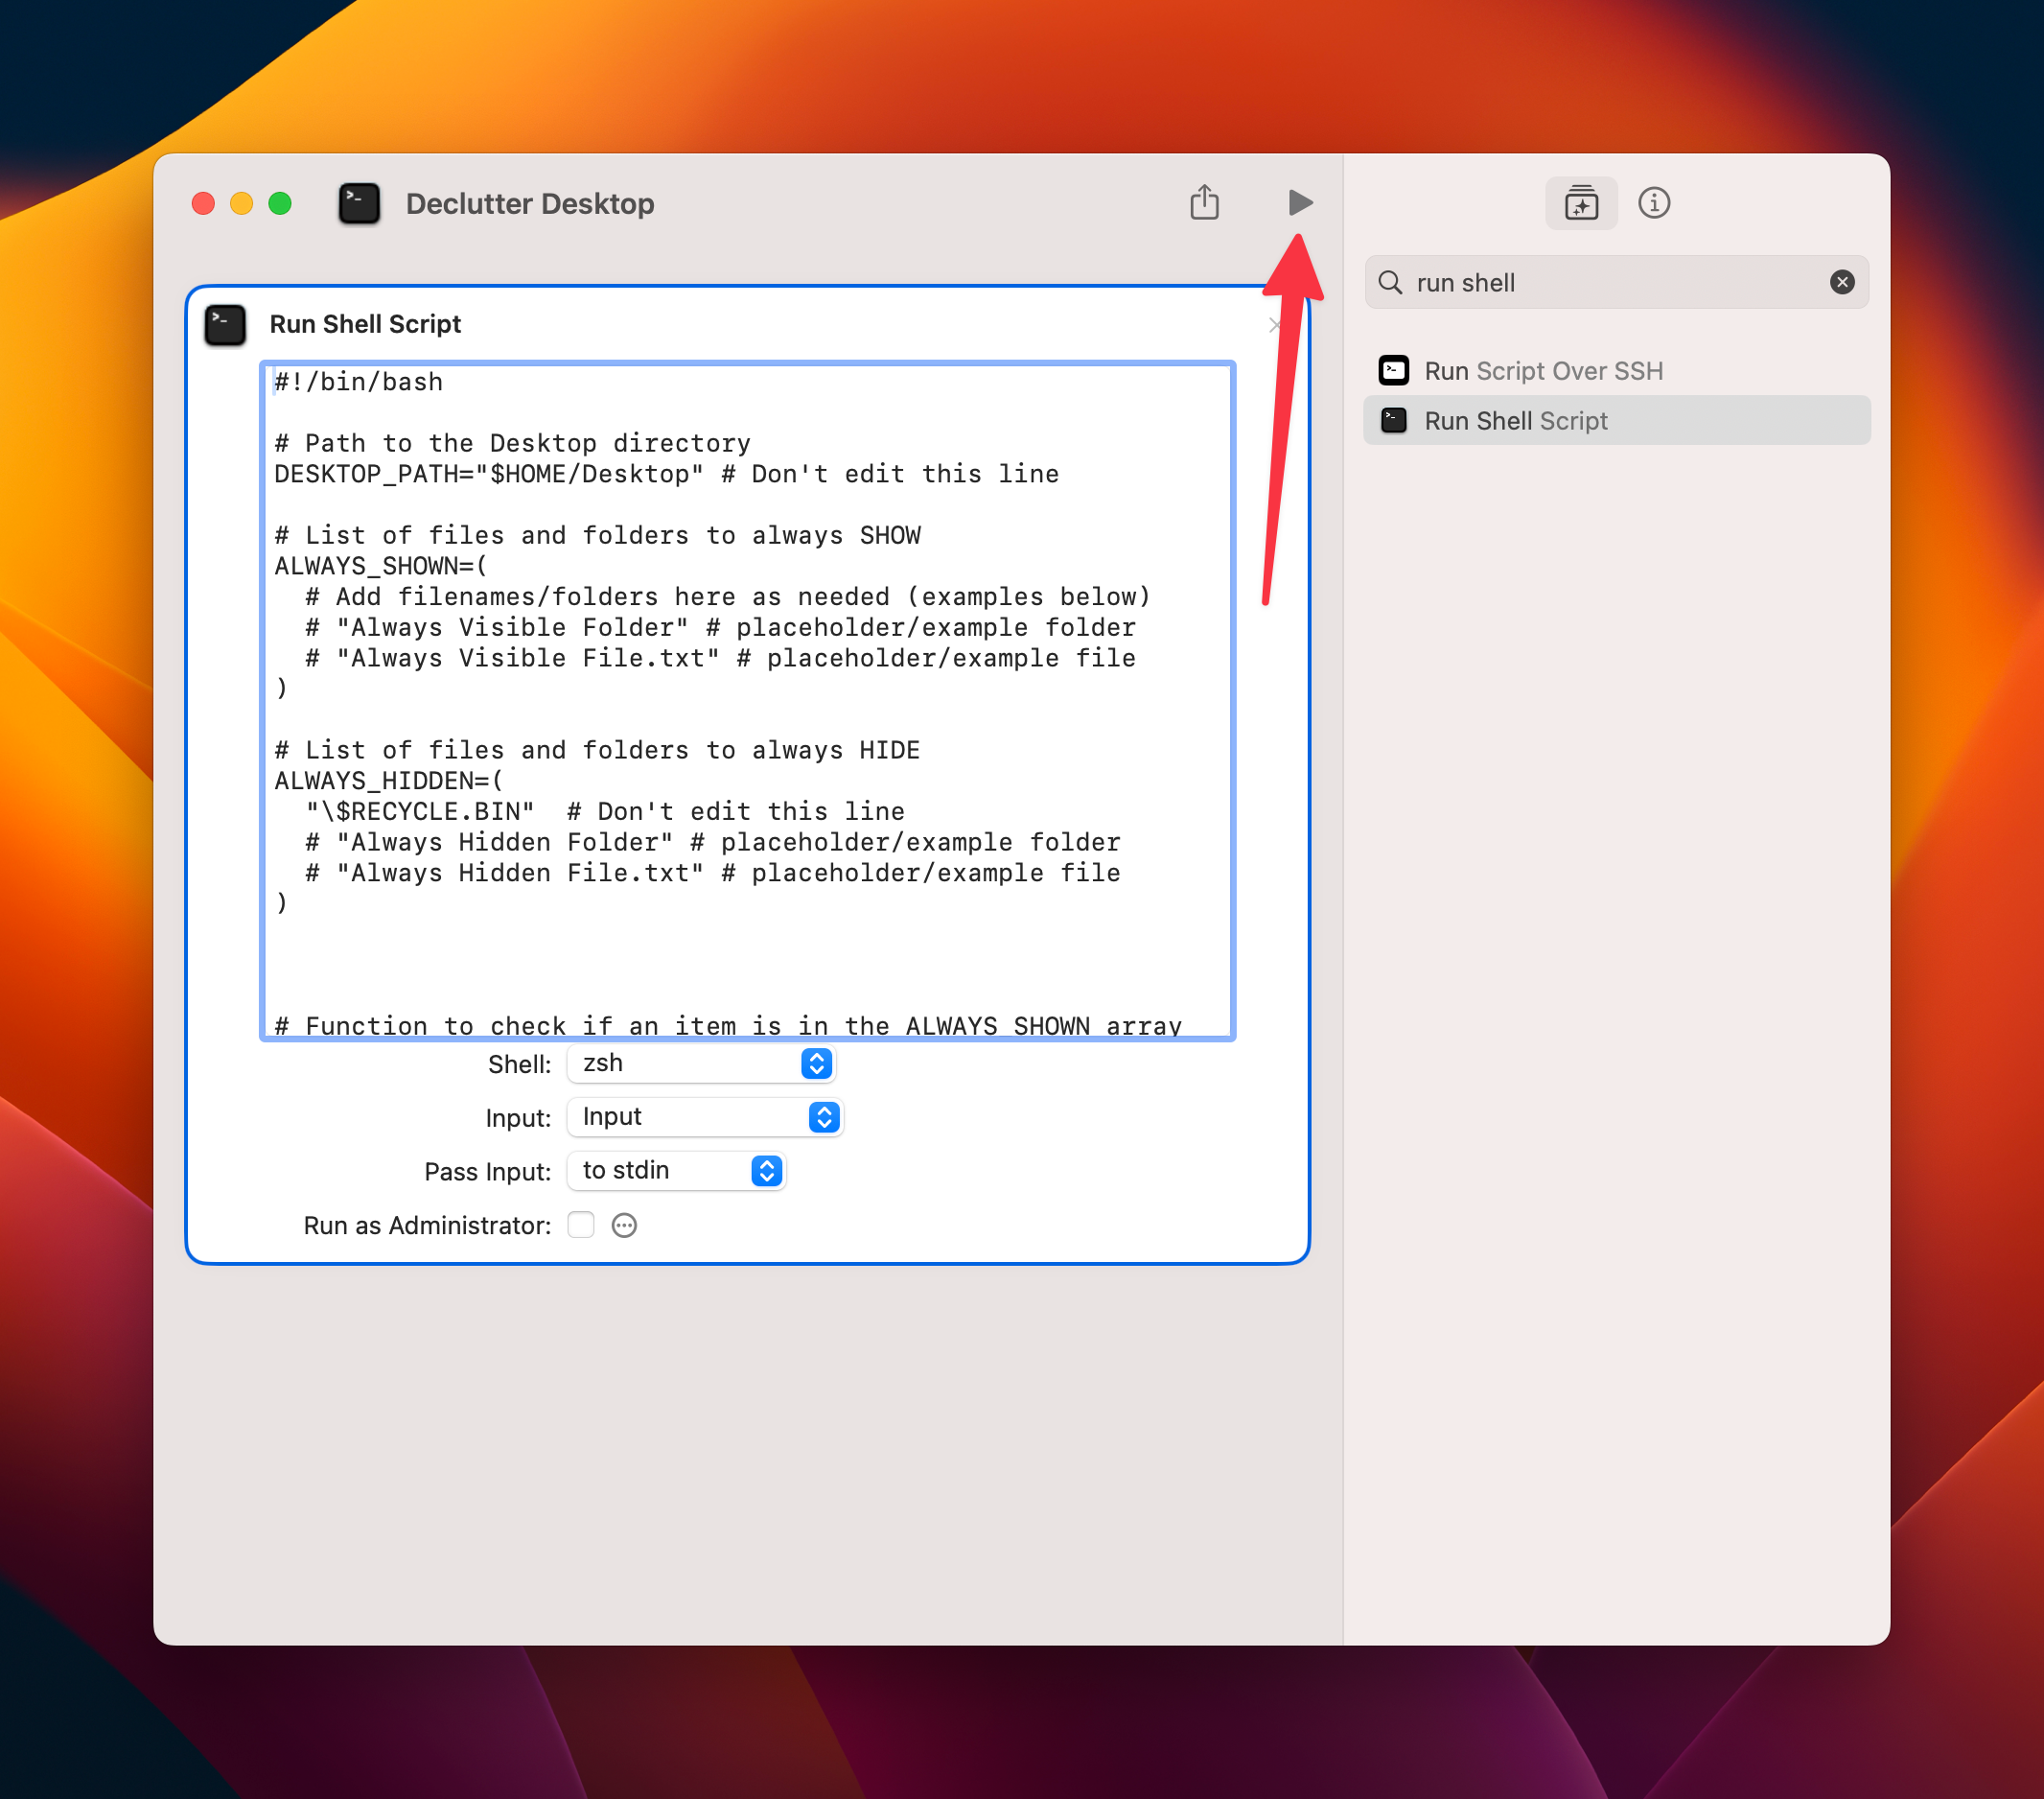
Add a “Run Shell Script” action, delete the default “Hello World” configuration in the body and replace it with the entire script below.
Now, go ahead and test it out by clicking the play button near the top or with the hotkey Command+R when the Shortcut window is focused.
The first time you run the shortcut, macOS may prompt you to allow Shortcut.app to execute scripts. Once you grant permission, run the shortcut again, and it should work flawlessly. You can change these under Shortcuts > Settings > Advanced too.
For easy access, why not pin the shortcut to your Mac menu bar?
For advanced users, the script includes arrays near the top for customizing which files or folders should always be hidden or shown. By adding the names of specific items to these arrays, you can tailor the script to suit your preferences. The single script works as a toggle, so you only need one to both hide and show non-volume desktop items (just run it agan to put everything back).
If you’d rather run the script directly, that’s easy too. Save the script to a file in your preferred directory. For example, create a file named hide_desktop.sh, save it in a convenient location, and make it executable with the following command:
chmod +x /path/to/hide_desktop.sh
From there, you can run the script manually in the terminal emulator of your choosing or configure it to run using your favorite tool. If you use Alfred, you can trigger the script with a configured hotkey or keyword. Alternatively, you can turn it into a double-clickable app using Automator.
These options make it easy to hide and unhide your desktop icons with minimal effort. You can even combine methodologies by running Apple Shortcuts directly from your terminal as shown below (I named my Shortcut “Declutter Desktop”).
This script doesn’t just tidy up your desktop—it gives you control. It hides the clutter without taking away the functionality of your desktop, ensuring that important items like mounted drives stay visible.
Whether you’re livestreaming, screen sharing, or just trying to beautify your workspace, it’s a flexible and elegant solution that works the way macOS should. So, give it a try. With a little setup, you can declutter your desktop without burning it all down.


