Don’t settle for the default Steam boot animation. Instead, grab some alternatives from the Points Shop, or use your own custom video. Here’s how to change your startup movie on Steam Deck and Big Picture.
What Are Steam Startup Movies?
When you turn on your Steam Deck or launch Steam Big Picture mode on desktop, it plays a short animation before showing the Steam interface. This concept is nothing new—game consoles have had startup videos for years—but it’s fun to see before you start gaming.
The default video is snappy and good, but you can change it to something else—either from the official Steam store, or something entirely custom.
How to Change Your Steam Startup Movie
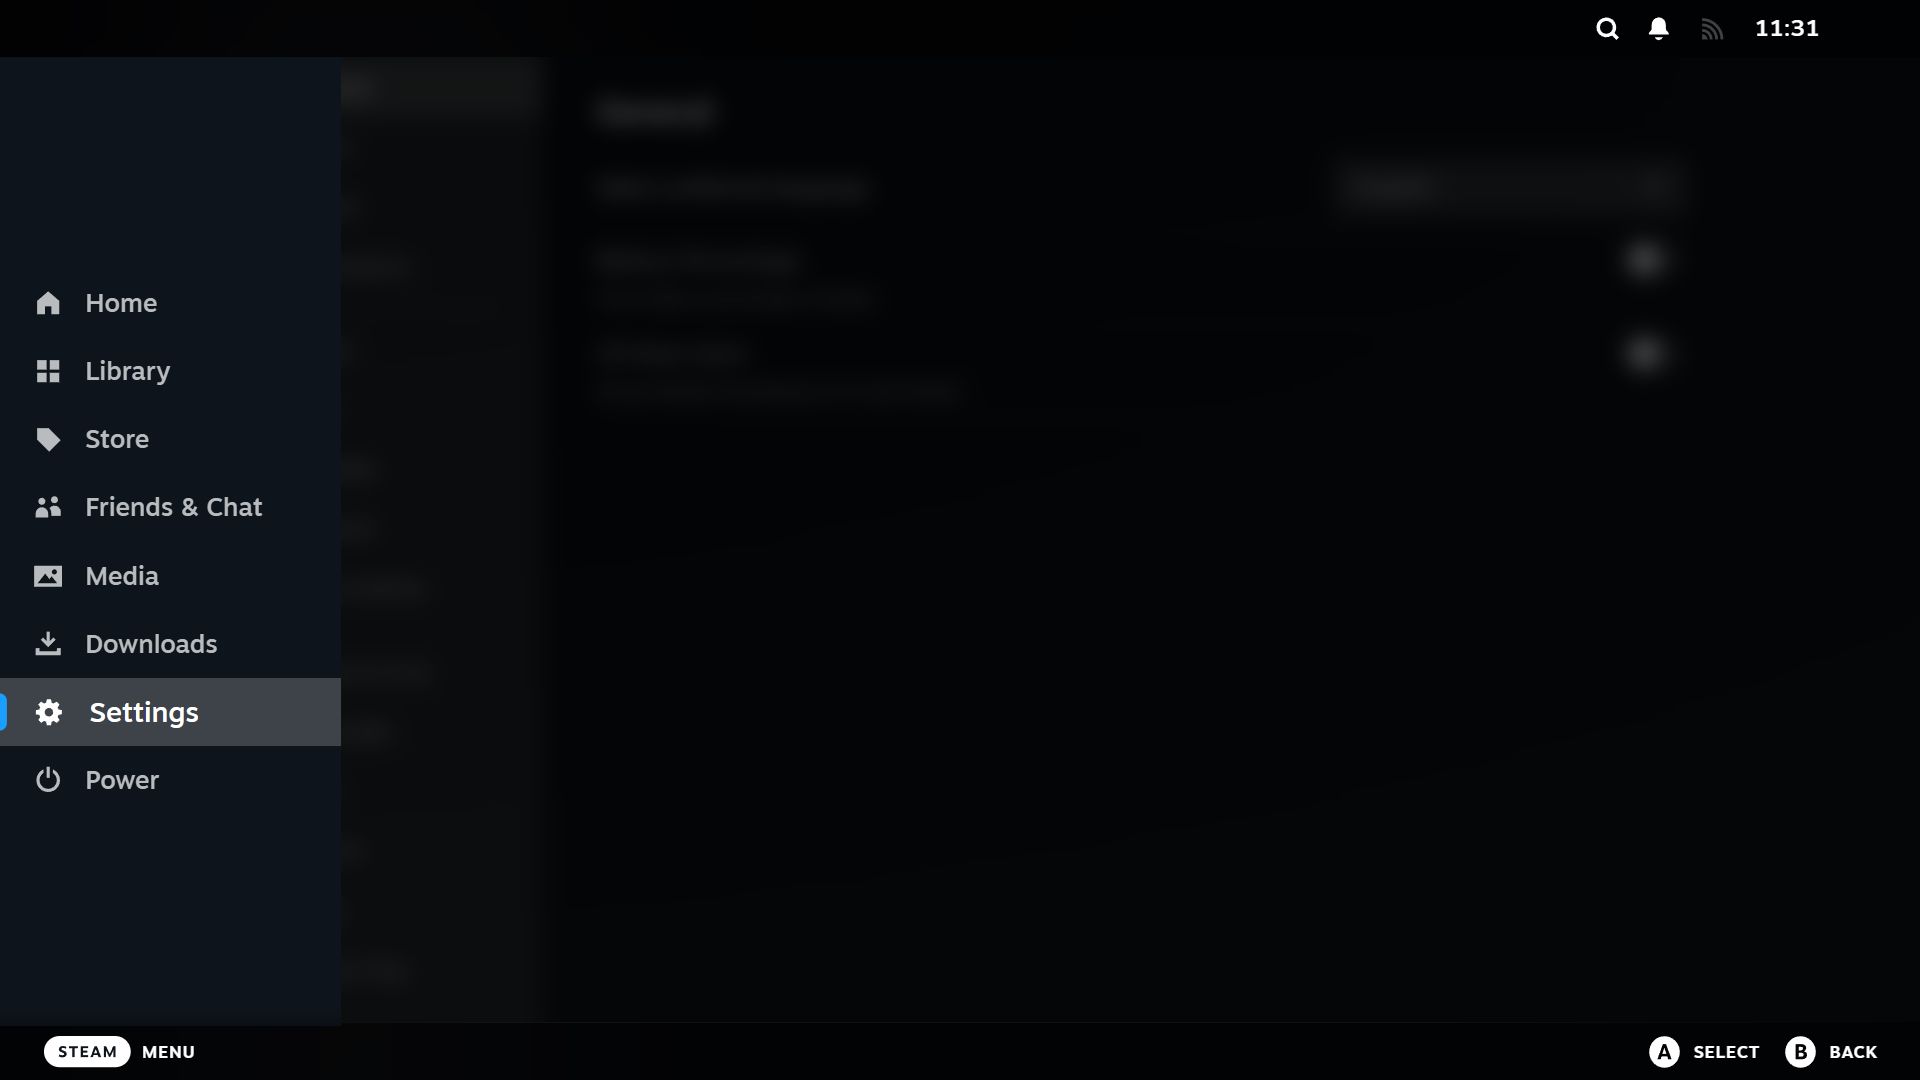
Whether on your Steam Deck or using Big Picture mode, press the Steam button to open the menu and select “Settings.”
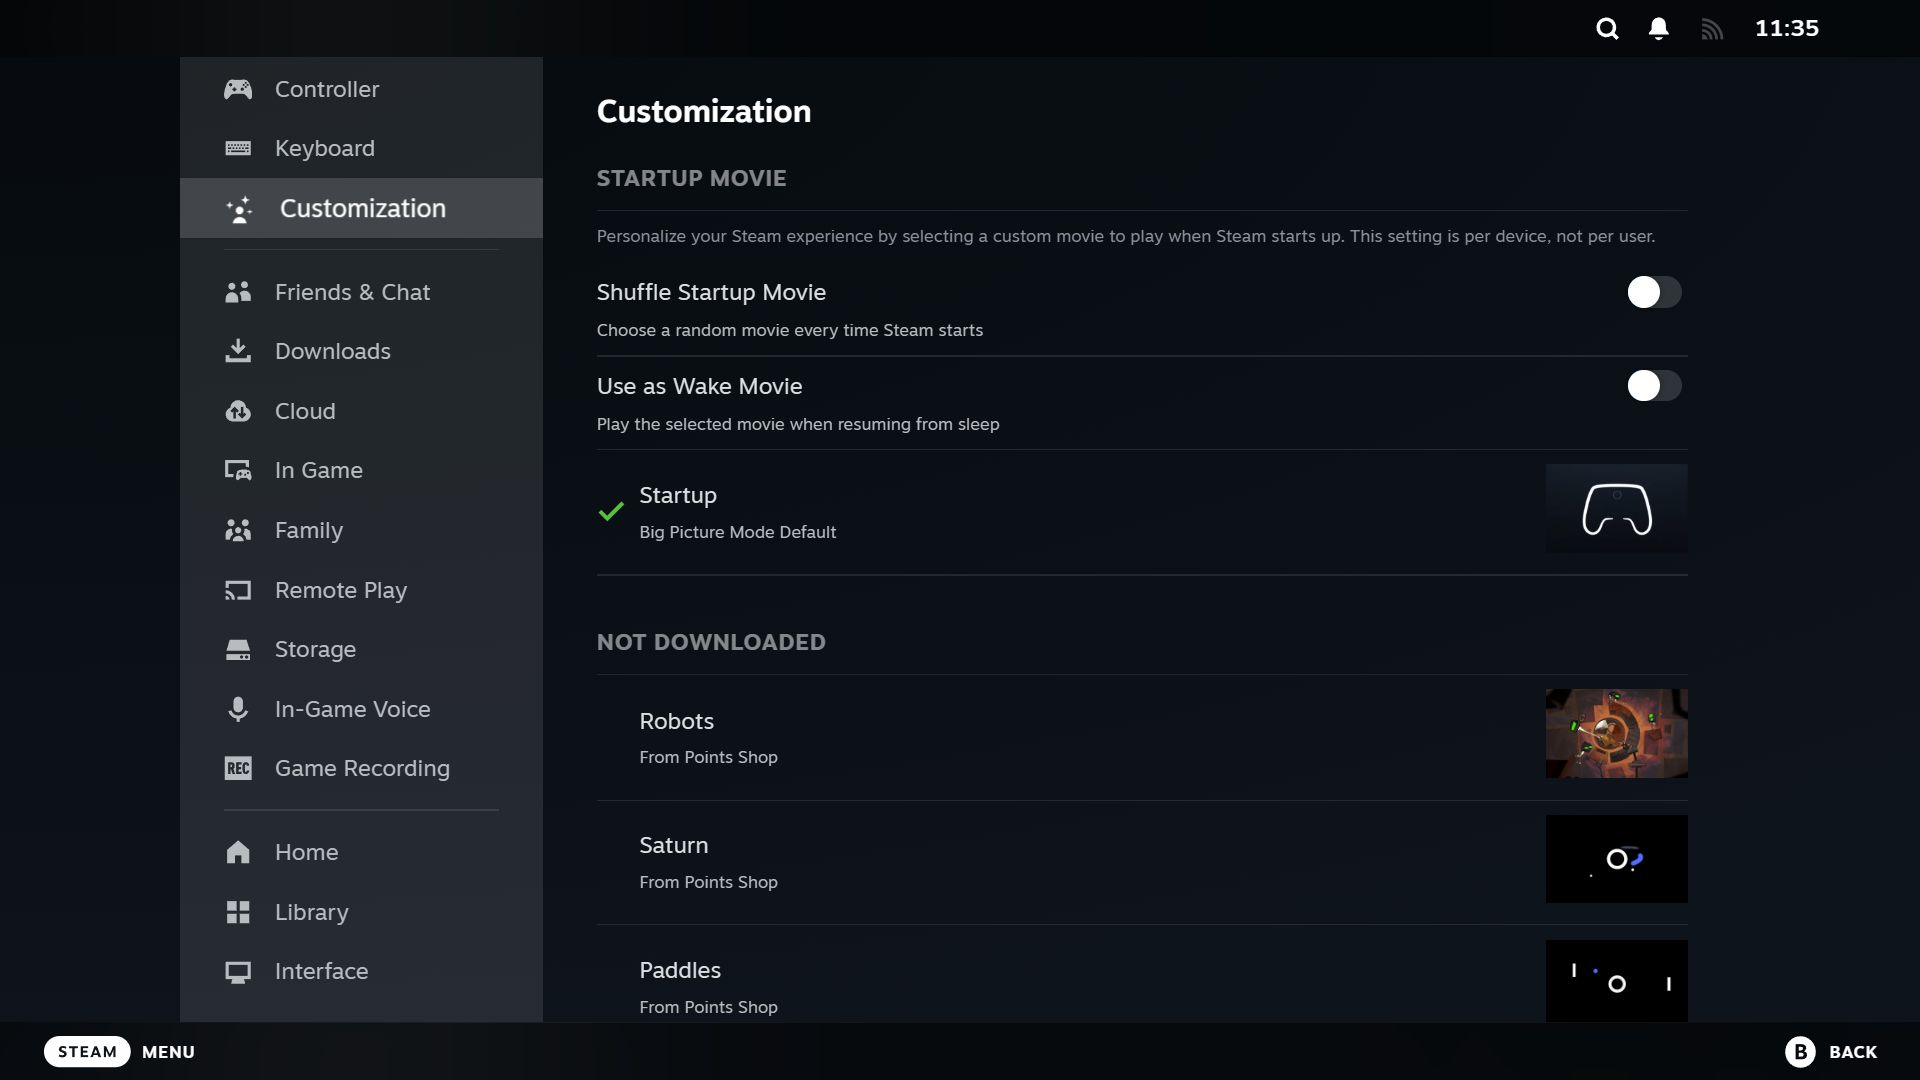
In the left menu, scroll down and select “Customization.”
At the top, you have two options which you can toggle:
- Shuffle Startup Movie: Rather than using a single startup movie, enabling this plays a random one each time from those you have downloaded.
- Use as Wake Movie: If you want the movie to play not only when you power on the Deck or launch Steam, but also when waking from sleep, enable this.
Beneath this, you’ll see all the startup movies you currently have, sorted first by those downloaded.
If you don’t have any startup movies beyond the default yet, skip ahead to the next section.
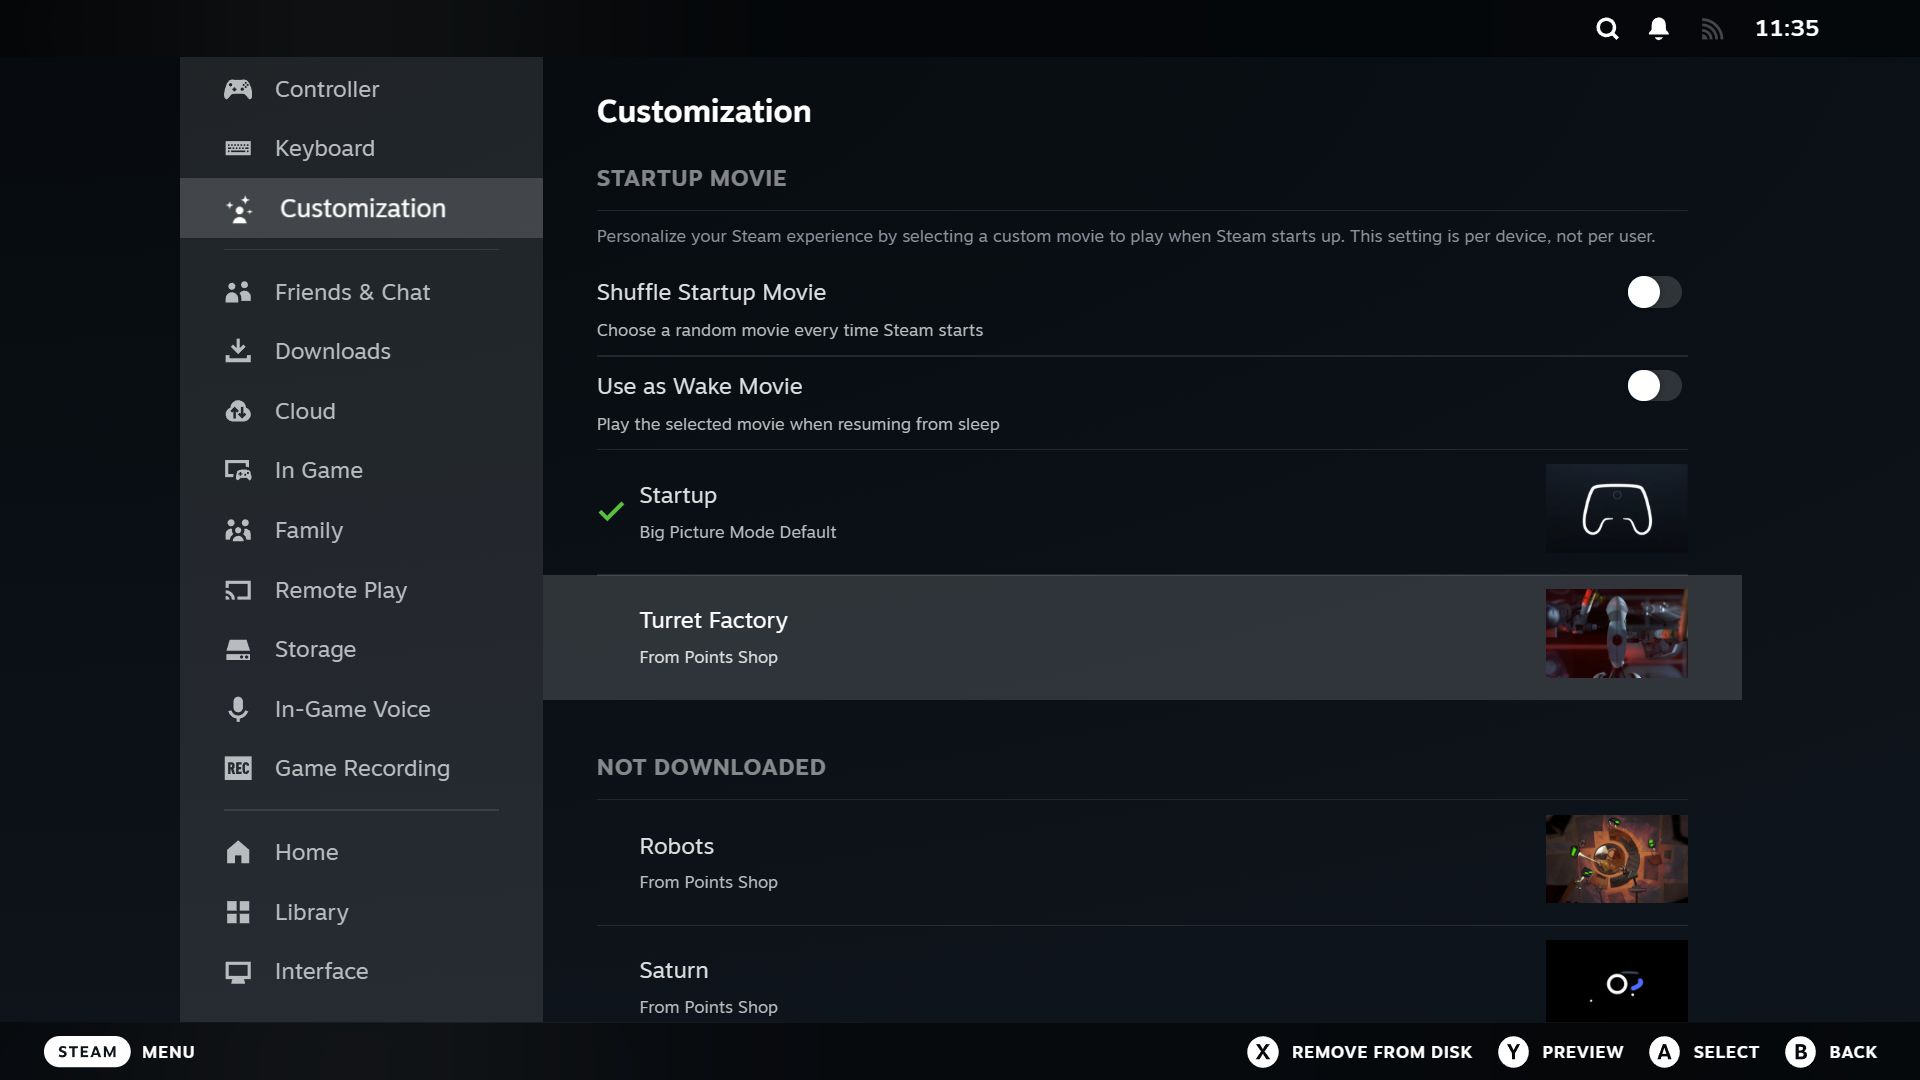
To change your startup movie, toggle to it and then press A (or the equivalent button) to download it if you haven’t already. Then, toggle it again and press A to set it as the active startup movie. If you’ve enabled shuffled startup movies, your active choice won’t matter.
You can also press Y to preview the movie and X to uninstall it (you can’t uninstall the default movie or the active one.)
Any changes you make apply to your device, not to your Steam account. That means if you change your startup movie on your Steam Deck, it won’t automatically change on your computer when using Big Picture, and vice versa.
How to Get More Startup Movies Using Steam Points
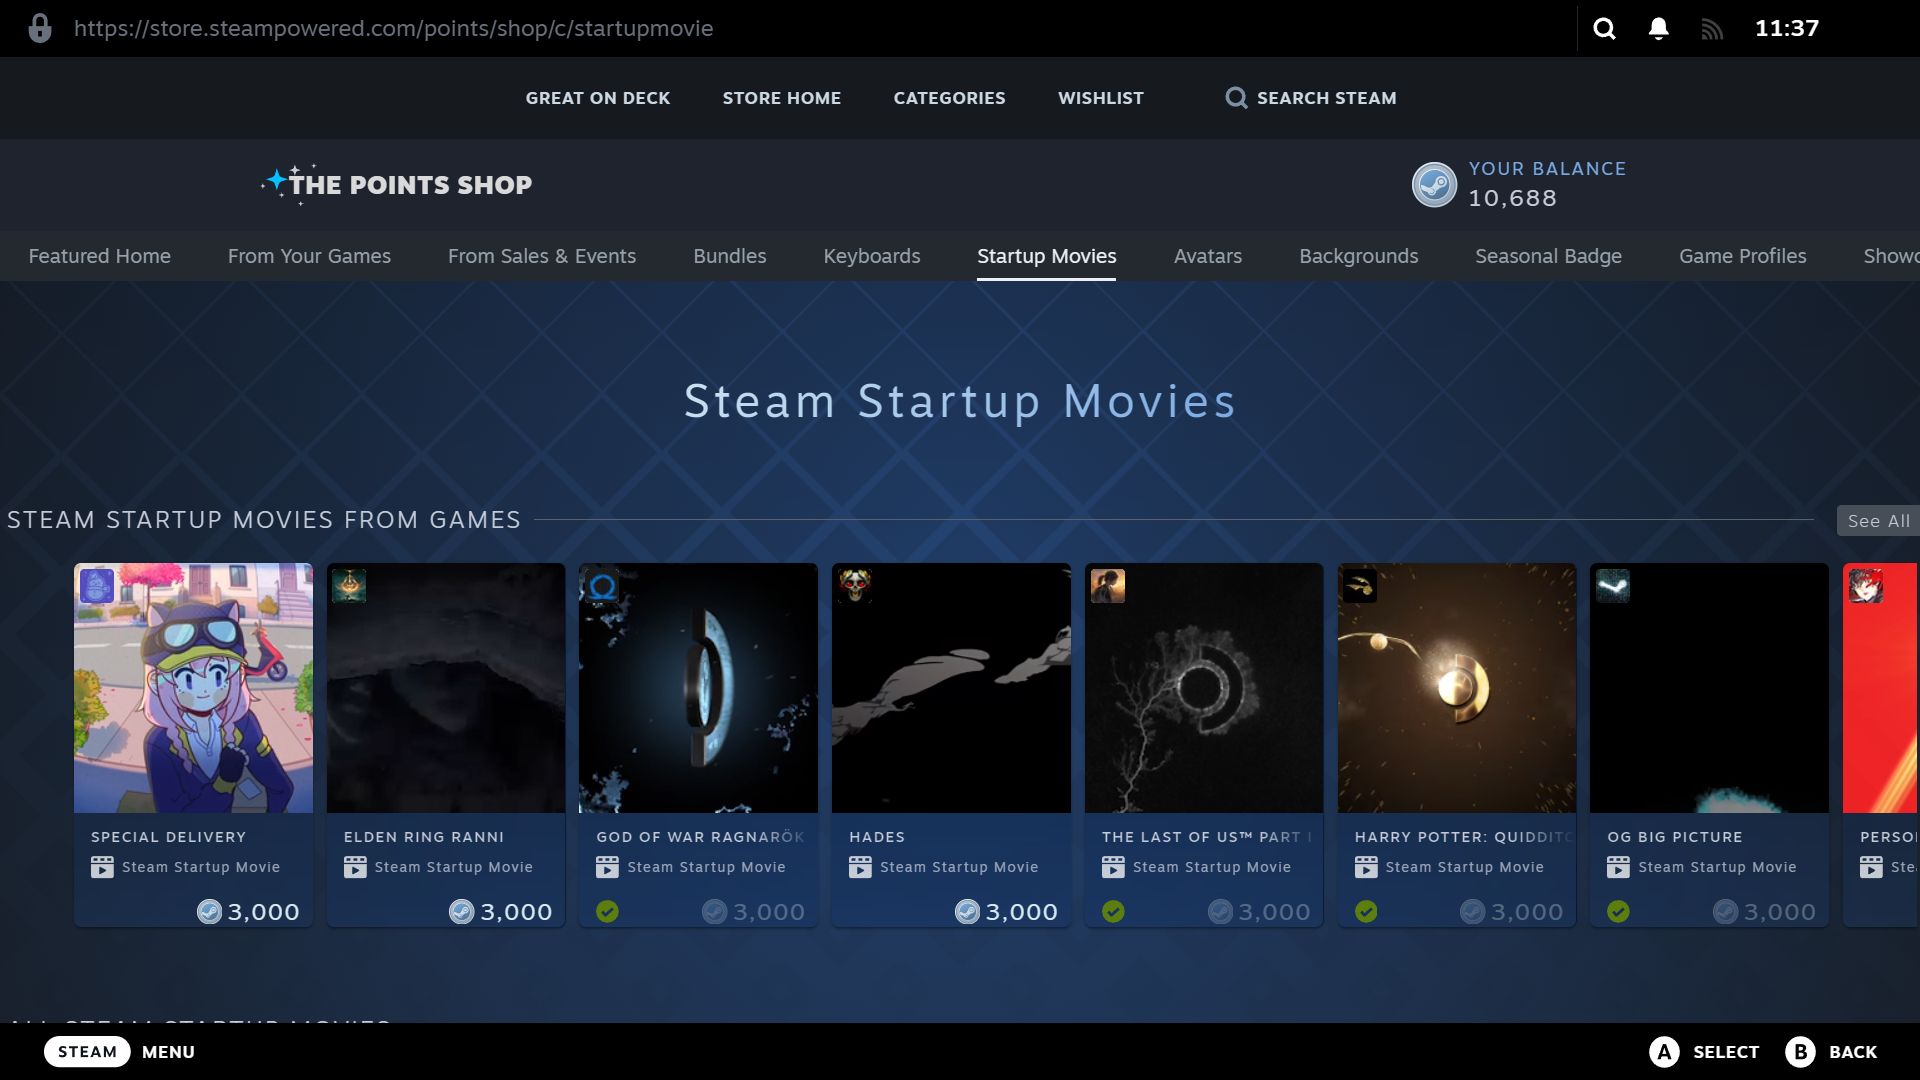
Steam offers more startup movies through its Points Shop. As the name suggests, the currency here is Steam Points, which you mostly earn through purchasing games. You probably have many points without realizing it, which are perfect to spend on startup movies. They cost 3,000 points each.
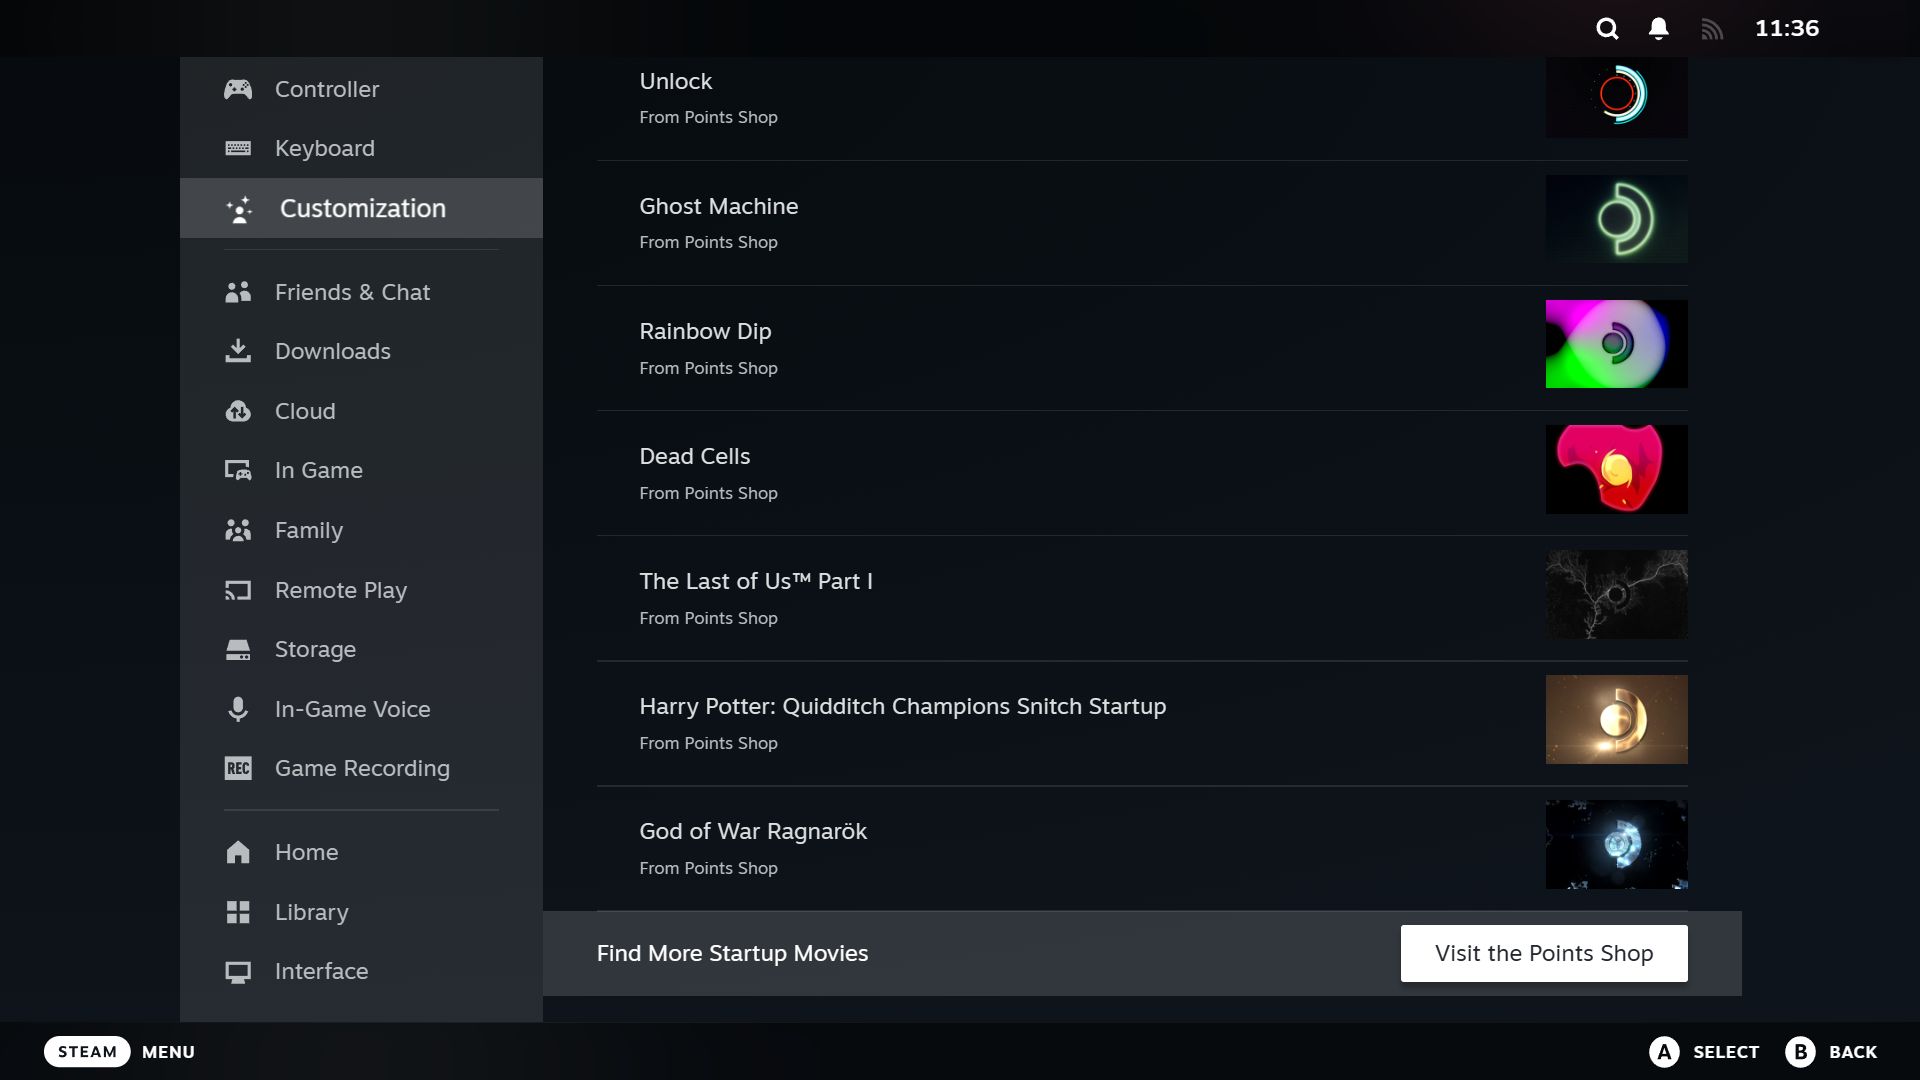
To browse what’s for sale, navigate to Settings > Customization and select “Visit the Points Shop” at the bottom.
Steam has a variety of startup movies, some of which are themed on specific games like The Last of Us and Elden Ring.
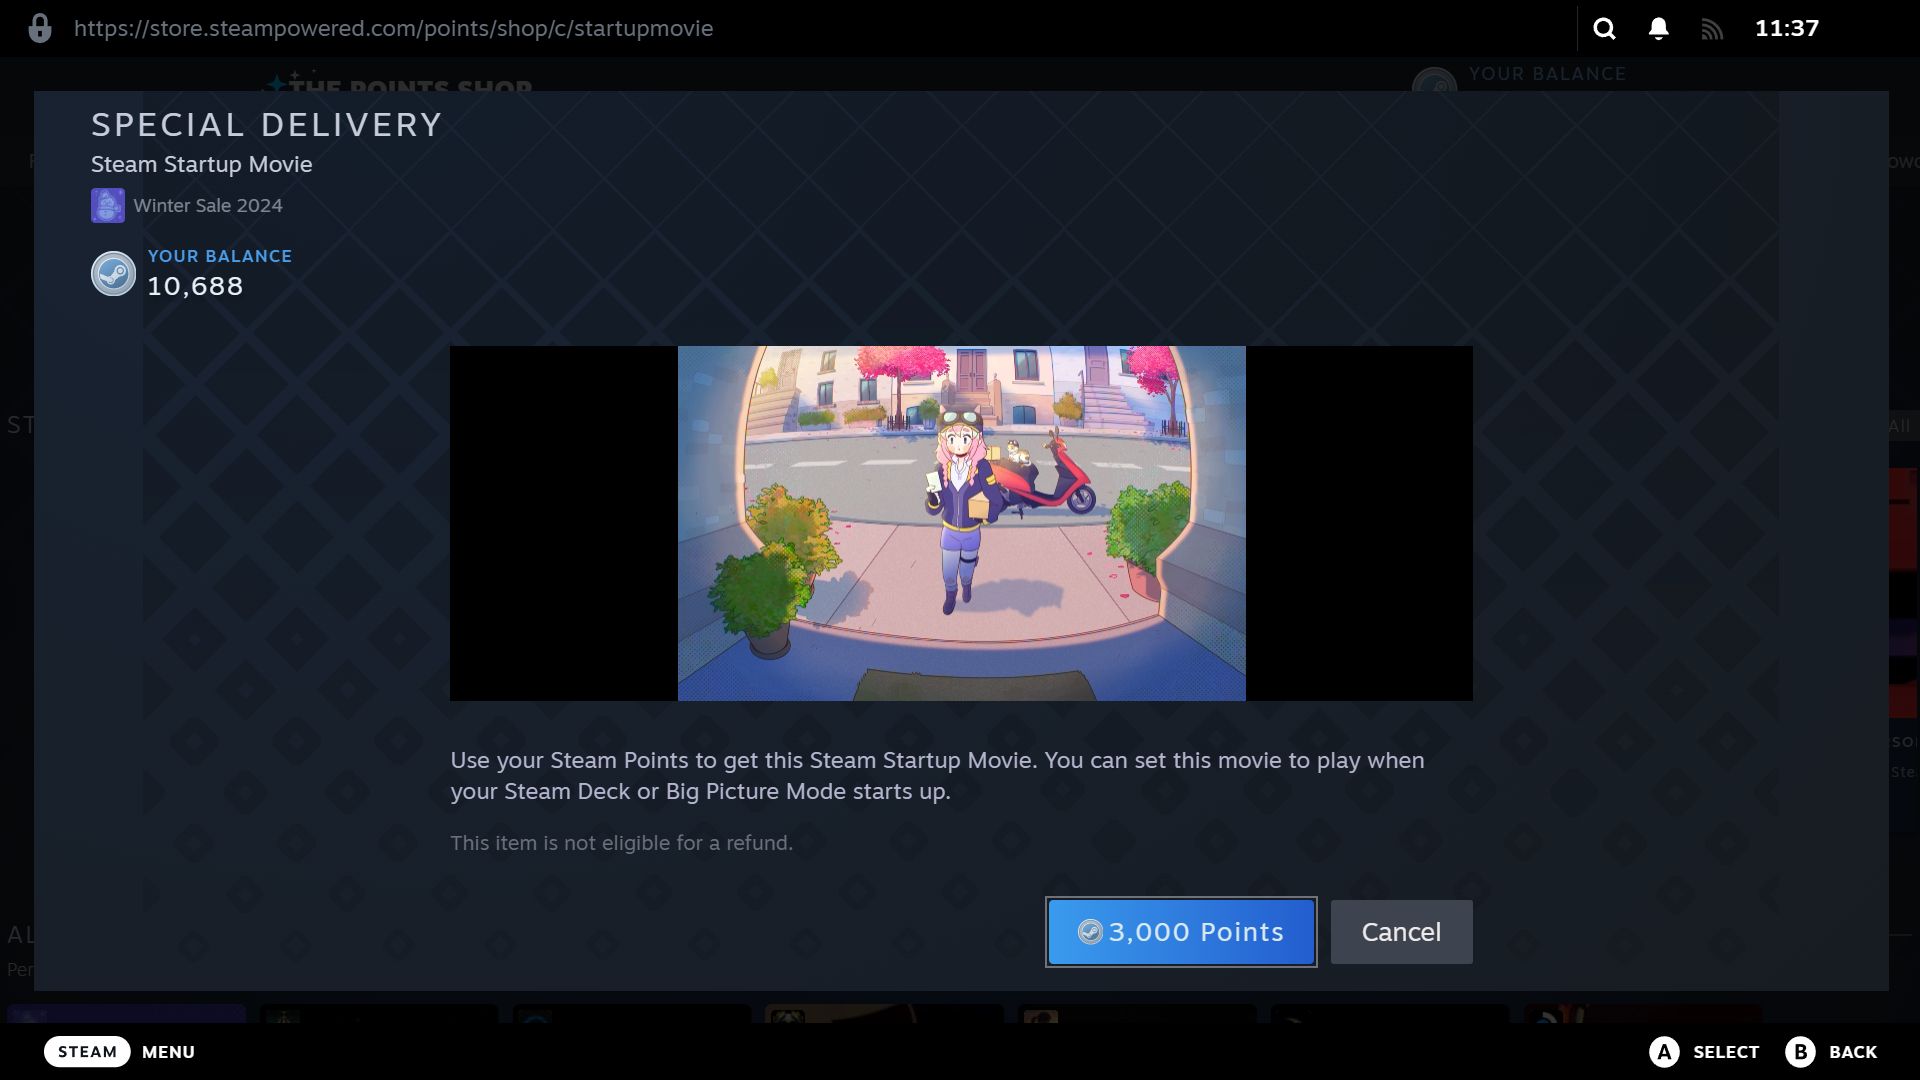
When something catches your eye, select the thumbnail to fully see what it looks and sounds like. To buy it, select the “3,000 Points” button.
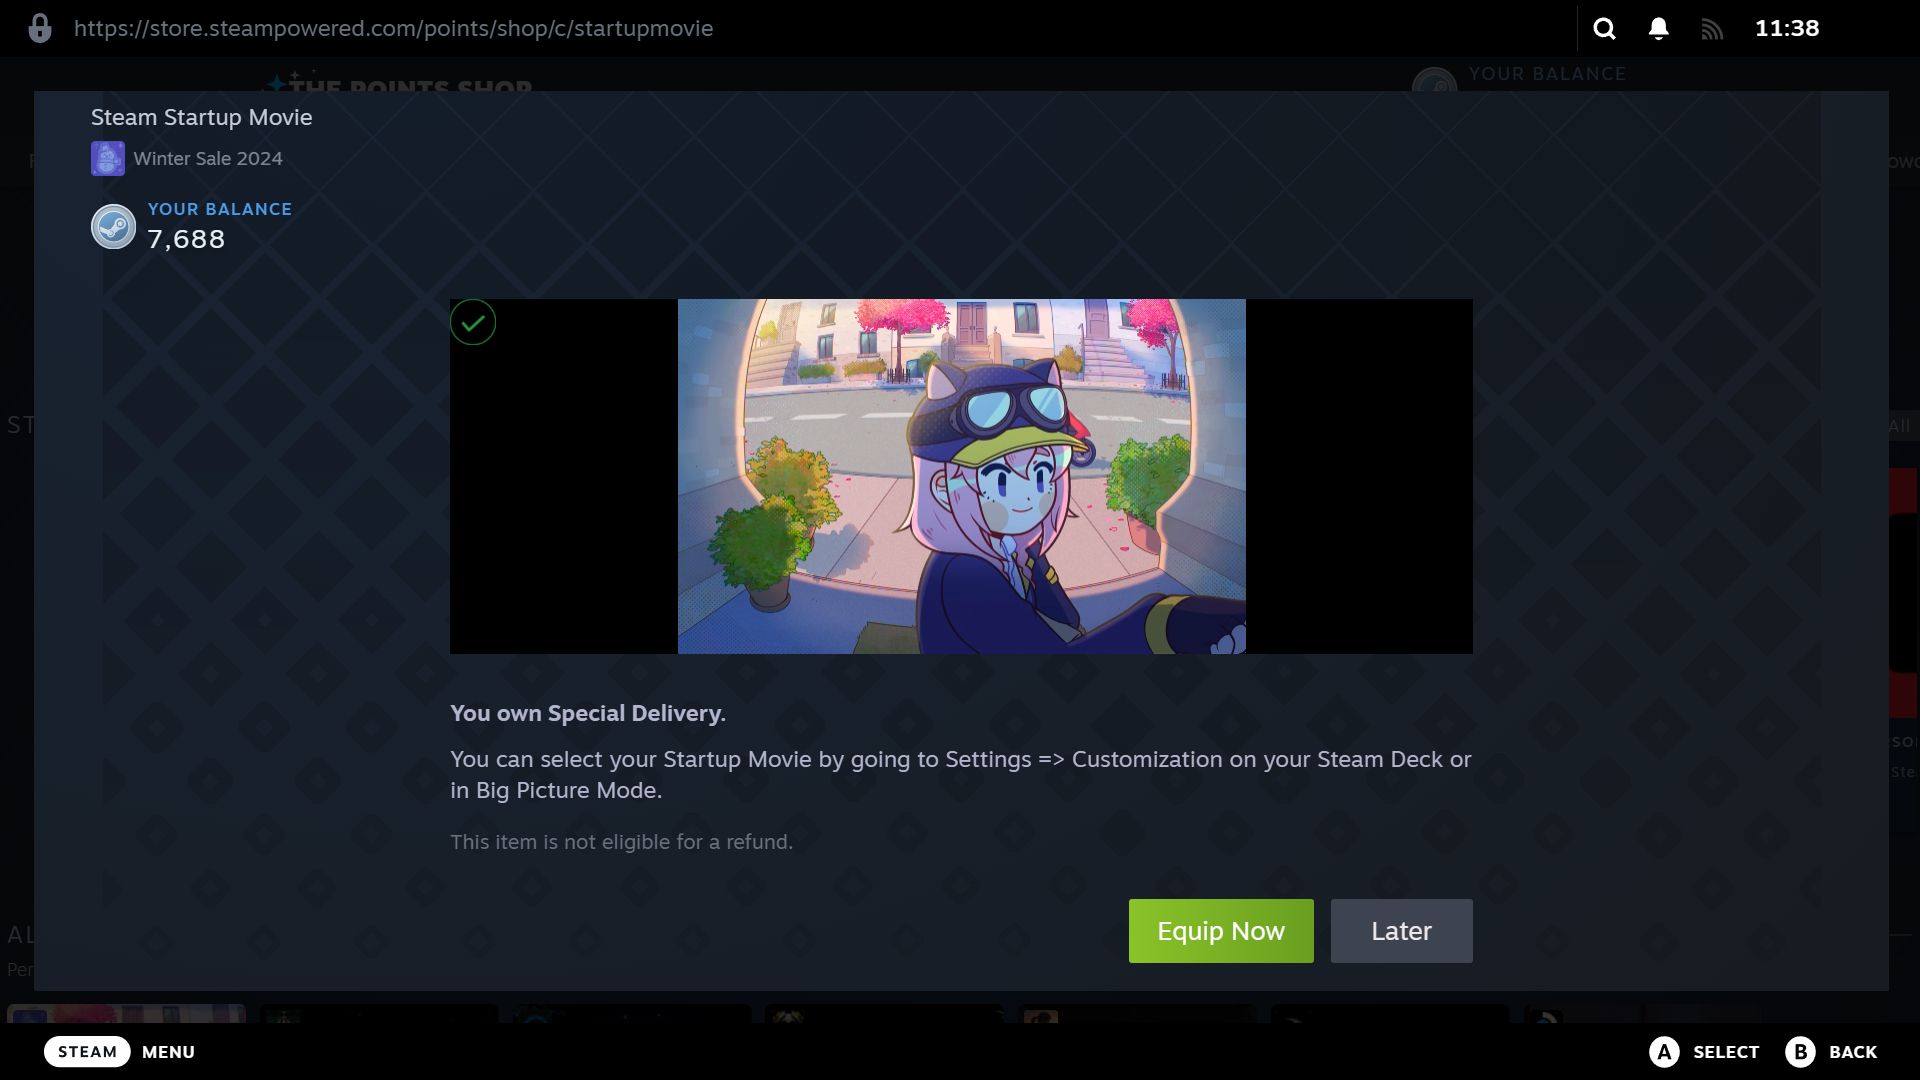
To immediately set it as your active startup movie, select “Equip Now.” Otherwise, select “Later.”
How to Install Custom Steam Startup Movies
If you want to use your own startup movie, it needs to be a 1280 x 800 WebM video file that lasts up to 30 seconds. You can make it yourself if you know how. Otherwise, Steam Deck Repo (not an official Steam site) has a great selection.
Steam Deck
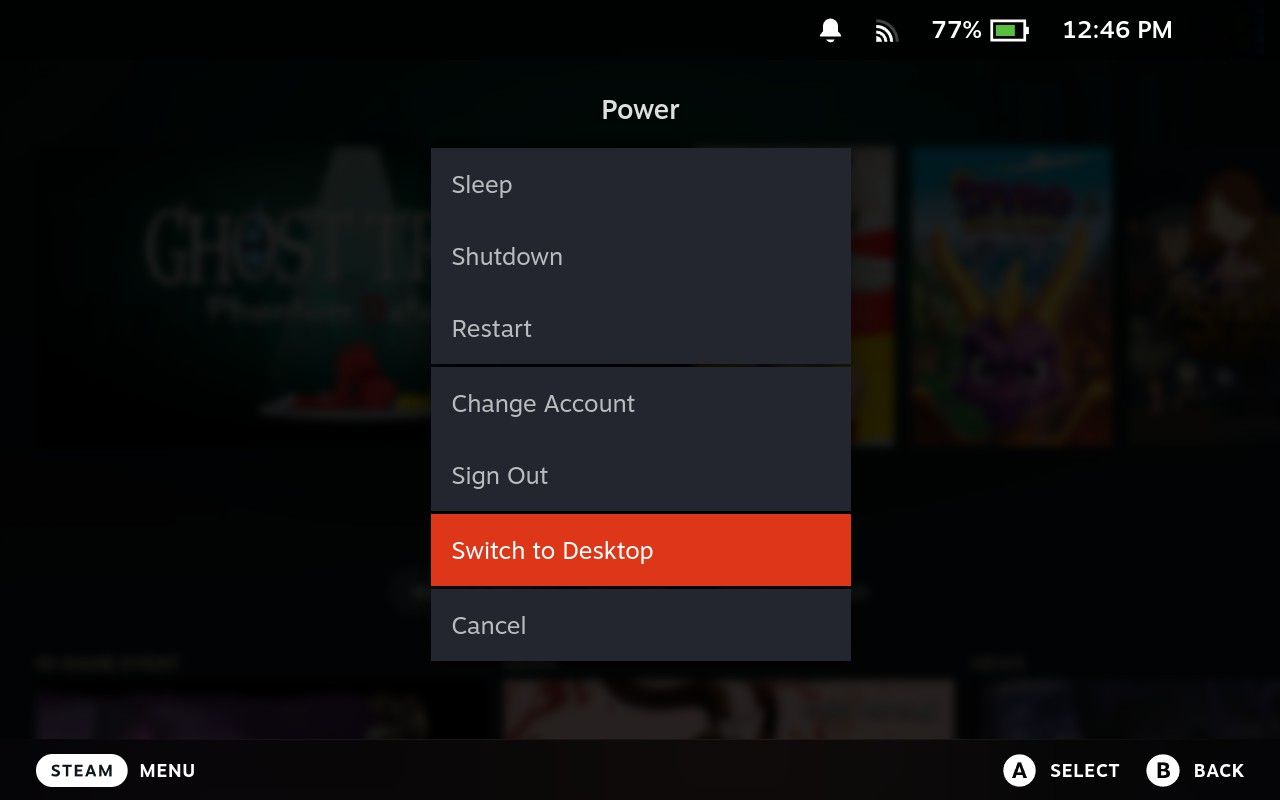
With your Steam Deck turned on, hold the power button until the power menu opens. Then, select “Switch to Desktop.”
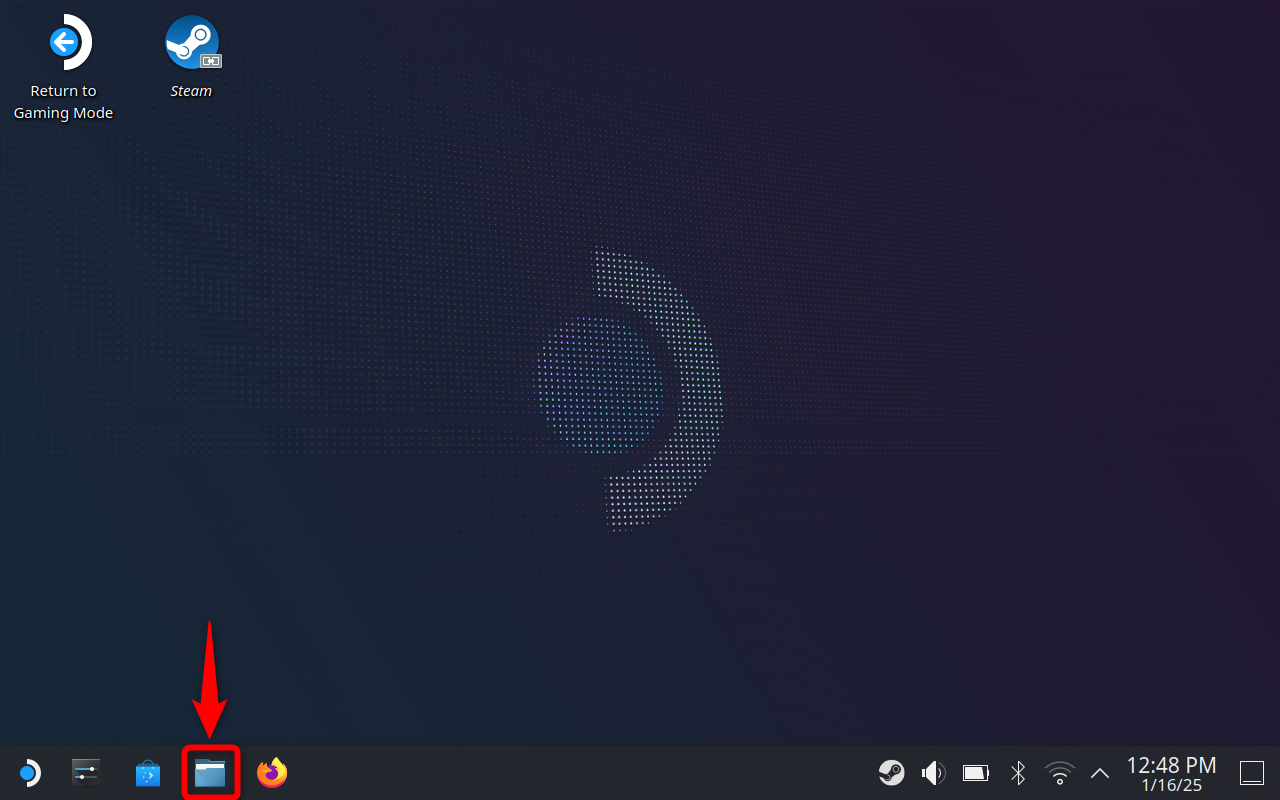
From the taskbar, open Dolphin File Manager.
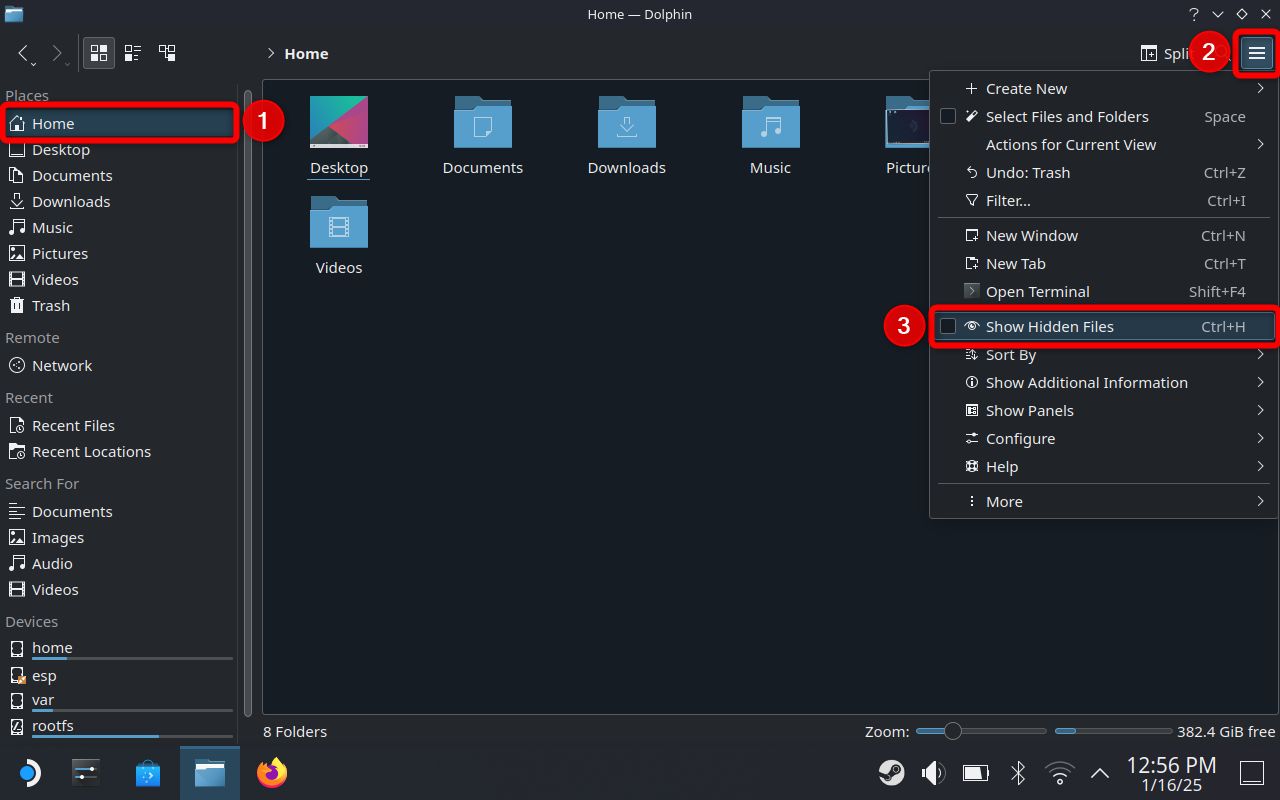
On the left menu, select “Home” if you’re not already there. Then, click the hamburger menu (three vertical lines) in the top-right and select “Show Hidden Files” to enable it (if it already has a checkmark, no action is required.)
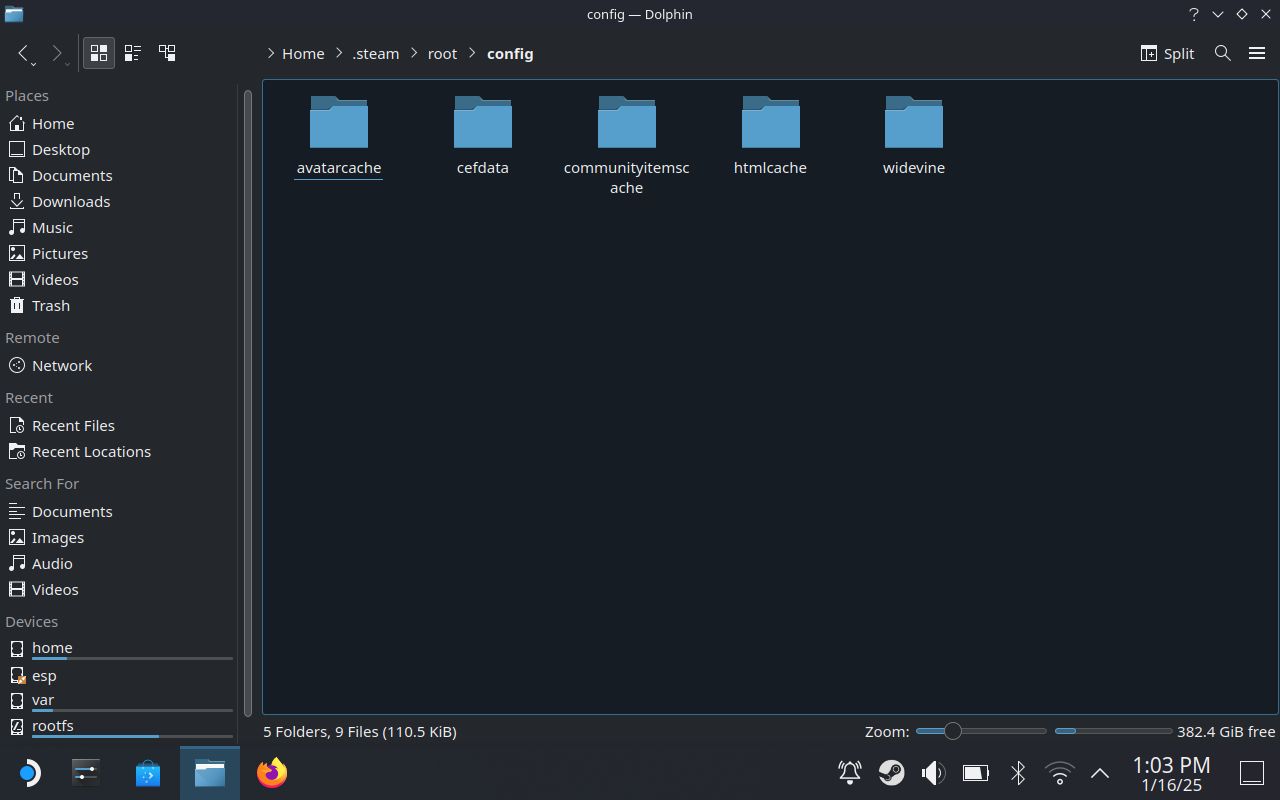
Open the following folders in turn: .steam > root > config
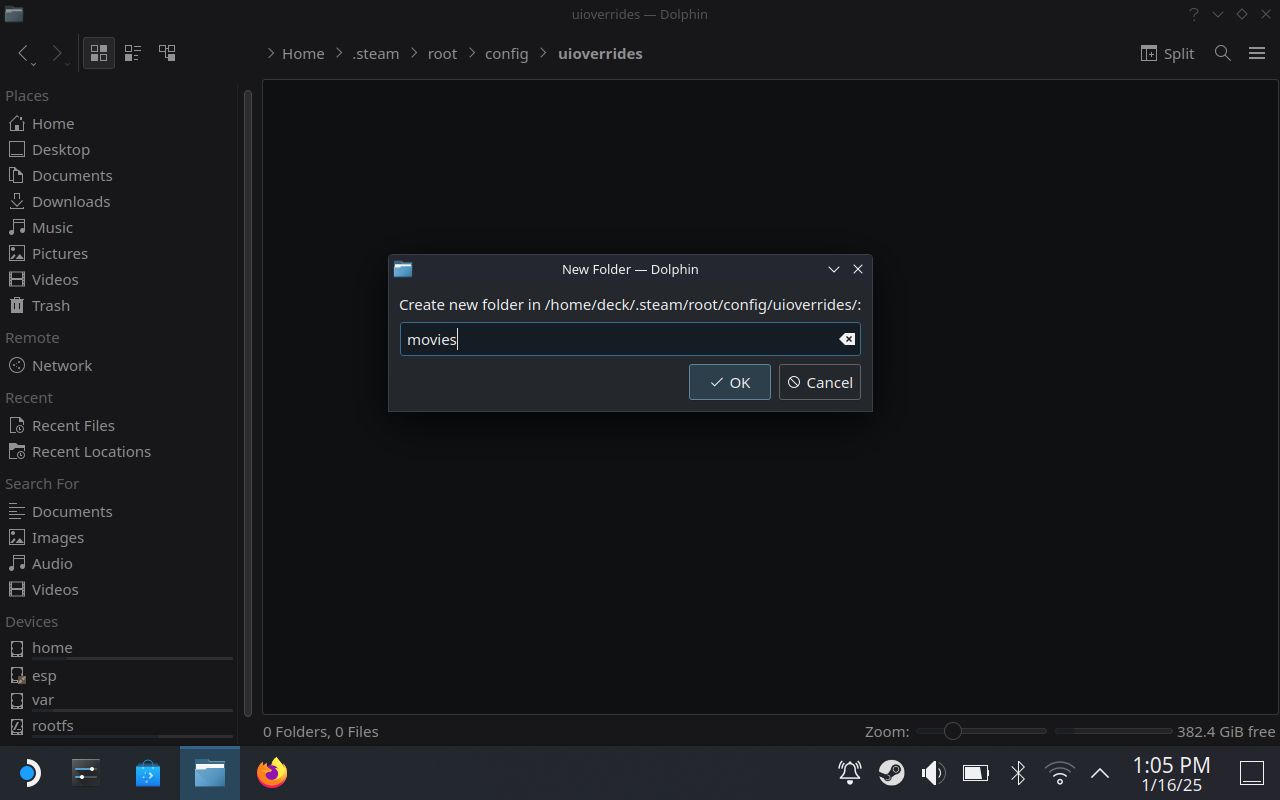
Once here, select the hamburger menu and choose Create New > Folder. Name the folder uioverrides and select “OK.”
Open that folder, then make a folder within it called movies.
With that done, the final folder path is:
/home/deck/.steam/root/config/uioverrides/movies/
Place your WebM file inside this folder.
Close the File Manager and select “Return to Gaming Mode” on the desktop. Then, navigate to Settings > Customization and select your newly installed startup movie.
Big Picture
First, navigate to the “config” folder within your Steam installation folder. For me, that’s here:
C:\Program Files (x86)\Steam\config
Next, create a folder called uioverrides. Within this, create a folder called movies.
For me, the final file path is:
C:\Program Files (x86)\Steam\config\uioverrides\movies
Place your WebM file inside this folder.
Finally, on Steam, navigate to Settings > Customization and select your newly installed startup movie.
Startup videos are a quick and fun way to add some more personality to Steam—alongside game recording and remote play, it’s one of my favorite Steam features that everyone should know about.

