Summary
- Power Automate on Windows is a tool that allows you to automate desktop and web applications.
- Automating a task in Power Automate involves creating a flow and filling it with actions.
- Ensure you have tested your flows thoroughly to ensure they work as expected.
Could those repetitive tasks you’re doing on Windows easily be automated? Probably. Thankfully, Windows has a tool called Power Automate that can help, and I’m going to show you how to start using it to speed up your workflow.
What Is Power Automate for Desktop?
Power Automate on Windows is an app that simulates mouse and keyboard actions, helping you automate tasks in your Windows desktop environment. The tasks that can be automated include organizing and backing up your files, extracting data from documents, inputting data into documents, scraping websites, and managing your emails and inbox.
How to Automate a Repetitive Task on Windows
Although using Power Automate to its full potential can be complicated, automating simple and repetitive tasks can be straightforward. You create a flow, add the necessary actions, run a test to ensure it works as expected, and execute the flow when needed.
For our example, I will create a scenario where a Word document is opened, saved as a PDF, and then moved to a shared OneDrive folder. As you can imagine, this can streamline the process if you’re the person in charge of updating a document, converting it to a PDF, and then uploading it to OneDrive for everyone to access.
Install and Launch Power Automate
Power Automate should be pre-installed on your computer if you are using Windows 11. If it’s not, or you’re on Windows 10, you can install Power Automate from its Microsoft Store page.
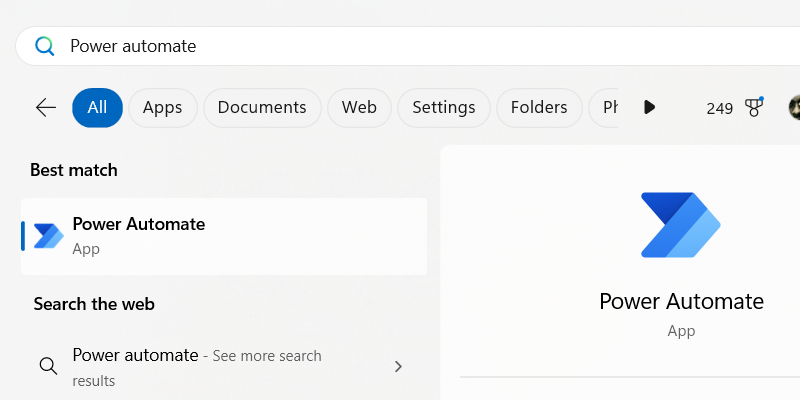
Afterward, you can launch Power Automate directly from the Start menu. To do that, click the Search bar, type power automate, and click “Power Automate” in the search results.
Create a Flow
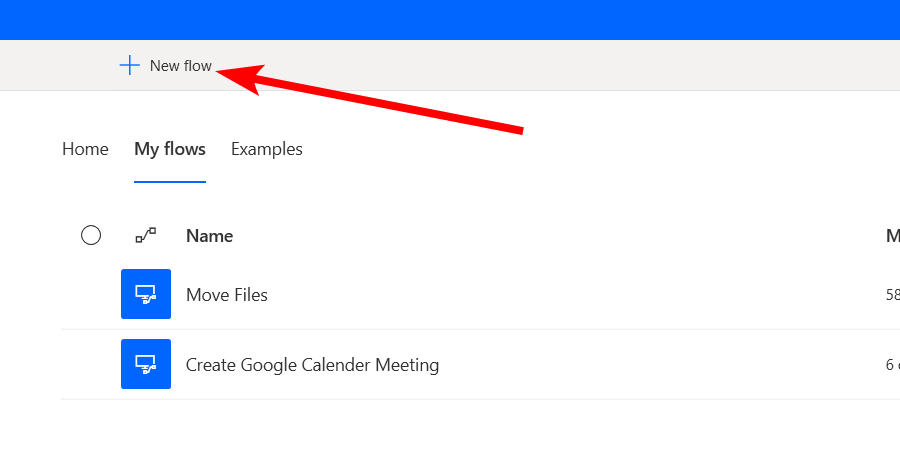
After you launch Power Automate, you must create a flow, a file containing the sequence of actions.
To do that, click “New Flow” in the top-left corner of the screen.
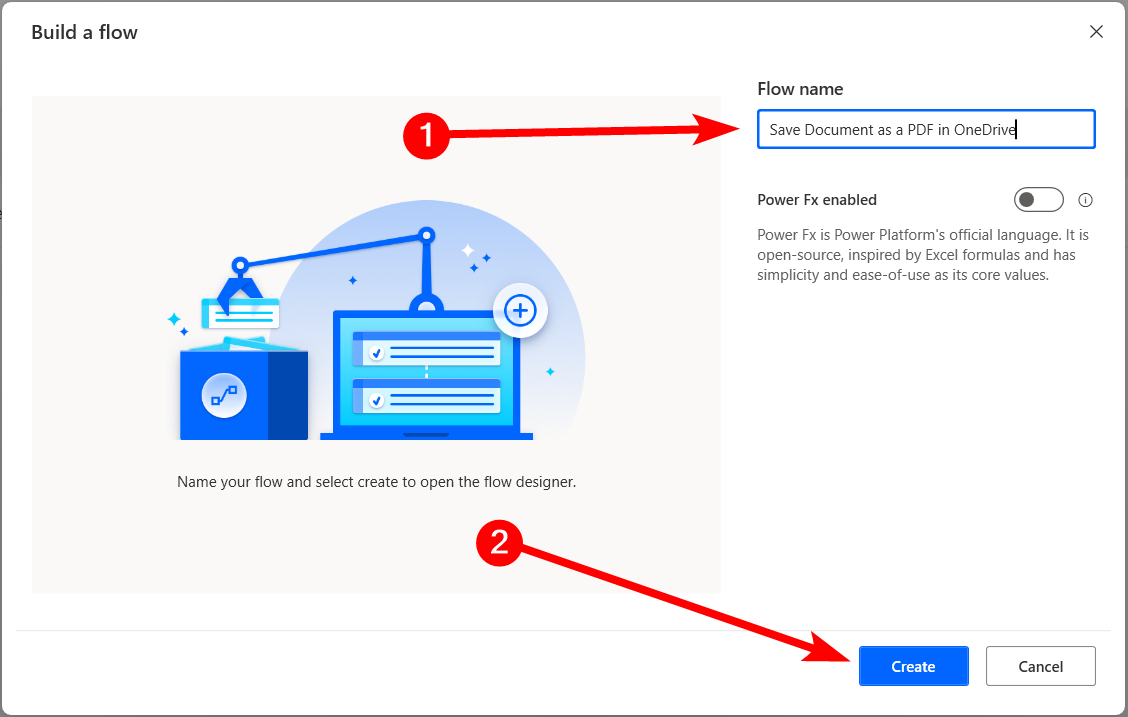
Give the flow a name and click the “Create” button to open the flow editing window.
Add Actions
Now, it’s time to populate the flow with some actions, which are a sequence of tasks within the flow.
As you create and edit your flow, save regularly by clicking “Save”—the floppy disk icon—in the top-left.
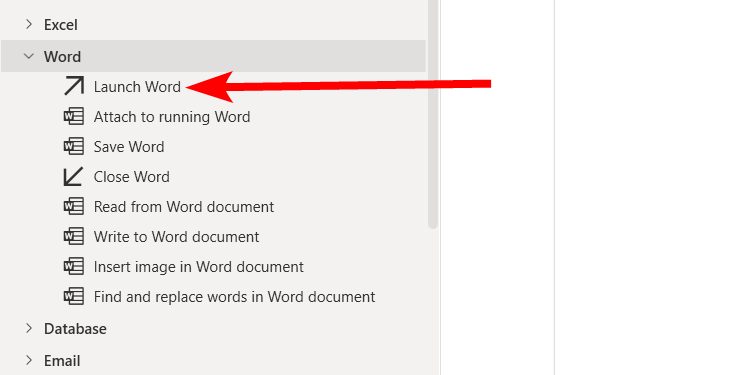
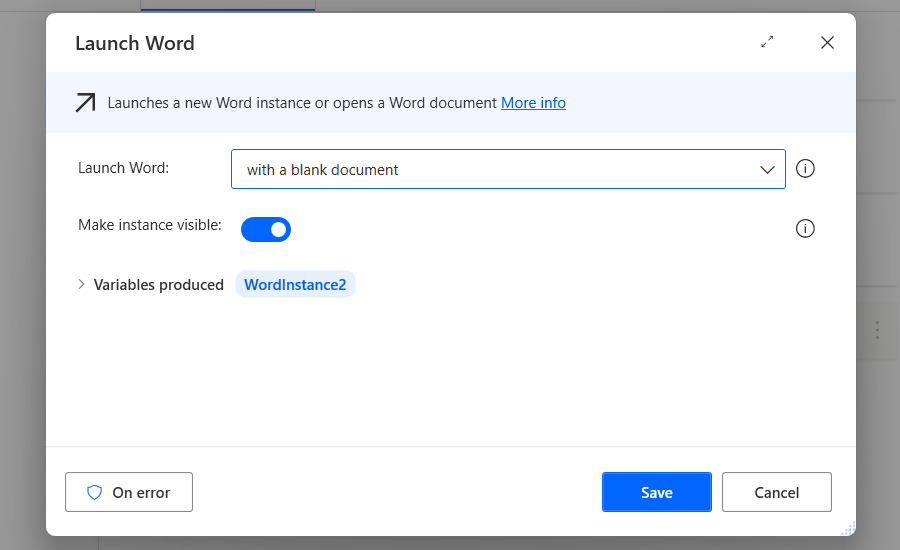
To add the action to open the Word file, expand the “Word” section in the left sidebar and double-click the “Launch Word” action.
Set the Launch Word dropdown to “And Open the Following Document” and paste the document’s file path in the Document Path textbox. Afterward, click “Save” to lock in that action.
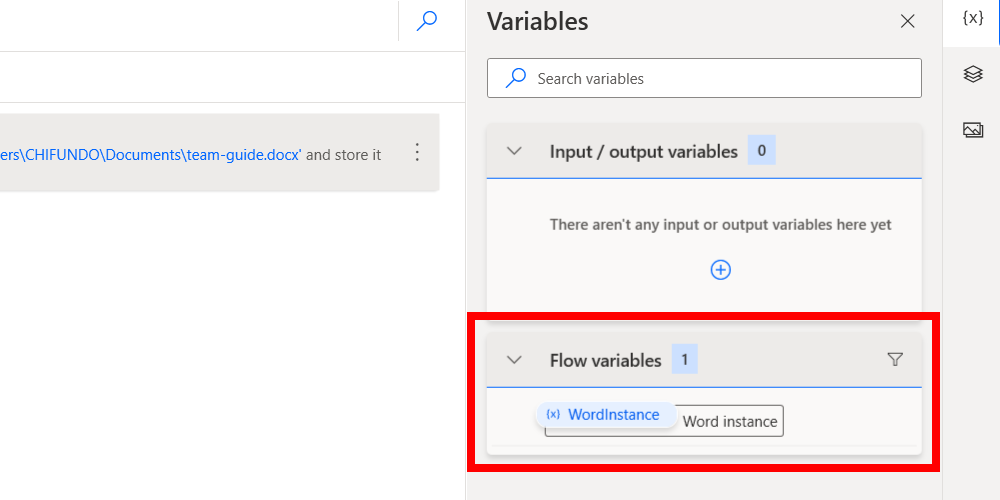
This will create a flow variable that stores an instance of the Word document once it is opened. You can see it in the right panel and rename it to something more descriptive if you’re working with multiple variables.
In our scenario, the variable serves as a way for Power Automate to remember that it has opened a Word document. This is useful because it can tell other actions to do something with it. This will make more sense in the next few steps.
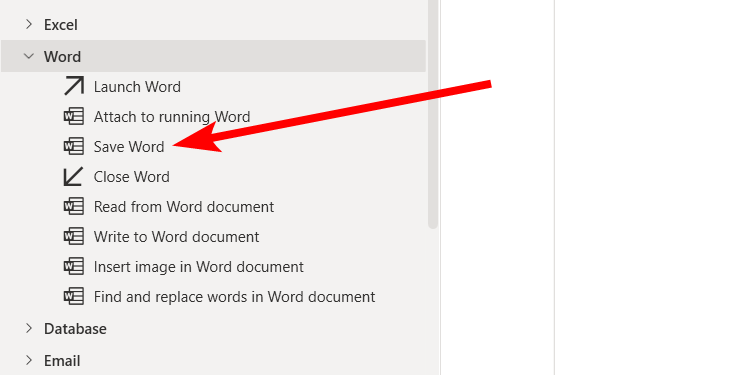
Next, double-click the “Save Word” action.
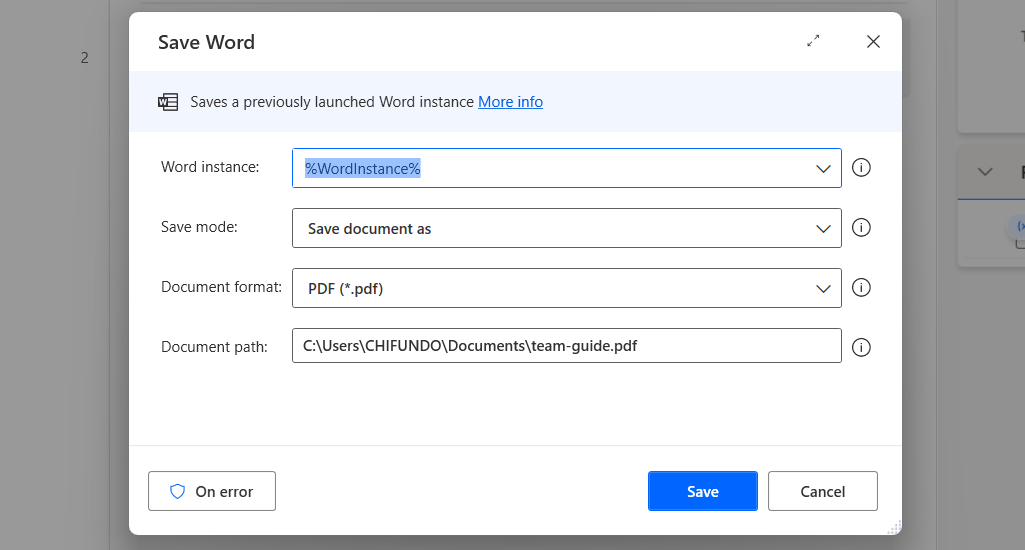
In the Word Instance dropdown, set it to the variable created by the previous action. Next, set the Save Mode and Document Format dropdowns to “Save Document As” and “PDF,” respectively. Finally, enter the desired document path, name, and file extension.
Ensure the document path is local—when I tried saving it directly to OneDrive, I got some errors.
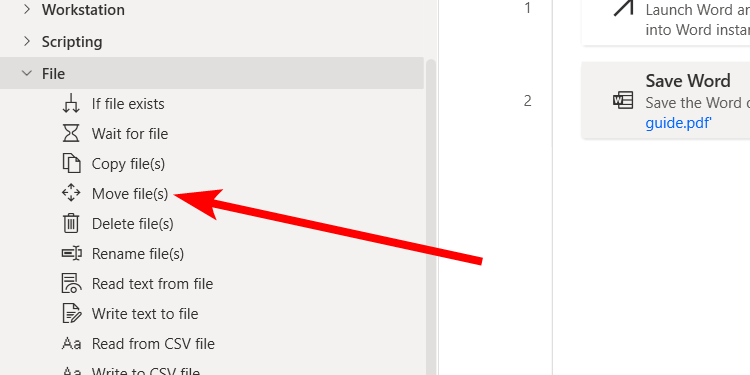
Next, let’s tell Power Automate to move the PDF file into the desired OneDrive folder. To do that, click “Files” in the left sidebar to expand the section and double-click the “Move File(s)” action.
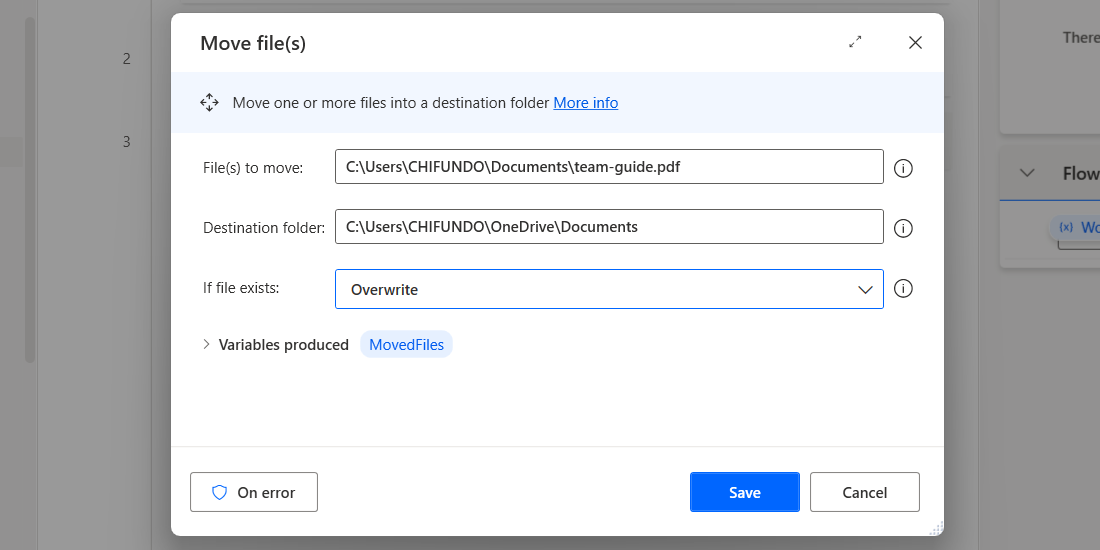
In the File(s) to Move text box, enter the path to the PDF file, and in the Destination Folder text box, enter the path to the shared OneDrive folder. Set the If File Exists dropdown to “Overwrite” and click the “Save” button.
Test and Run the Flow
Now that you’ve set up your actions, the flow is complete. It’s time to test it to ensure everything is working as expected.
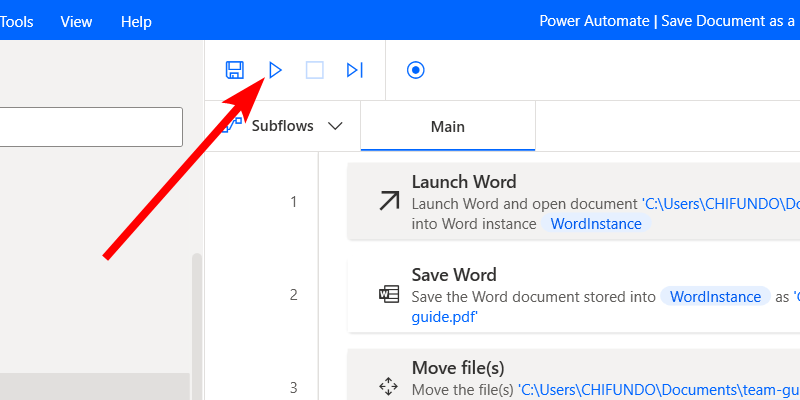
Close the Word document if you have it open and then click “Play”—the play icon—in the top-left.
You should see the automation play out based on the actions—open Word and save it as a PDF in OneDrive. If it runs successfully, save and close the flow.
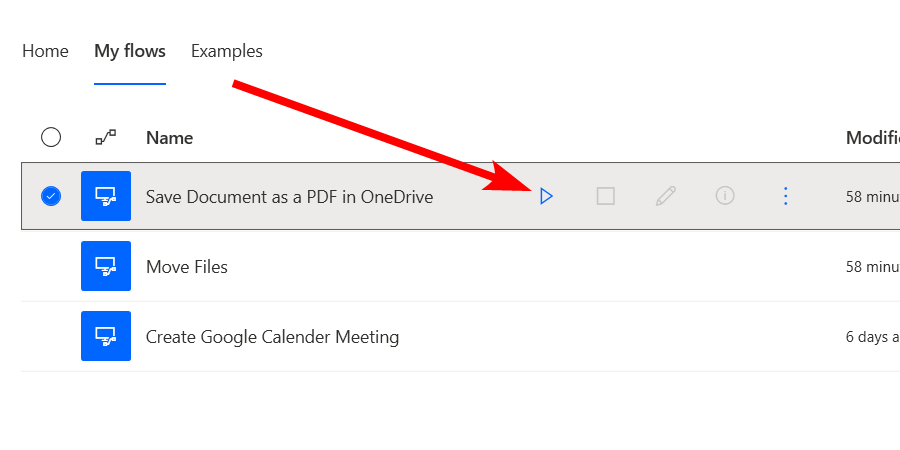
You will find the flow you created in the “My Flows” tab when you open Power Automate. Click “Run” whenever you need to execute it.
With this foundational knowledge, you can further explore Power Automate and create your own flows to enhance your workflows.
You can also schedule your flow to run at specific intervals and times. However, this feature is not built into Power Automate. You must schedule the flow to run using a lesser-known built-in Windows feature called the Task Scheduler.

