The Switch is such a plug-and-play console that you might never have ventured into the Settings menus. Here are a few settings you should review or change to get the most out of your console.
12 Change Switch Privacy Settings
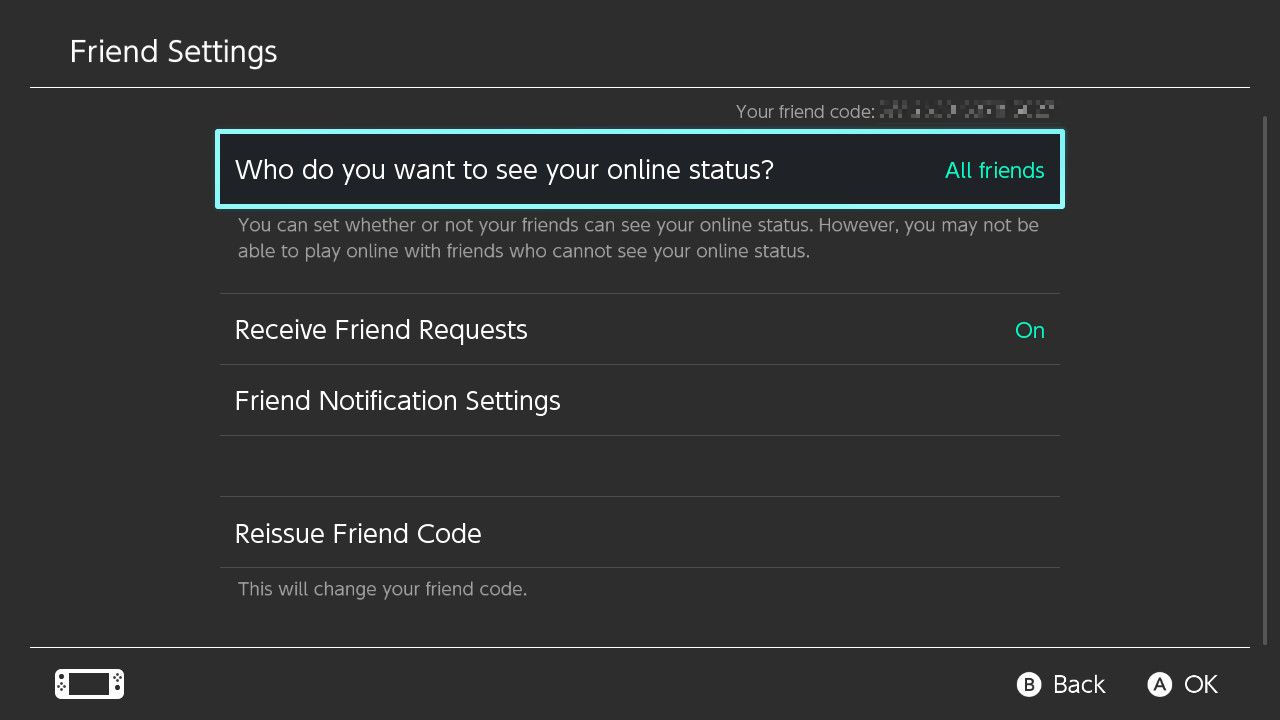
Decide who can see when you’re online and send you friend requests by accessing your profile page via your user icon in the top-left corner of the Home screen and scroll down to User Settings > Friend Settings.
You can also use this menu to reissue your friend code (and revoke the old one) and set up notification settings.
11 Lock Down Your Play Activity
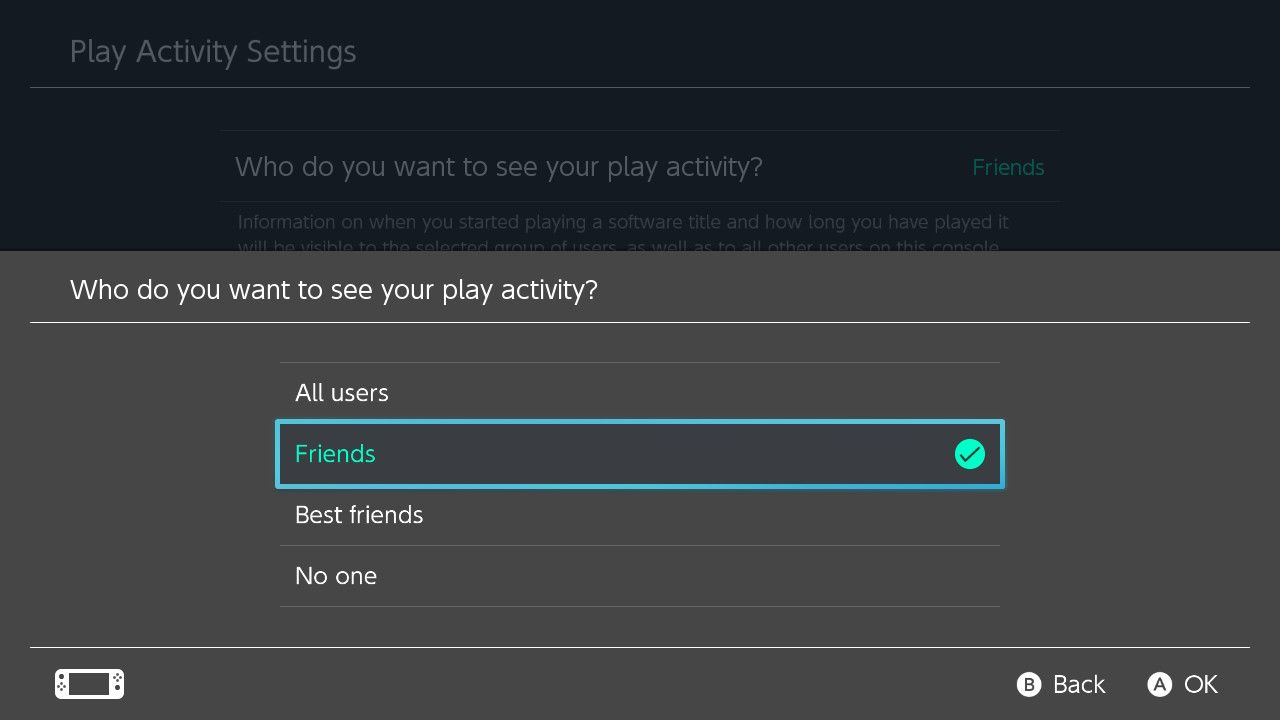
You can also decide who sees what you play, or delete your play activity altogether (though it’s not possible to selectively delete specific games). To do this, go to your page by selecting your user icon in the top-left corner of the Home screen.
Head to User Settings > Play Activity Settings to decide who can see what you’re playing or nuke everything.
10 RGB Range in TV Mode
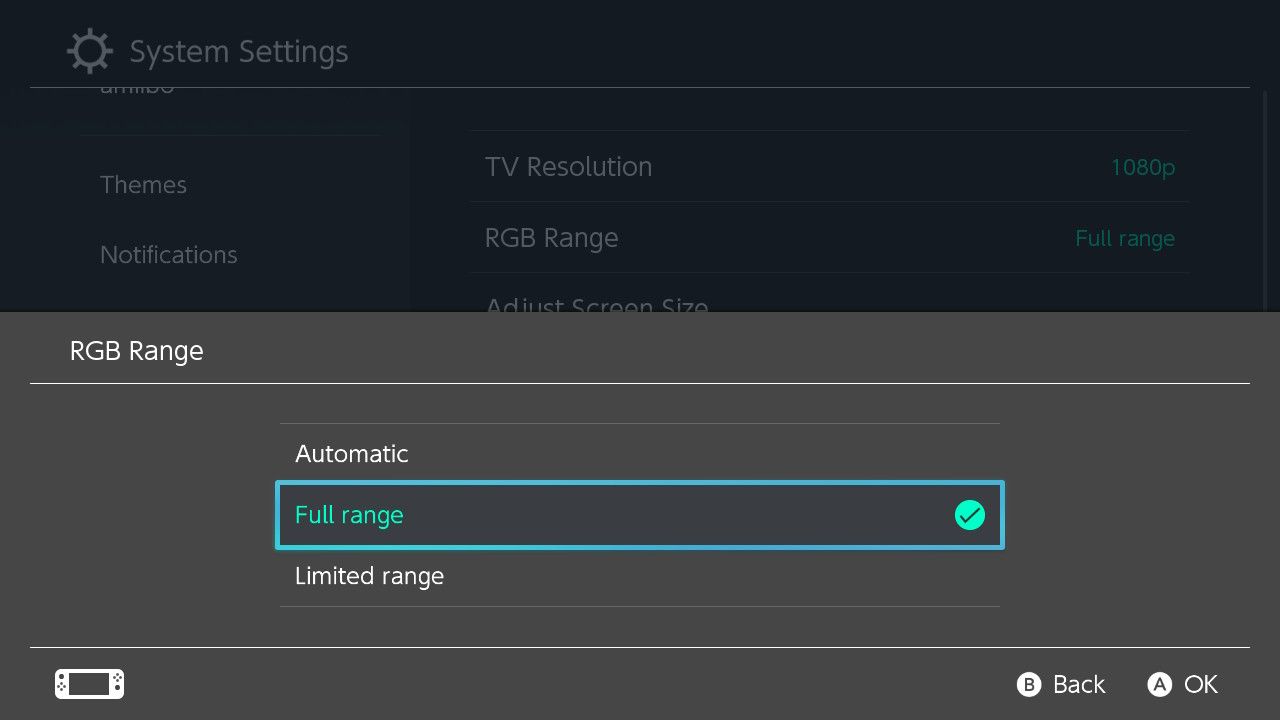
The RGB Range setting affects whether your TV displays the full range of RGB colors (from 0-255) or a limited range (from 15-235). There’s no one-size-fits-all advice for this setting, so you may have to experiment. A good rule of thumb is that if your TV has “Black Level” or “Gamma Level” settings (also set to full), it likely supports the full RGB range.
Naturally, this only makes a difference in TV mode. Head to System Settings > TV Output > RGB Range and change the setting to “Full” to enable the full range. You may also need to enable a setting like “HDMI Deep Color” on your TV for this to work properly.
Displaying the full RGB range will result in a wider array of colors, but you’ll need to judge for yourself whether the image looks better or worse. If the colors on your Switch look washed out (detail is lost in the shadows, colors seem washed out) then change this back to Limited or Automatic.
9 Screen Burn-in Reduction
Image retention, or “burn-in” as it is commonly known, refers to the phenomenon of images being permanently etched onto your TV or monitor’s panel. It’s mostly of concern to those with OLED displays, since they’re far more susceptible to image retention on account of the pixels wearing at an uneven rate.
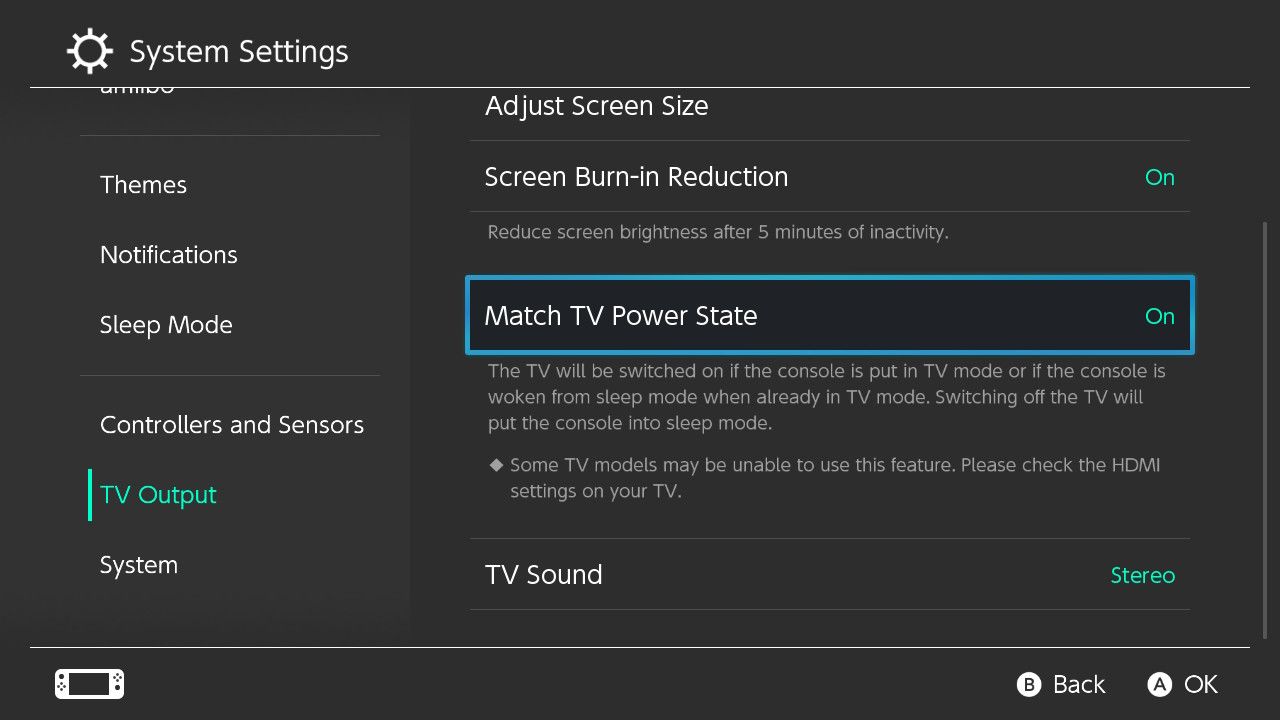
Turn this setting on under System Settings > TV Output > Screen Burn-in Reduction and your Switch will automatically dim the screen after five minutes of inactivity. You might want to enable it even if you don’t have an OLED display to make an idle game less distracting.
8 Match TV Power State
Your Switch can turn on your TV when you start using it, and your TV can power the Switch off when you hit the power button. Enable this setting under System Settings > TV Output > Match TV Power State.
You’ll need need to enable HDMI-CEC settings on your TV for this to work.
7 Change User Icon Order
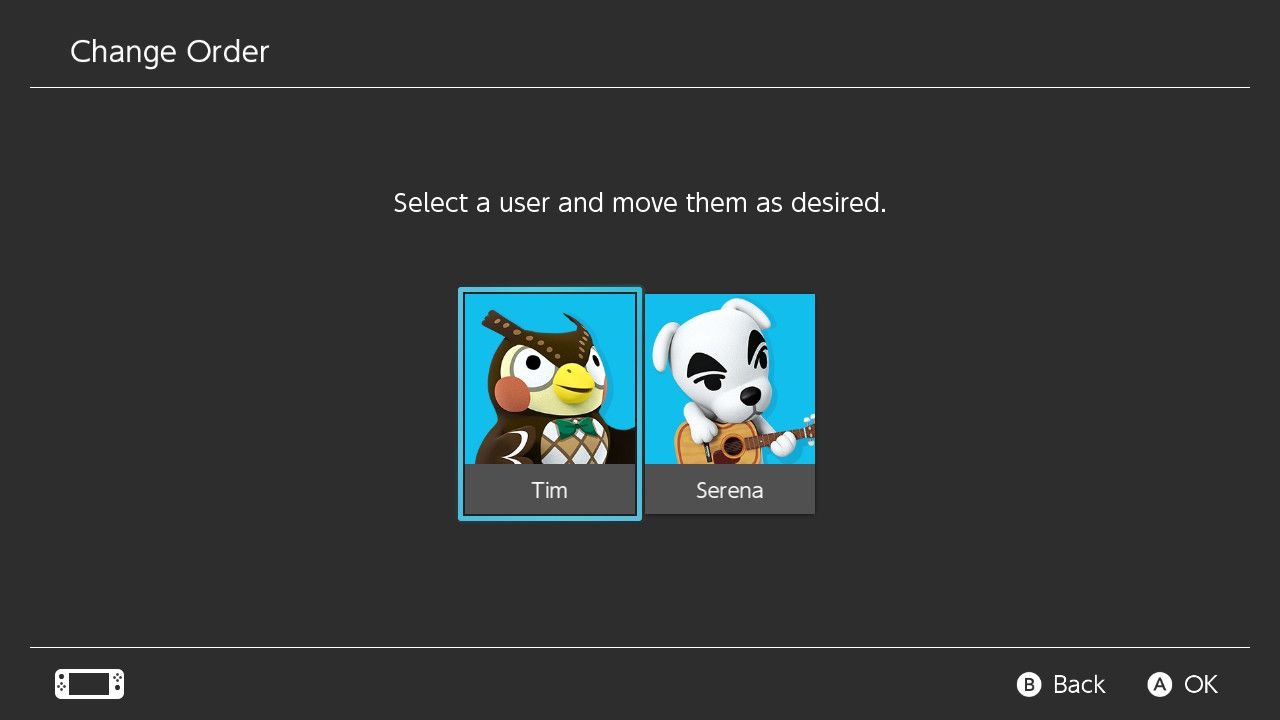
Changing the order in which user accounts appear on screen whenever you do something like start a game or launch the eShop can make a big difference. If you’re the primary Switch user but your account isn’t the “default” choice, you should change it.
You can do this under System Settings > User > Change Order. As the “default” profile you can start a game by hitting “A” twice on the controller, rather than having to select your account manually.
6 Switch to a Dark Theme
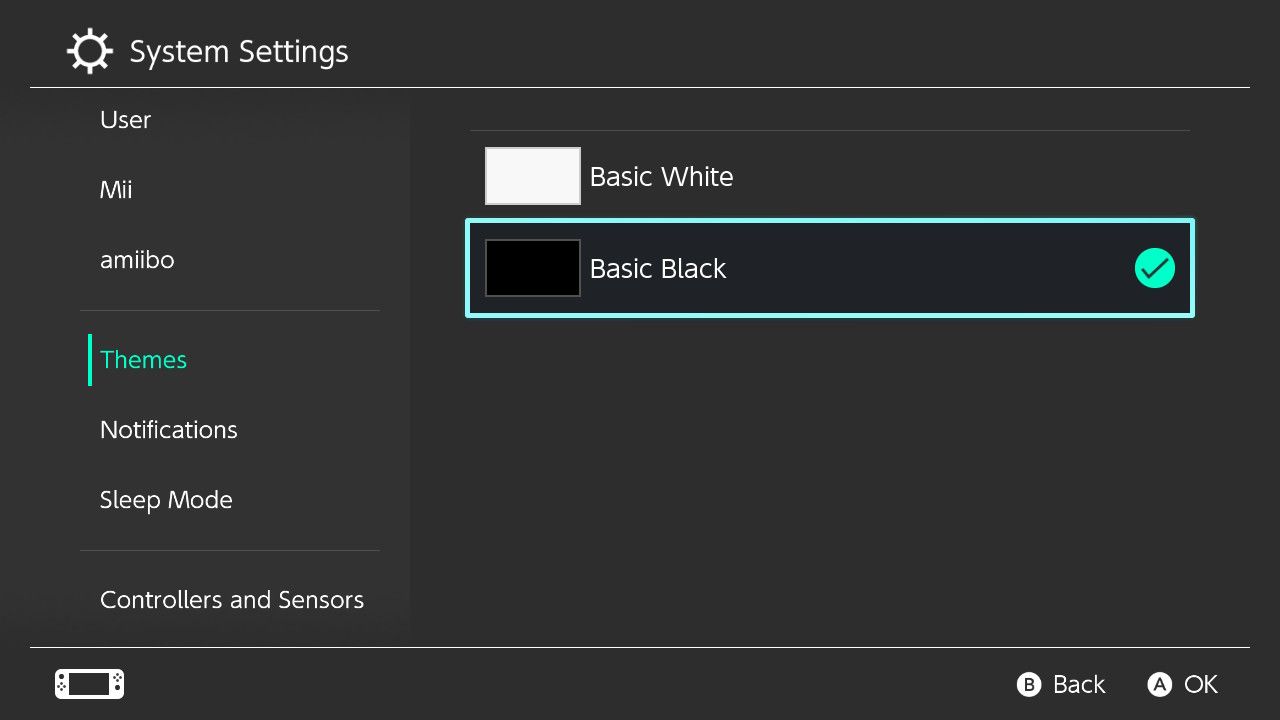
Nintendo really dropped the ball when it comes to Switch customization (something the Switch 2 really should address). Even so, it’s worth switching from the default “Light” theme to the “Dark” one, especially if you play your console at night in a darkened room and don’t like being blinded when you hit the Home button.
You can do this under System Settings > Themes.
5 View Console Battery Percentage
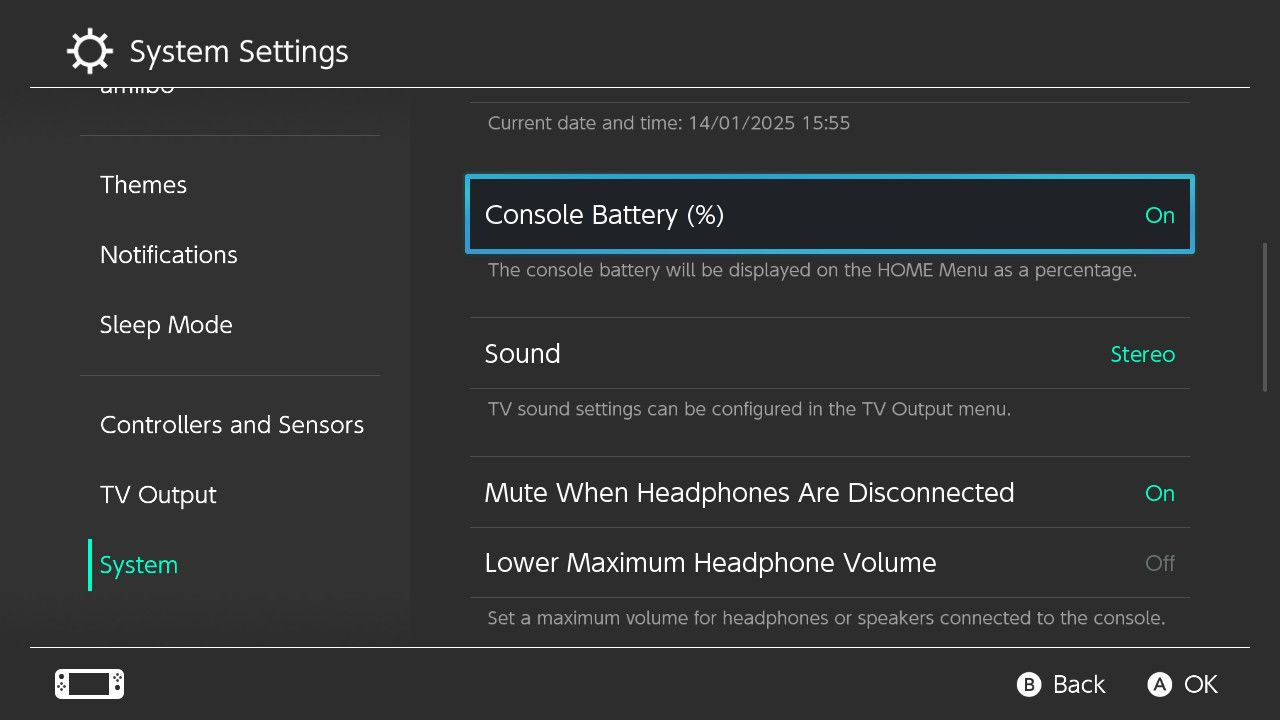
By default, your Nintendo Switch shows a battery icon that gives you a very rough idea of the remaining charge. You can get a lot more information by turning on the battery percentage.
Head to System Settings > System > Console Battery (%) and turn the feature on. The numerical percentage indicator will show on both the Home screen and in the Quick Menu (accessible by holding the Home button).
4 Change Controller Button Mapping
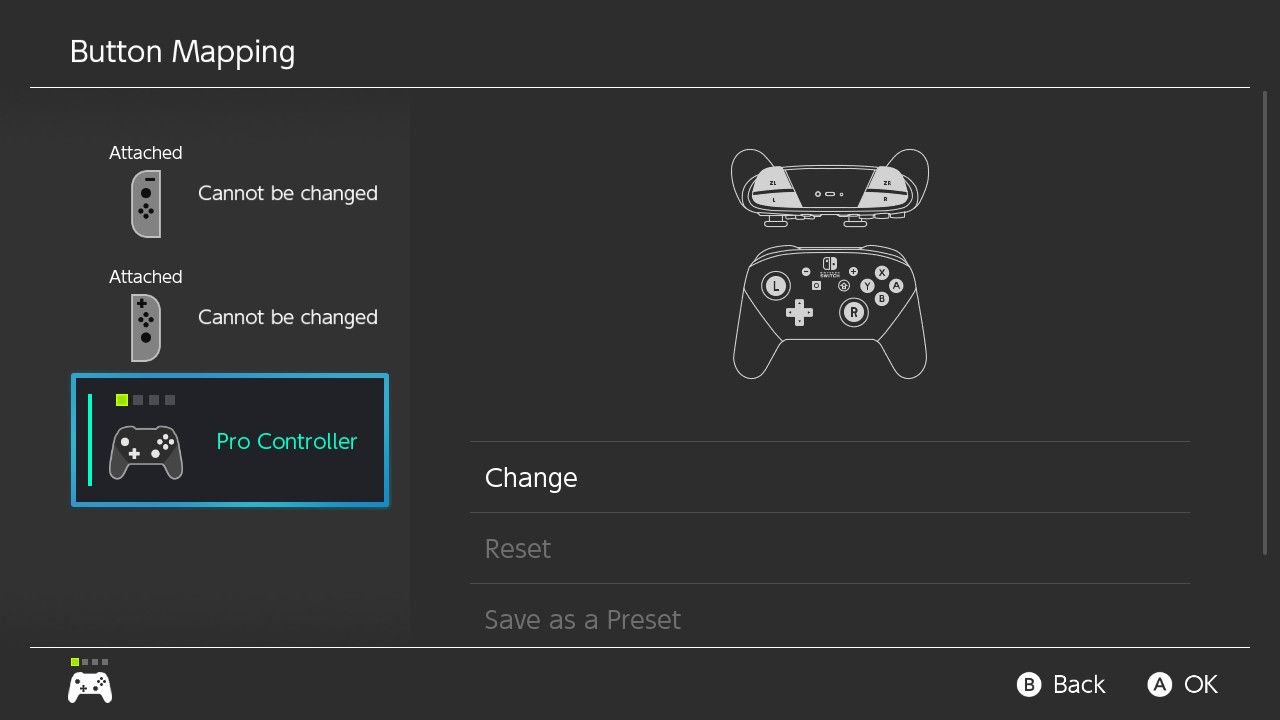
Whether it’s for accessibility reasons or simply because you don’t like the way Nintendo consoles invert ABXY, you can change the controller layout by heading to System Settings > Controllers and Sensors > Change Button Mapping.
The one caveat here is that you can’t change the button layout for attached Joy-Cons. You’ll have to disconnect the Joy-Cons and use them in dual-controller mode in order to do this. Changes also affect the Nintendo Switch Pro Controller and compatible third-party controllers like the 8BitDo Pro 2.
You can change pretty much anything, including swapping around the analog stick function. Your changes will work automatically in all games since they are saved at a system level. Changes are stored on the console you make them on, not the controller (so you’ll need to repeat the changes if you switch consoles).
Save your schemes and load presets using the “Save as a Preset” and “Load a Preset” options, or switch back to defaults with the “Reset” option.
3 Calibrate Control Sticks and Motion Controls
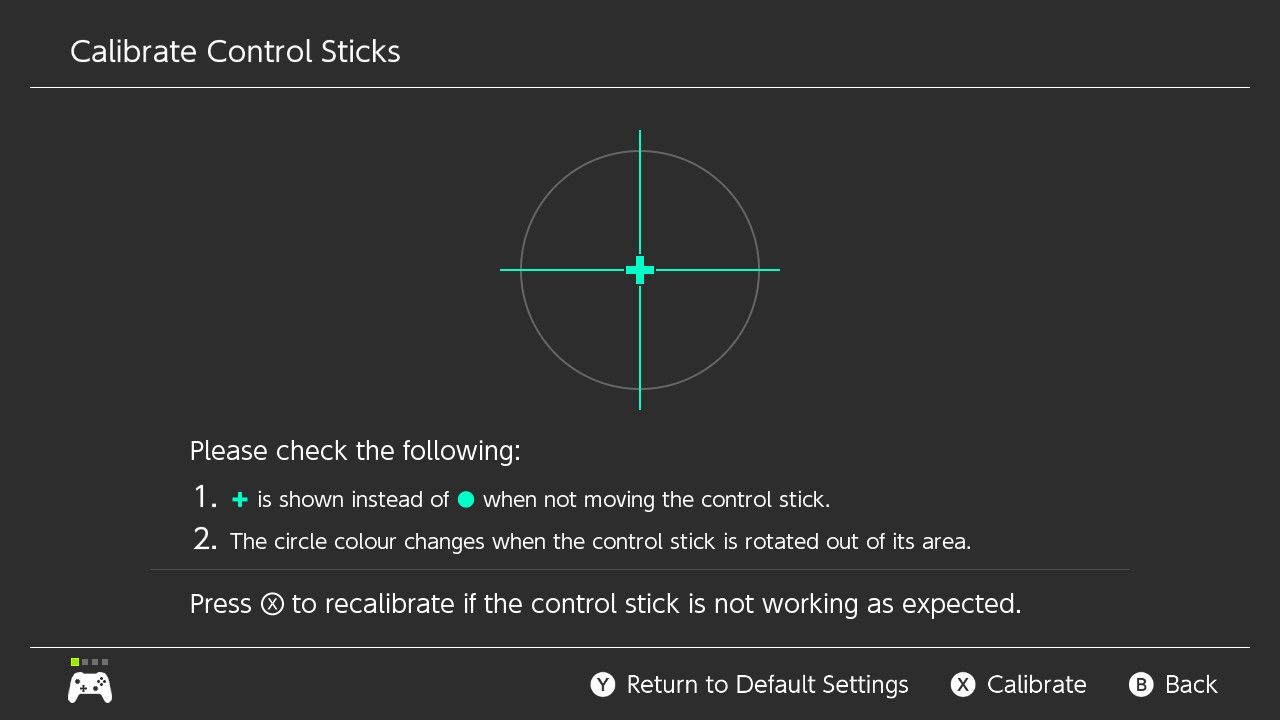
The Nintendo Switch is no stranger to dreaded analog stick drift, which occurs when analog sticks start behaving erratically and registering movement even when you’re not touching them. One of the easiest ways to mitigate this problem, at least in the early stages, is to use the analog stick calibration tool.
Head to System Settings > Controllers and Sensors > Calibrate Control Sticks and run through the on-screen instructions to calibrate your Switch controller. If a stick is pulling in one specific direction, this may keep the problem at bay for a short while.
Unfortunately, once you start to see signs of stick drift the controller is already on the way out. You can try repairing your Joy-Con with spare parts and a guide from iFixit, but a better route is to make use of Nintendo’s replacement program to get them repaired or replaced for free.
You can also use this menu to Calibrate Motion Controls, which is handy if your Joy-Con is misbehaving in a game that depends on the internal gyroscope like Switch Sports.
2 Optimize Touchscreen for Stylus
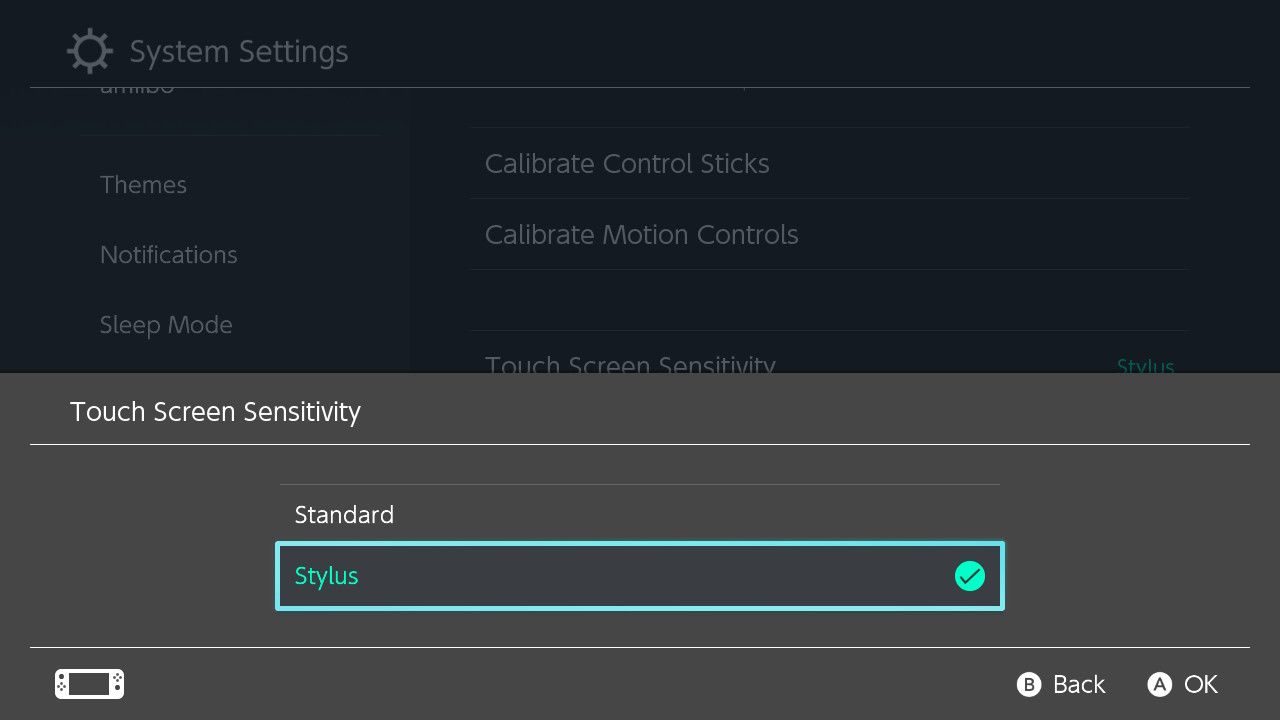
If you use a stylus with your Switch, you should consider optimizing the screen for your chosen input method. You can do this under System Settings > Controllers and Sensors > Touch Screen Sensitivity by choosing “Stylus” from the menu.
While this might sound a little odd, some games are better with a (capacitive) stylus. One example is Super Mario Maker 2 which included a limited run of themed styluses in some territories as a preorder bonus.
1 Change Your MTU Value
Lag and sluggish internet performance are common complaints when it comes to the Switch. Increasing your maximum transmission unit (MTU) value from the default 1400 might help. You can consult this Netgear guide to determine the optimal MTU size for your internet connection.
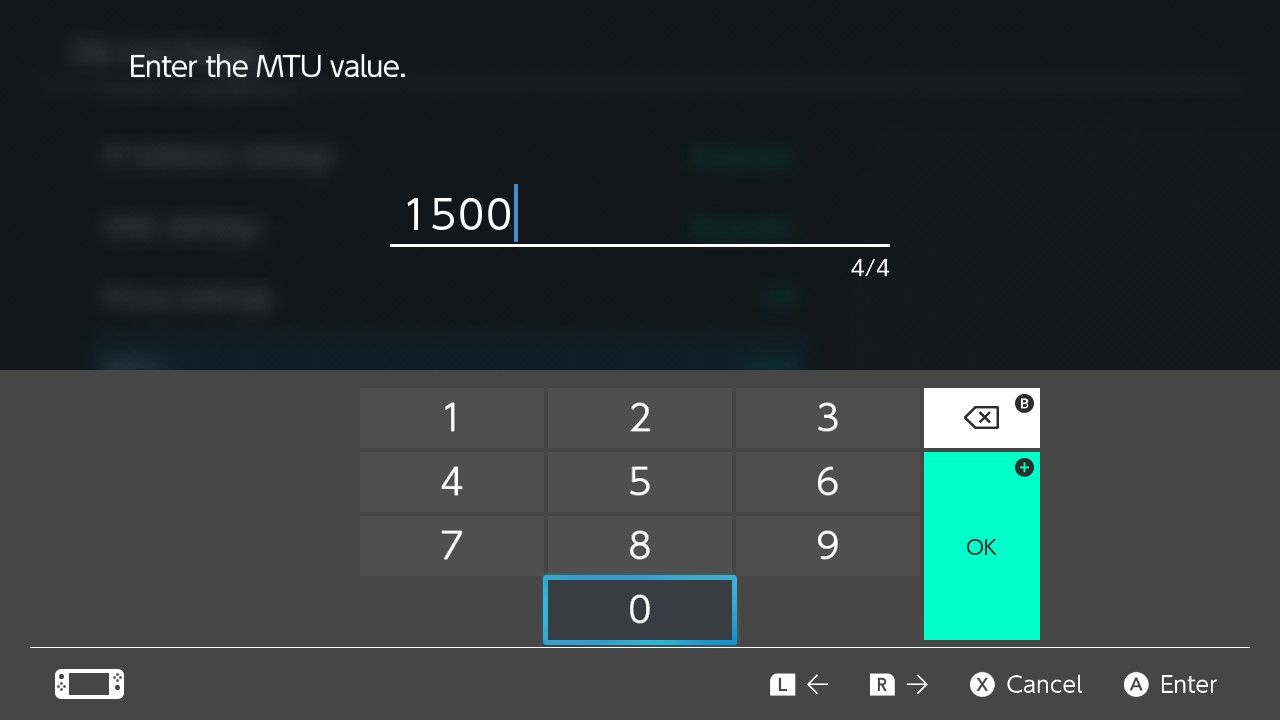
If you’re impatient, you can always try switching this value to 1500.
Mac or Linux users can follow the same methodology but use the following command in Terminal instead:
ping -D -s 1500 www.yahoo.com
You’re looking for a value that doesn’t trigger the “Message too long” error. You can hit Control+C to send a kill command to stop the ping operation.
Once you’ve found a value that works (for me, it was 1472) and added 28 to that value (a total of 1500), head to System Settings > Internet > Internet Settings and select your wireless network. Hit “Change Settings” and change “MTU” to the new number then hit “Save.”
Looking for more Nintendo Switch tips? Learn what to do if your Switch won’t turn on and how to fix a misbehaving Pro Controller.

